Lemlist integration overview
Automated multichannel outreach tool.
Integration Overview
The LemList integration in Clay allows users to send per-lead data from Clay (including personalized email copy) directly to LemList for email campaigns. In this guide we’ll go over:
- Setting up LemList and Clay
- Pushing LemList data to campaign
- Updating contacts with LemList
Requirements for Setting Up LemList <> Clay
You will need two prepare two steps in advance to set up LemList and Clay integration
Requirement #1: Add your LemList API key to Clay
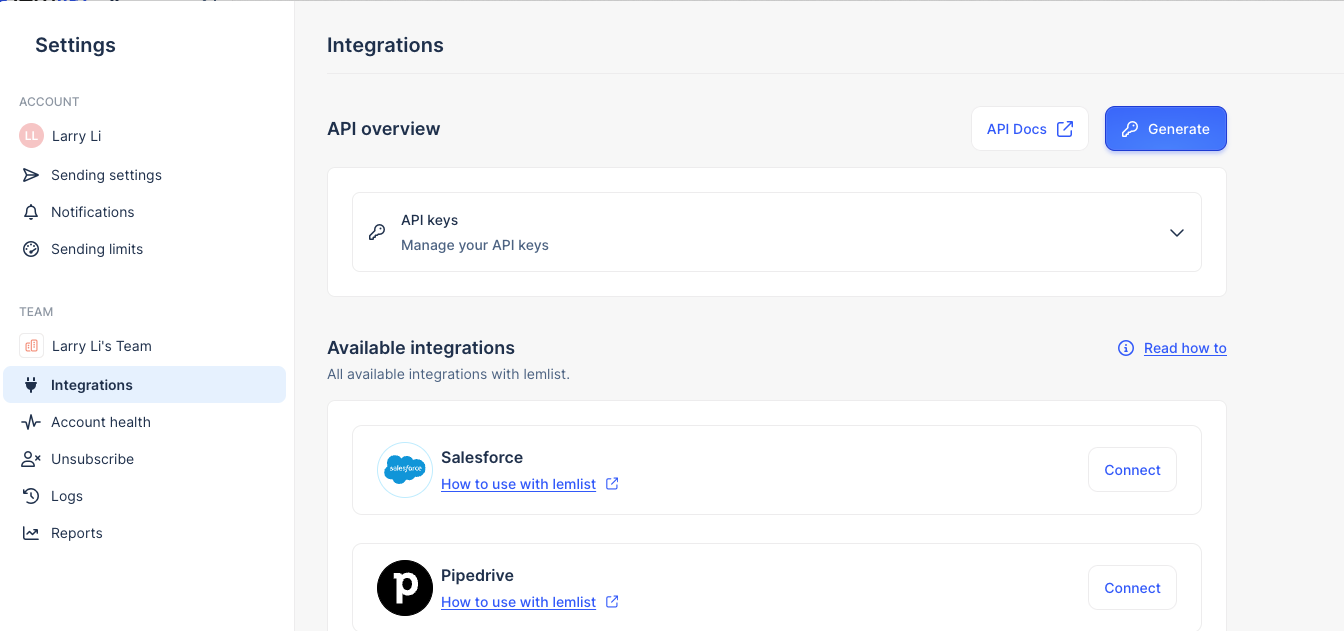
Open your Lemlist account dashboard (app.lemlist.com)

Navigate to Settings > Integrations
Generate an API key and copy it to your clipboard
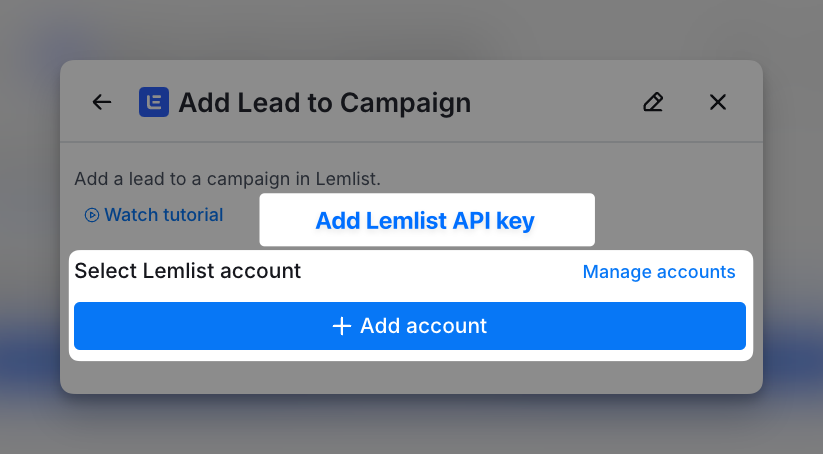
You can add your Lemlist account to Clay through the enrichment panel when selecting Add Lead to Campaign
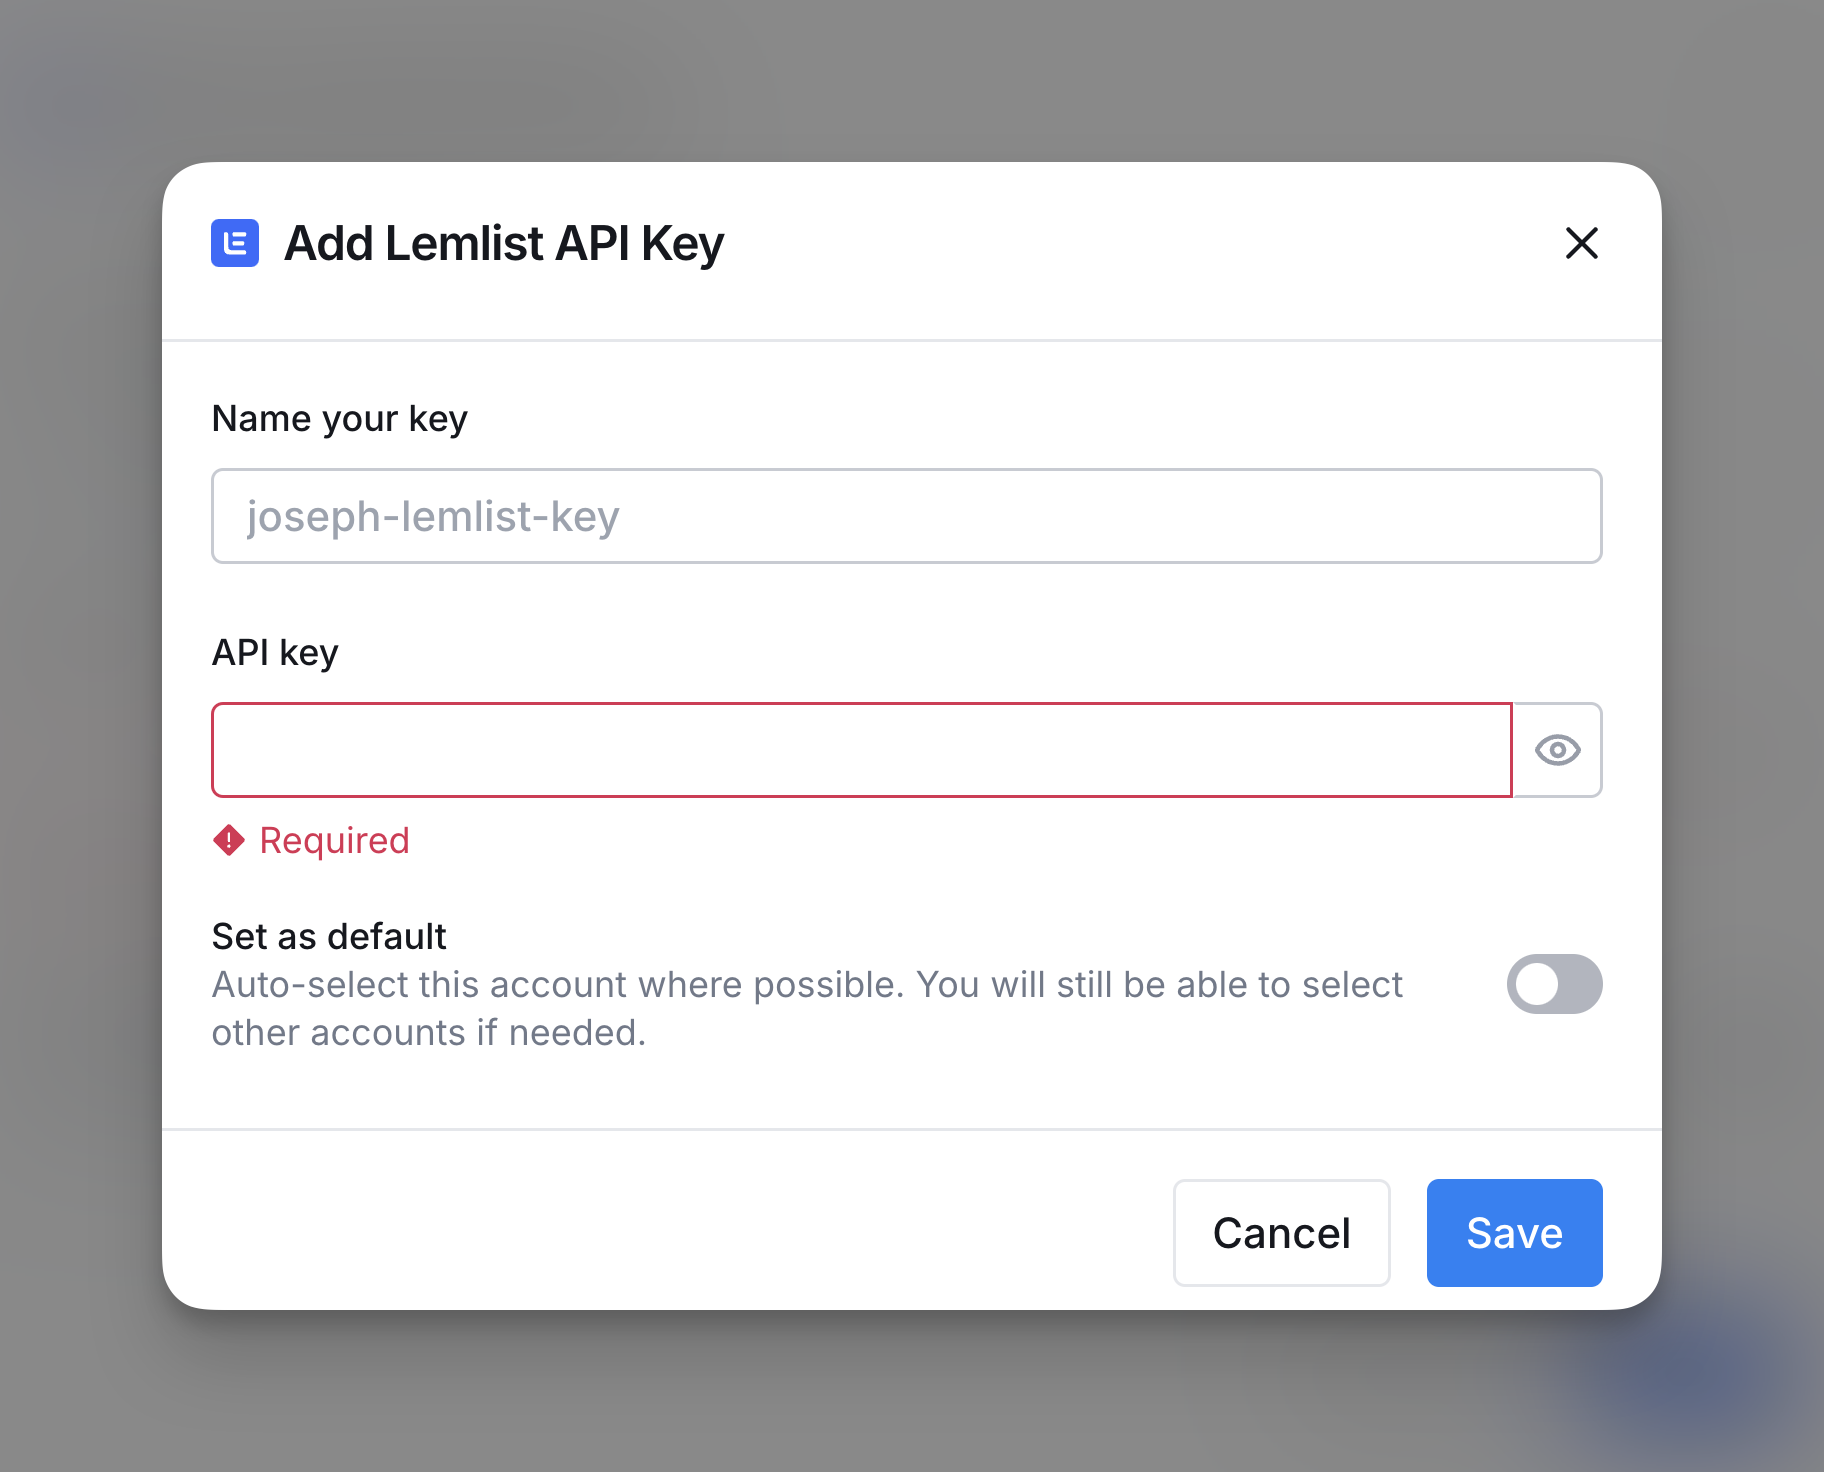
Click “Add account” in the Lemlist Enrichment panel and paste in your API Key.

Requirement #2: Have an existing campaign you are adding leads to
To use Clay, ensure you already have a campaign set up in LemList.
Please note that new campaigns cannot be created directly within Clay, so you’ll need to obtain a LemList campaign ID to enable the integration.
Every LemList integration action must have an existing campaign. If you want to create a new campaign check out Lemlist’s guide on how to create a campaign.
Pushing data to LemList
Within Clay, you can push your data to LemList in two ways
- Send a new enriched lead to campaign
- Update and enrich an existing lead in campaign
Add new enriched lead to campaign
Create a new campaign in Lemlist
To add a new lead to your existing campaign, you just need to run the Add Lead to Campaign integration. Here’s a step by step guide on how to use this integration.
Step 1: Select your LemList account
Select the LemList account to send emails from. If you have not already integrated LemList with Clay, please enter your API key when creating an account.

Step 2: Specify campaign to push leads to
Make sure you have an existing campaign you are pushing leads to. If you do not have a campaign set up, see Setting up LemList <> Clay

Step 3: Input Lead Email and update default fields
Input the email of your lead.
Optionally, input any fields you want to update for your contact.
.png)
Step 4 (Important): Input custom fields
You can push custom fields into LemList. This will be created as a new Custom Field Name and Custom Field Value Pair.
This can include personalized lines or custom snippets that don’t fit the standard fields.
.png)
Step 5: Select smart and social enrichments
If the Smart Enrichment is switched on, and you have the Sales Engagement feature, Lemlist will use the First Name, Last Name, Company Domain, and Linkedin URL to find the email of the lead.
If the LinkedIn Enrichment is switched on, and you have the Sales Engagement feature, Lemlist will enrich the lead with LinkedIn data using the Linkedin URL.

Step 6: Configure run settings
Specify Auto-update and Conditional run statements.
If you are running trigger campaigns please make sure to turn Auto-update on.
.png)
Update existing leads with LemList Campaigns
To add a new lead to your existing campaign, you just need to run the Update Lead in Campaign integration. Here’s a step by step guide on how to use this integration.
Step 1: Select the Update Lead in Campaign action.

Step 2: Specify the Campaign ID and email address of your updated lead
The Campaign ID will be the campaign which you will be updating leads in.
The email address is the unique identifier for your lead in LemList.

Step 3: Update default fields
Update any fields you want to update for your contact.

Step 4 (Important): Input custom fields
You can push custom fields into LemList. This will be created as a new Custom Field Name and Custom Field Value Pair.
This can include personalized lines or custom snippets that don’t fit the standard fields.
.png)
Step 5: Configure run settings
Specify Auto-update and Conditional run statements.
If you are running trigger campaigns please make sure to turn Auto-update on.
.png)
