HTTP API with JWT authentication
Use HTTP API connections authenticated securely with JWT tokens.
HTTP API with JWT Authentication Overview
Within Clay, the HTTP API with JWT Authentication action allows you to send or retrieve data from any tool or database by connecting to an API endpoint using JWT Authentication.
HTTP API with JWT Authentication refers to an API that uses HTTP methods for communication between systems, with the added layer of JWT (JSON Web Token) Authentication for secure access.
An API is a set of defined rules that allow applications to interact, while HTTP defines the protocol for formatting and transmitting requests and responses. JWT authentication enhances this by securely transmitting user identity and permissions within a token. The standardized HTTP methods (e.g., GET, POST, PUT) enable structured and efficient interactions, while JWT ensures the requests are authorized.
What you need to set up the HTTP API with JWT integration
Before getting started, make sure you have the necessary API documentation on hand. If you want to find a platforms documentation, you can search on the internet “{{Platform_name}} API Documentation”.
A few examples of API documentation include:
- Retrieve transcripts of calls from Gong (Documentation)
- Get a record from Airtable (Documentation)
- Retrieve an invoice from Stripe (Documentation)
The documentation will provide the key details needed to configure your integration properly. To set up an HTTP API integration, you’ll need the following information:
- Method: Identify the HTTP method (e.g., GET, POST) required for the request
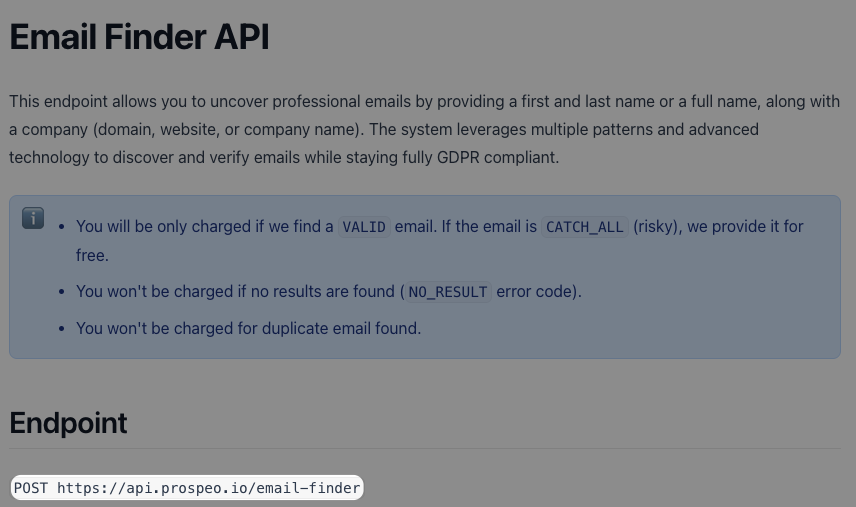
- Endpoint URL: The specific URL of the API endpoint you want to communicate with.
- Other Specific Information: This may include headers, query parameters, and body content.
Additionally for the JWT Authentication, you need:
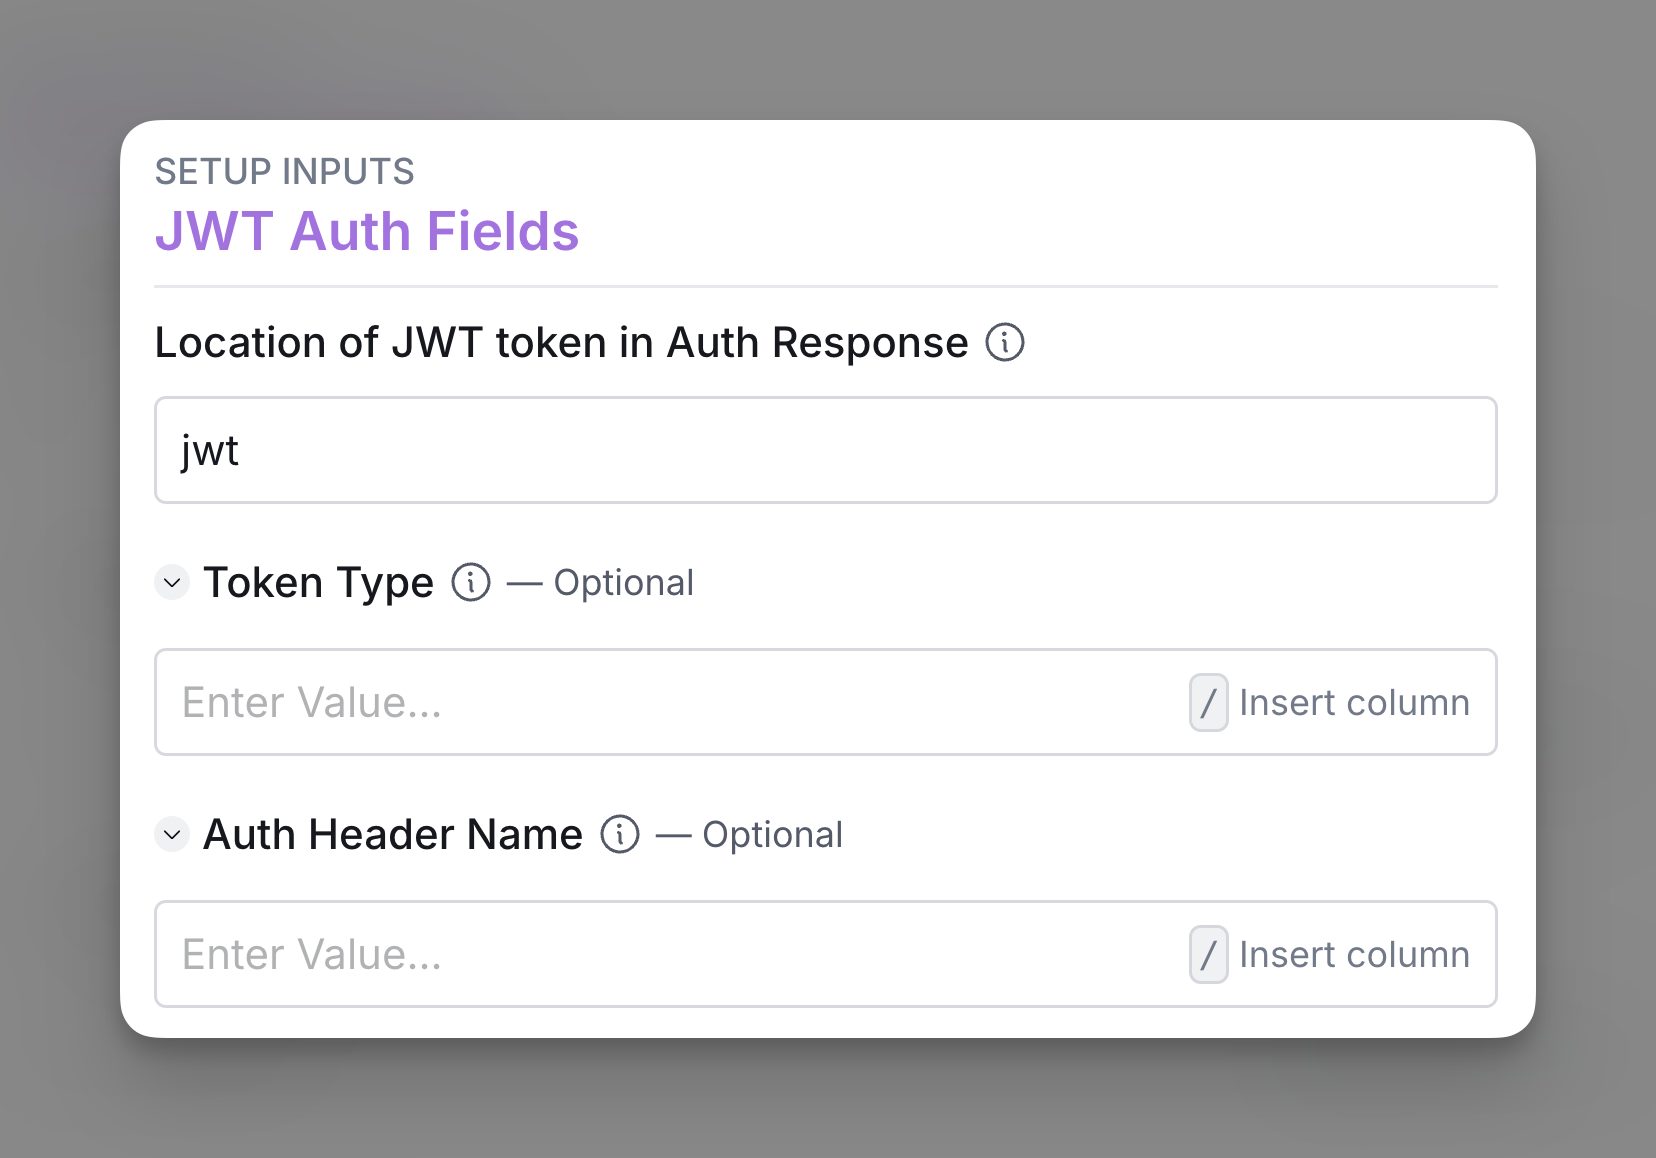
- Location of JWT Token in Auth Response: Specify where the JWT is located in the response (e.g., jwt, access_token).
- Token Type (Optional): Define the type of token if required by the API (e.g., Bearer).
- Auth Header Name (Optional): Enter the header name used for authorization, such as Authorization.
The HTTP API integration can work with many different APIs, so having the right documentation will help ensure you set everything up correctly.
Step-by-step tutorial on using the HTTP API integration
Follow this simple step-by-step guide to set up your HTTP API integration. We’ll be going over the entire enrichment panel, but for some types of requests and APIs you may not need to go through everything.
Step 1: Enter JWT Token Details
Provide the necessary information to configure JWT authentication:
- Location of JWT Token in Auth Response: Input the key where the JWT is located in the API’s response (e.g., jwt, access_token). Refer to your API documentation for the exact key name.
- Token Type (Optional): Specify the type of token (e.g., Bearer) if required by the API. This will be prefixed to the token in the authorization header. Defaults to Bearer if not specified.
- Auth Header Name (Optional): Enter the name of the authorization header expected by the API (e.g., Authorization). This defaults to Authorization if not specified.
These fields ensure that the JWT is correctly identified, formatted, and sent in API requests.
Step 2: Select HTTP method
Define the type of action you want to perform on the server. Choose one of the following methods:
GET: Retrieve data from the server without making any changes.
Example: Use GET to request a list of users from the API.
POST: Send data to the server, typically to create something new.
Example: Use POST to send user details and create a new user.
PUT: Update an existing item or resource on the server.
Example: Use PUT to update user information like changing their email.
DELETE: Remove something from the server, such as deleting a record.
Example: Use DELETE to remove a user from the system.
PATCH: Partially update an existing item or resource on the server.
Example: Use PATCH to update just the user’s phone number while leaving other details unchanged.

Step 2: Define the API endpoint
Enter the URL of the API endpoint you want to interact with. This is the address where the request will be sent, allowing your Clay table to communicate with the server.

Step 3: Enter the JSON body for the request
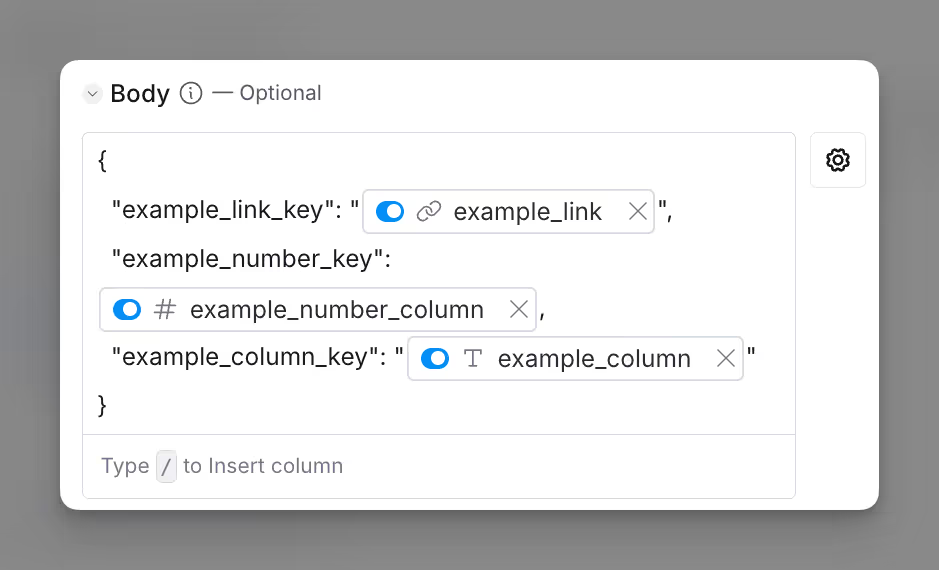
Specify the data you want to include in the body of your API request. This is typically used for POST and PUT requests, where you are submitting or updating data. The data must follow the rules of JSON formatting, which include:
- Strings are enclosed in quotes (e.g., "name": "Sam").
- Booleans and numbers are not enclosed in quotes (e.g., "age": 30).
Please note that when referencing dynamic variables using /column, you must also still follow JSON formatting. This means that for dynamic strings, you still need quotation marks, but for dynamic number variables you don’t. The exception here is where you have a number with trailing zeros (e.g. 0004), and in that case you’ll need to surround with quotation marks.
For more guidance on JSON formatting, please visit this guide.
As of October 2024. you must enclose dynamic string variables in quotation marks when using the HTTP API enrichment column. For more information on this change check out this video.
Step 4 (Optional): Enter any header fields to set
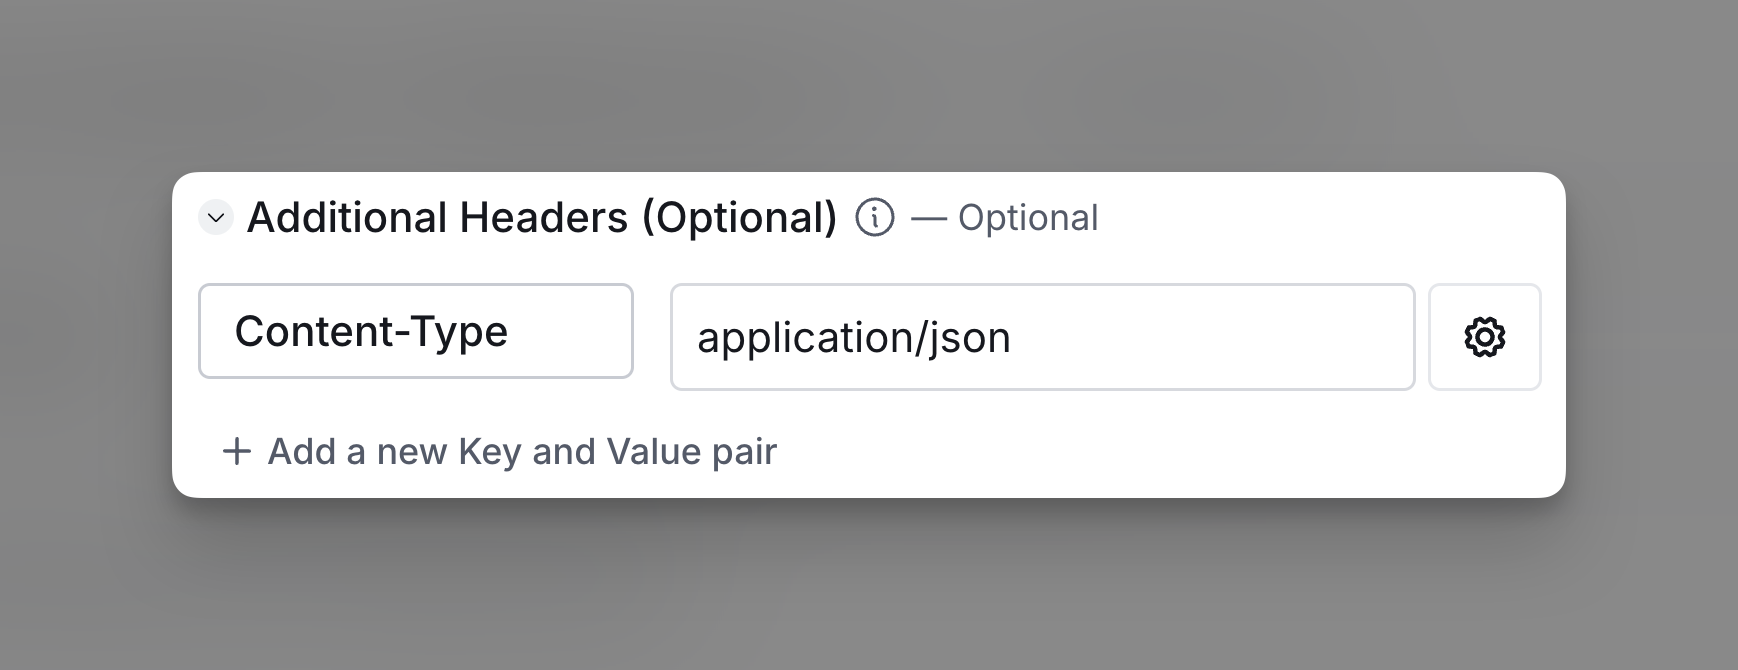
Headers are key-value pairs included in an HTTP request that provide additional information about the request. Unlike query strings, they are not visible in the URL and are typically used to send metadata.
A common header is:
Content-Type
Specifies the format of the data being sent in the body of the request, ensuring that the server knows how to interpret it.
Within Clay this will always be Content-Type: application/json
Step 5 (Optional): Remove null and undefined values from the request
Toggle this option to remove any fields in the request that are empty, null, or undefined. This helps prevent sending blank values to the API, avoiding potential data overwrites or errors caused by missing information.
Step 6 (Optional): Define field paths to return
This field allows you to specify which parts of the API response you want to retrieve. If the response contains a lot of data but you only need specific fields, you can use this section to filter out unnecessary data.

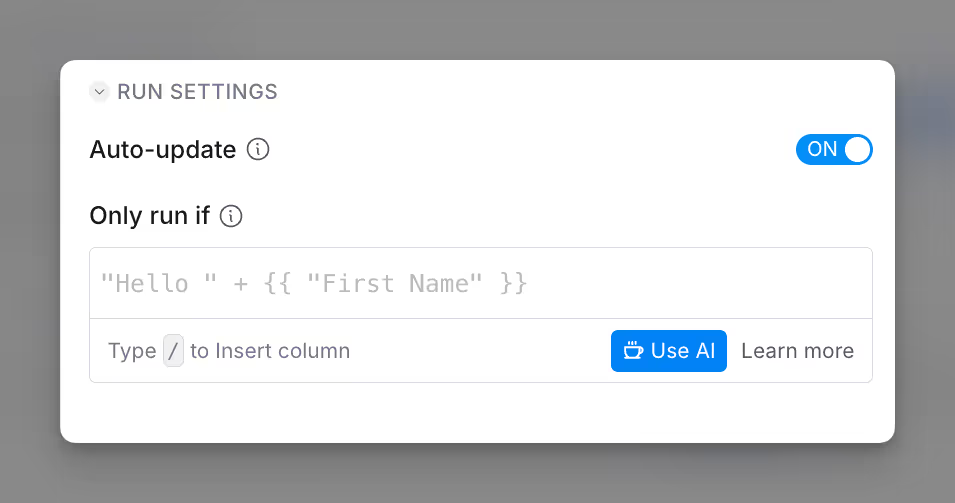
Step 7 (Optional): Select auto-update and conditional run criteria
Auto-update: By default, this column will update whenever you add a new row. This is optional. Make sure to toggle this step off if you do not want to auto-update, however, you might run into stale data problems. For more information about how auto-update works, please read this brief guide.
Conditional run: If you want to only run this enrichment under set circumstances, you are able to input formulas where the column runs only if the formula is true. Learn more about conditional runs in this Clay University lesson.
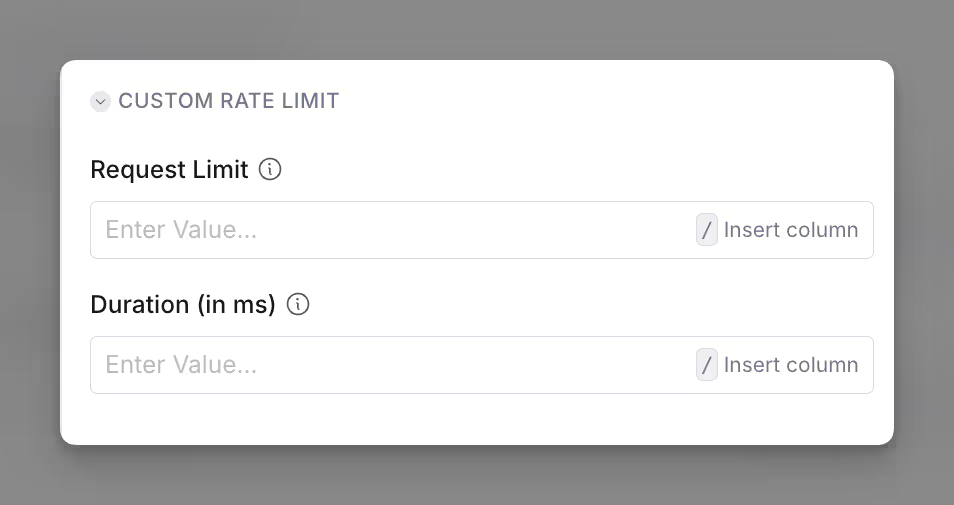
Step 8 (Optional): Define rate limit
This section allows you to control how many API requests can be sent within a given time frame. In the Request Limit field, specify the maximum number of allowed requests. In Duration (in ms), enter the time window in milliseconds (e.g., 1000 ms equals 1 second) over which the request limit applies. This helps prevent exceeding API rate limits.
Common Errors: Troubleshooting “Body parse output” 400 error
The failed to parse body means that there is an error with the Body section of your Enrichment Panel input. There are a few pointers to troubleshooting this error:
- Ensure that your key is surrounded by double quotes. If you're using a dynamic column as your value, you need to include quotes around the dynamic column tag. If you need to combine plain text with a dynamic column tag, create a Formula column that combines them first, and then include that column (with quotes) in your body tag.
- Punctuation and syntax. Ensure that your keys are separated by commas, and please be mindful of extra spaces, colons, and brackets as all details matter
- Hidden characters. When in doubt, copy and paste the body into a text editor to ensure that no extra characters are hidden. This will also help with catching hidden characters, which can be included in documentation.
- Provide the right API Key. Ensure that you are providing the right API key. This is especially relevant if a single data provider has multiple API keys (ex. Apollo).


