Waterfall
Maximize your data coverage with waterfalls.
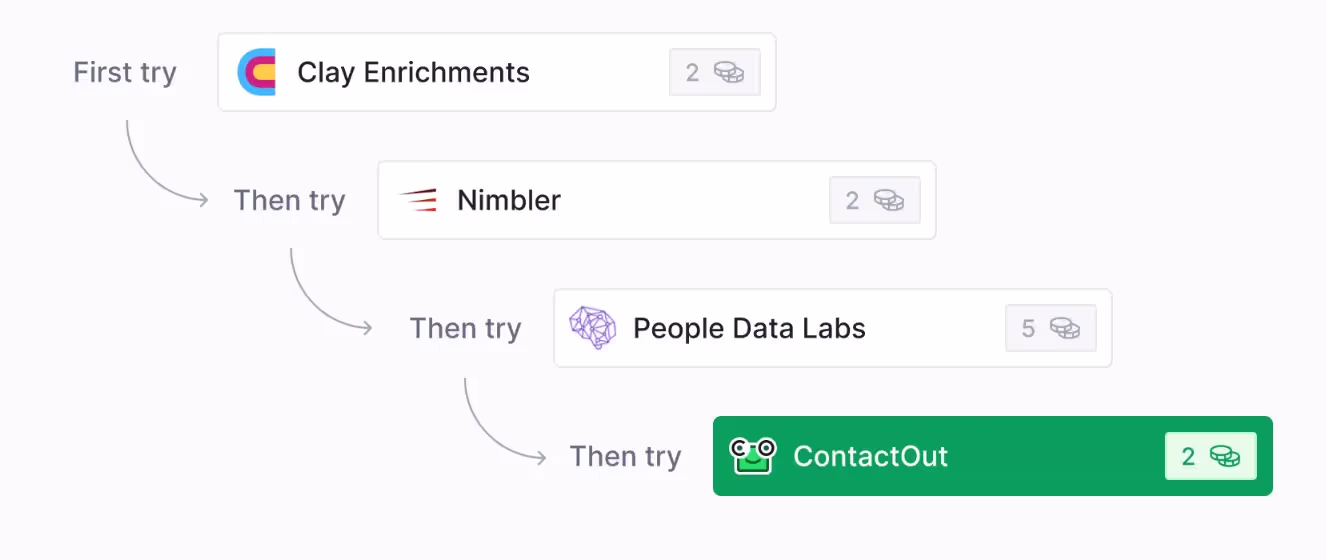
Waterfalls allow you to utilize multiple data providers in a predetermined sequence, so you don't duplicate tasks or spend extra credits.
Using pre-built waterfalls
To run a pre-built waterfall:
- Click
Add enrichmenton the top right corner of your table and search for the data point you want to run a waterfall for (ex. Phone number). UnderWaterfalls, select the waterfall you want to run. - Configure your
Waterfall sequence. You can reorder, add. or delete your waterfall data providers.- To skip a step in the waterfall, click the toggle switch next to a specific provider.
- Enter the required data inputs, such as email addresses or social profile URLs, to set up the enrichment waterfall.
- Optionally, choose to output the name of the successful provider and hide the provider columns for a cleaner table view.
- Configure Run settings, including enabling auto-update or setting conditions for when the waterfall should run.
Creating a waterfall
- While in a table, click
Add column(which you will find at the far right side). - Select
Waterfalland click the🖊️to next to the title to rename. - Change the
Data Typethat you’ll be working with. - Add actions to the waterfall and adjust other settings.
- Click
Save.
Creating a waterfall template
Waterfall templates allow you to save and reuse your waterfall configuration, making it easier to standardize and replicate successful workflows.
- While creating a waterfall, select
Save as template. - Give your template a name, description, and category.
- Select
Save template.
Starter
Explorer
Pro
Enterprise