
Zerobounce integration overview
Email validation and deliverability tools boost inbox placement and marketing ROI.
Getting started with Zerobounce
ZeroBounce in Clay validates work emails to ensure they’re safe, reducing bounces, protecting your sender reputation, and improving deliverability. Just input your email address to know if your email is validated.
Connecting Clay to Zerobounce
Within Clay, you have two ways to access the Zerobounce enrichment.
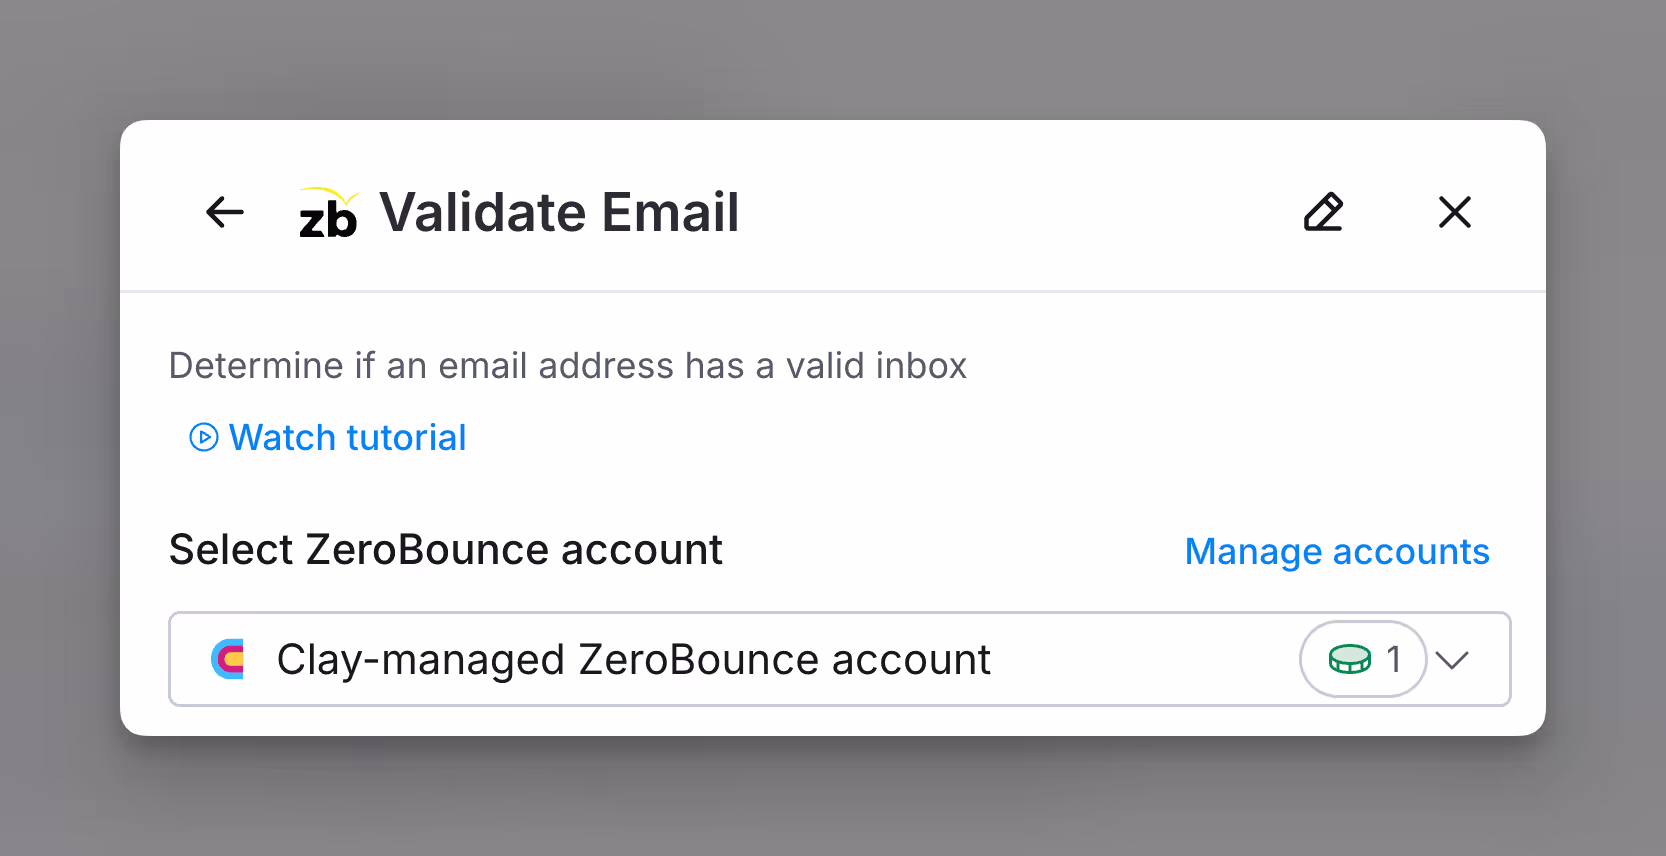
Option 1: Use the Clay-managed Zerobounce account
By default, Zerobounce enrichments will use the Clay-managed Zerobounce account. This means that any new enrichment will charge 1 credit.
Simply pull up any Zerobounce enrichment within Clay to use the Clay-managed Zerobounce account.
Option 2: Add your own Zerobounce API key
If you are currently on a paid plan (Starter, Explorer, Pro) you can use your own Zerobounce account within Clay through an API key.
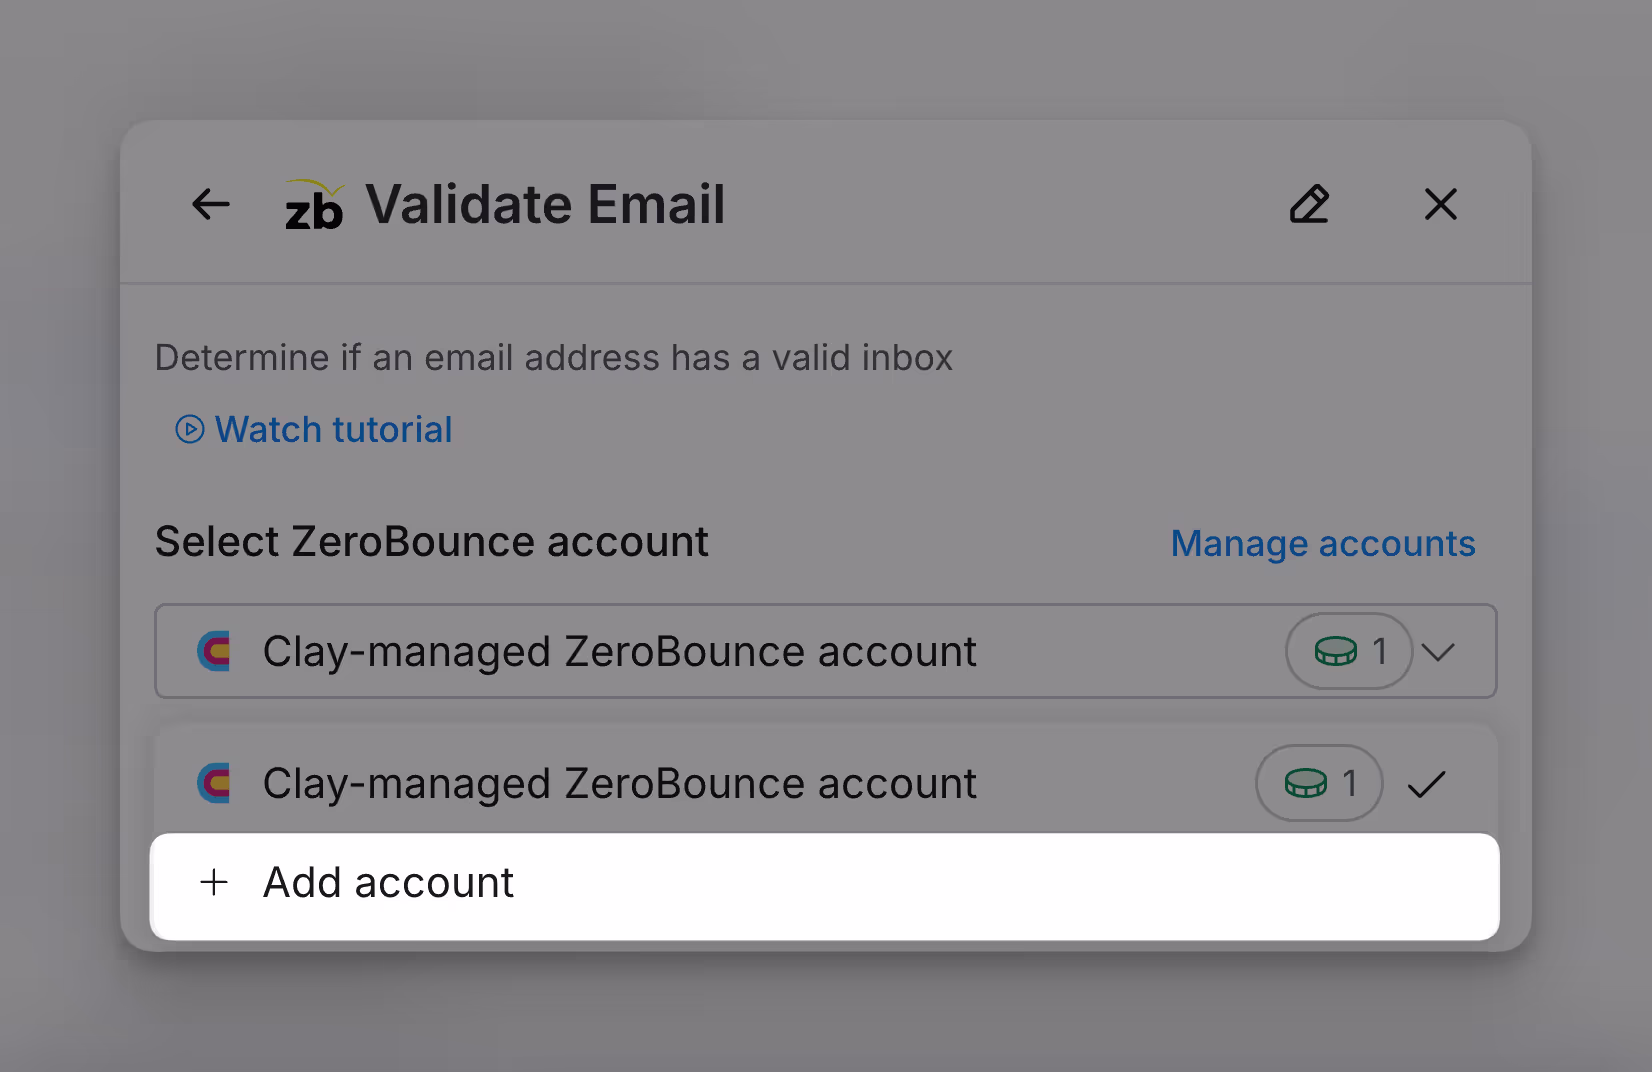
To add your own API key for any Zerobounce enrichment, you can do so when you're selecting an account.
Below is an example of where to click within the enrichment panel to add your API key. For more instructions on how to find your Zerobounce API key, follow these instructions within Zerobounce's documentation.
Action Validate Email
With Zerobounce's Validate Email action, you can determine if a certain email has a valid inbox.
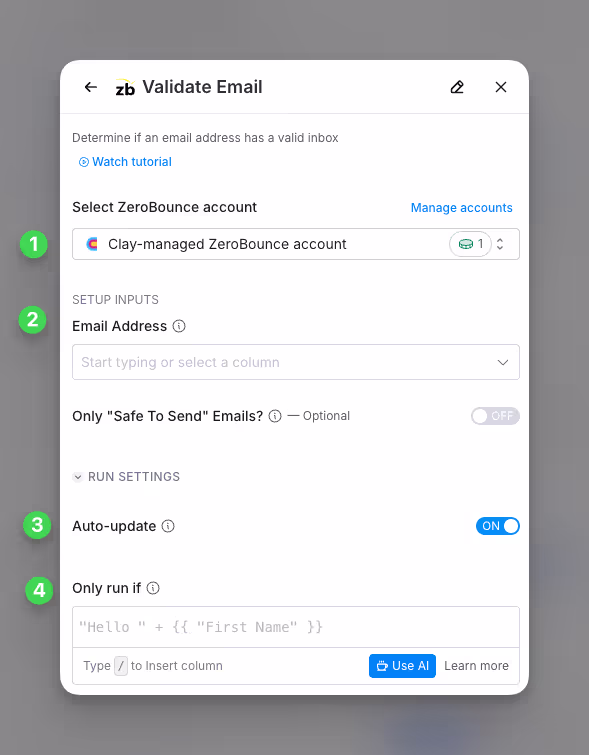
Step 1: Choose the ZeroBounce account you want to use
You can use either the Clay-managed ZeroBounce account or bring your own key. If you use the Clay-managed ZeroBounce account you will be charged at 1 credit per enriched cell.
Step 2: Select the email you want to verify
Input the email address you want to verify.
For the “Safe to Send” toggle, be aware that emails identified as “catch-all” by Zero Bounce are automatically marked as valid and include “catch-all” as a sub-status by default. When this toggle is activated, only emails categorized as “valid,” which are considered safe for sending, will be returned.
Step 3 (Optional): Select Auto-update
By default, Nimbler will auto-update the integration every 24 hours. Make sure to toggle this step off if you do not want to auto-update. However if you do so, you might run into stale data problems.
Step 4 (Optional): Select Conditional Run Criteria
If you want to only run this enrichment under set circumstances, you are able to input formulas where the column runs only if the formula is true. Learn more about conditional runs in this Clay University lesson.