Microsoft Dynamics 365 CRM integration overview
Cloud-based Customer Relationship Management platform
Microsoft Dynamics Integration Overview
Connect Clay to your Dynamics CRM to:
- Import Objects as a source
- Lookup Objects
- Update Objects
- Create Objects
Use Cases
There are many powerful use cases with the Microsoft Dynamics Integration. Examples include:
- Lead Scoring: Build accurate lead scores from your enriched contacts.
- Customer Segmentation: Sort customers, companies, and leads into custom industry categories.
- Automated Outbound: Run outbound campaigns based on company size and industry.
- TAM Sourcing: Build targeted lead lists using Clay to import back to your CRM.
Setting up Dynamics integration
To set up the Dynamics 365 CRM Integration, follow these steps:
Step 1: Visit the Settings page and navigate to Connections.
Step 2: Click + Add Connection and select Dynamics 365 CRM.
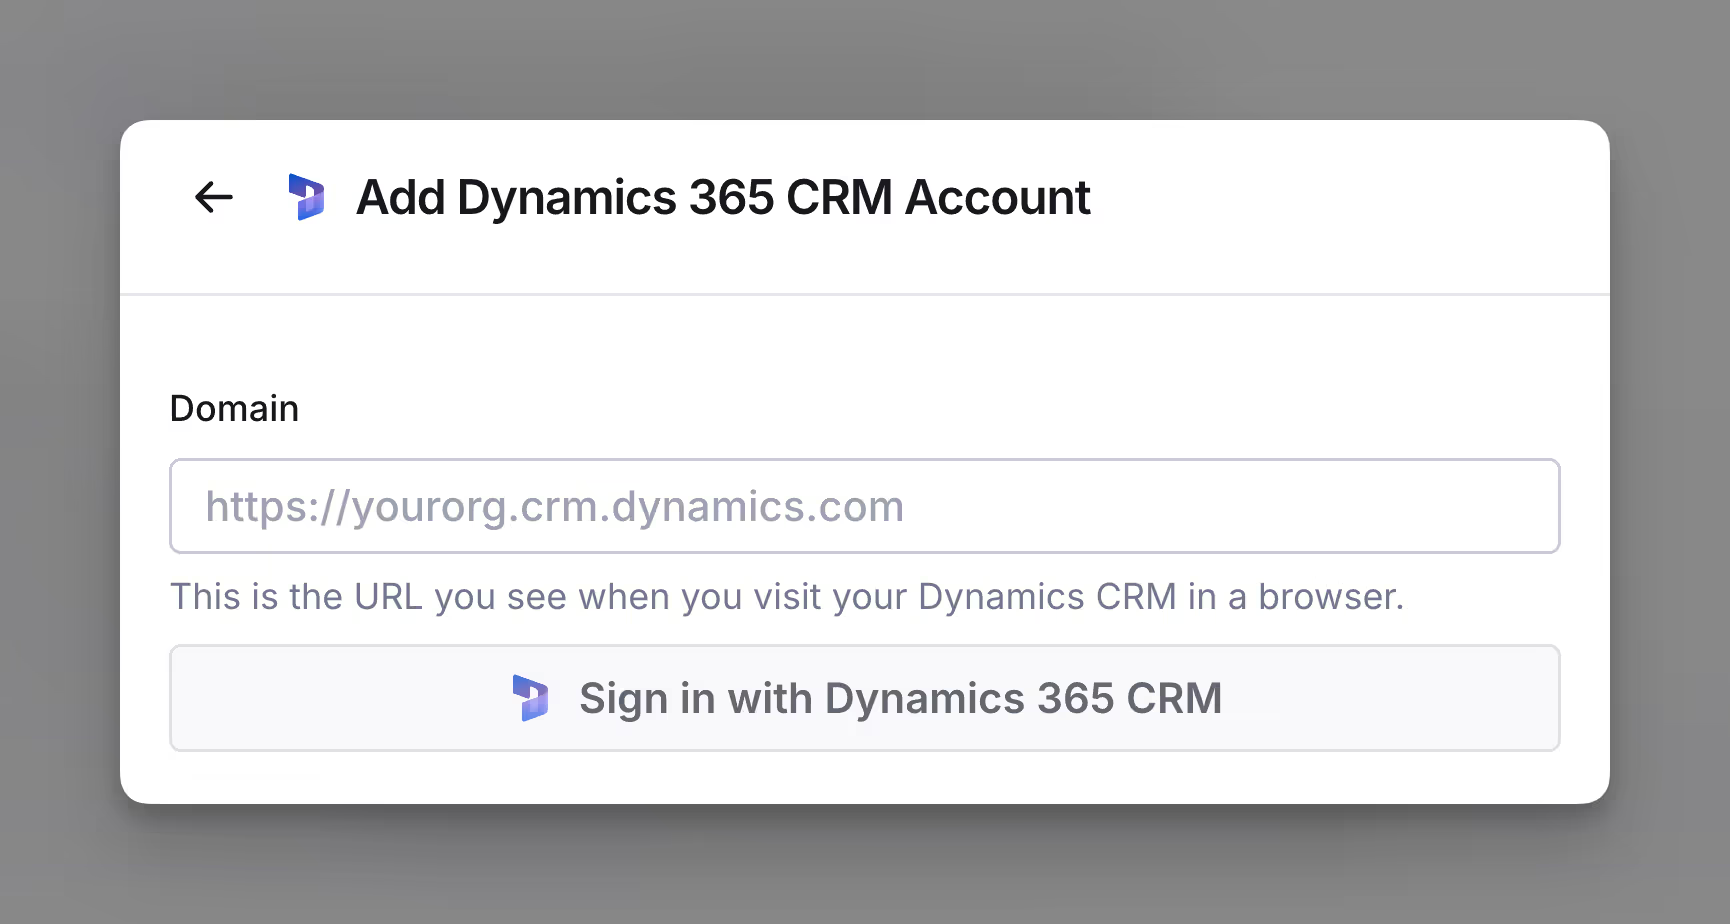
Step 3: Enter the domain of your Dynamics 365 CRM and sign in to your Dynamics account.

Step 4: Name your account key.
Optionally, you can set this account as the default for your workspace.
Import your Microsoft Dynamics data into Clay
You can import your Dynamics data as a source for a new or existing table.
To get started:
Step 1: Navigate to the Source panel.
To access source panel:
New table: In a workbook, click + Add at the bottom. Search for Mixpanel and select from the results.
Existing Table: In an existing table, open the table and select Actions > Import to configure Dynamics as a data source.
Step 2: Select your Dynamics account
Choose the Dynamics account you wish to use for importing data. Ensure the selected account has the appropriate permissions to access the objects you need.
Select 3: Import your objects
Specify the Object Type to import. Choose from Accounts, Leads, Contacts, or Opportunities
Optionally you can select a view to load data from and the fields you want to return. If left blank, all data will be imported for the selected Object Type and Fields.
Actions Create Object
Select object and map out object type.
Step 1: Select your Dynamics 365 account.
Step 2: Specify Object Type to create.
This can be Account, Contact, Lead, or Opportunity.
Step 3: Map fields for created object.
Match the relevant fields from your Clay table to the corresponding Dynamics properties, ensuring data types and formats align.
Step 4: Configure run settings.
By default auto-update, any new row added to your Clay table will automatically create an object in Dynamics. Learn more about auto-update in this brief guide.
To run enrichment only under specific conditions, use formulas that trigger the column when the formula is true. Learn more about AI formulas in this Clay University lesson.
Step 5: Run enrichment to create an object.
Actions Lookup Object
Check if an object exists in your Dynamics CRM.
Step 1: Select your Dynamics 365 account.
Step 2: Specify Object Type to lookup.
Step 3: Filter Objects
Define at least one field you want to filter by, then provide the corresponding filter values.
You can either type in these filter values directly or reference data from other columns.
Step 4 (Optional): Specify fields to return
Choose the fields you want to return. If no fields are selected, all available fields will return.
Step 5: Configure run settings.
By default auto-update, any new row added to your Clay table will automatically lookup for a matching object in Dynamics. Learn more about auto-update in this brief guide.
To run enrichment only under specific conditions, use formulas that trigger the column when the formula is true. Learn more about AI formulas in this Clay University lesson.
Step 5: Run enrichment to lookup an object.
Actions Update Object
Update an object in your Dynamics CRM.
Step 1: Select your Dynamics 365 account.
Step 2: Specify Object Type to update.
Step 3: Enter the Object ID to update.
Step 4: Map fields for created object.
Match the relevant fields from your Clay table to the corresponding Dynamics properties you want to update. Ensure that data types and formats align.
Step 5: Configure run settings.
By default auto-update, any new row added to your Clay table will automatically update the object in Dynamics. Learn more about auto-update in this brief guide.
To run enrichment only under specific conditions, use formulas that trigger the column when the formula is true. Learn more about AI formulas in this Clay University lesson.
Step 6: Run enrichment to update an object.


