Workspace administration documentation
Manage account and workspace settings, integration accounts, and billing.
Account settings
Your account settings allow you to keep your personal data up to date and ensure your account remains secure. Below are the steps for updating key details like your profile picture, name, and password.
Update your profile picture
To update your profile picture:
- Go to Settings and select Account from the left-hand menu.
- In the Your details tab under Your profile, click Upload new picture to upload an image or choose an icon.
- Please ensure the image is in png, jpg, jpeg, or gif format with a max size of 5MB.
- Use the Delete button if you wish to remove your current profile picture.
- Click Save to confirm your changes.
Update your name
To update your account name:
- Go to Settings and select Account.
- Under the Your details tab, edit your name in the Name field.
- Click Save to ensure your changes are updated.
Change your password
To change your account password:
- Visit your Settings and head to the Account section.
- Open the Security tab under Your profile.
- Click Change password. A magic link will be sent to your registered email address.
- Note: This option is available only if you signed in using a password and not via an authentication service such as Google or SSO.
- Follow the instructions in the email to securely update your password.
Access your Clay API key
Your Clay API key enables Clay-specific integrations and external connections. To manage your API key:
- Go to Settings > Your profile > API key.
- Use the following options:
- Copy the key for application use.
- Regenerate the key if compromised.
Workspace settings
Workspace settings give you control over key aspects of your workspace, such as its name, profile picture, and billing email. These settings ensure your workspace is easily identifiable and that billing communications reach the correct contact. Below are the steps for updating key workspace details.
Update your workspace picture
To update your Workspace picture
- Navigate to Settings > Workspace settings.
- Click Upload new picture to upload an image or choose an icon.
- Please ensure the image is in png, jpg, jpeg, or gif format with a max size of 5MB.
- Use the Delete button if you wish to remove your current profile picture.
- Click Save to apply your changes.
Change your workspace name
To change your workspace name:
- Go to Settings > Workspace settings.
- Update the Workspace name field with your desired name.
- This name will be displayed across your workspace and should be accessible for team identification.
- Click Save to confirm your changes.
Update your billing email
To update your billing email:
- In Workspace settings, edit the Billing email field to update the email address used for all billing-related communication.
- Click Save to ensure the new email is recorded.
Managing team members

Roles and permissions
User
Users have limited access and are primarily focused on editing workspace resources.
Capabilities:
- Edit workspace resources (e.g., tables, workflows, and integrations).
Admin
Admins have elevated permissions and can manage both workspace resources and team members.
Capabilities:
- Edit all workspace resources.
- Invite and remove team members.
- Assign or update roles (User or Admin).
Managing team members
Add a team member to your workspace
To invite a new member to your workspace:
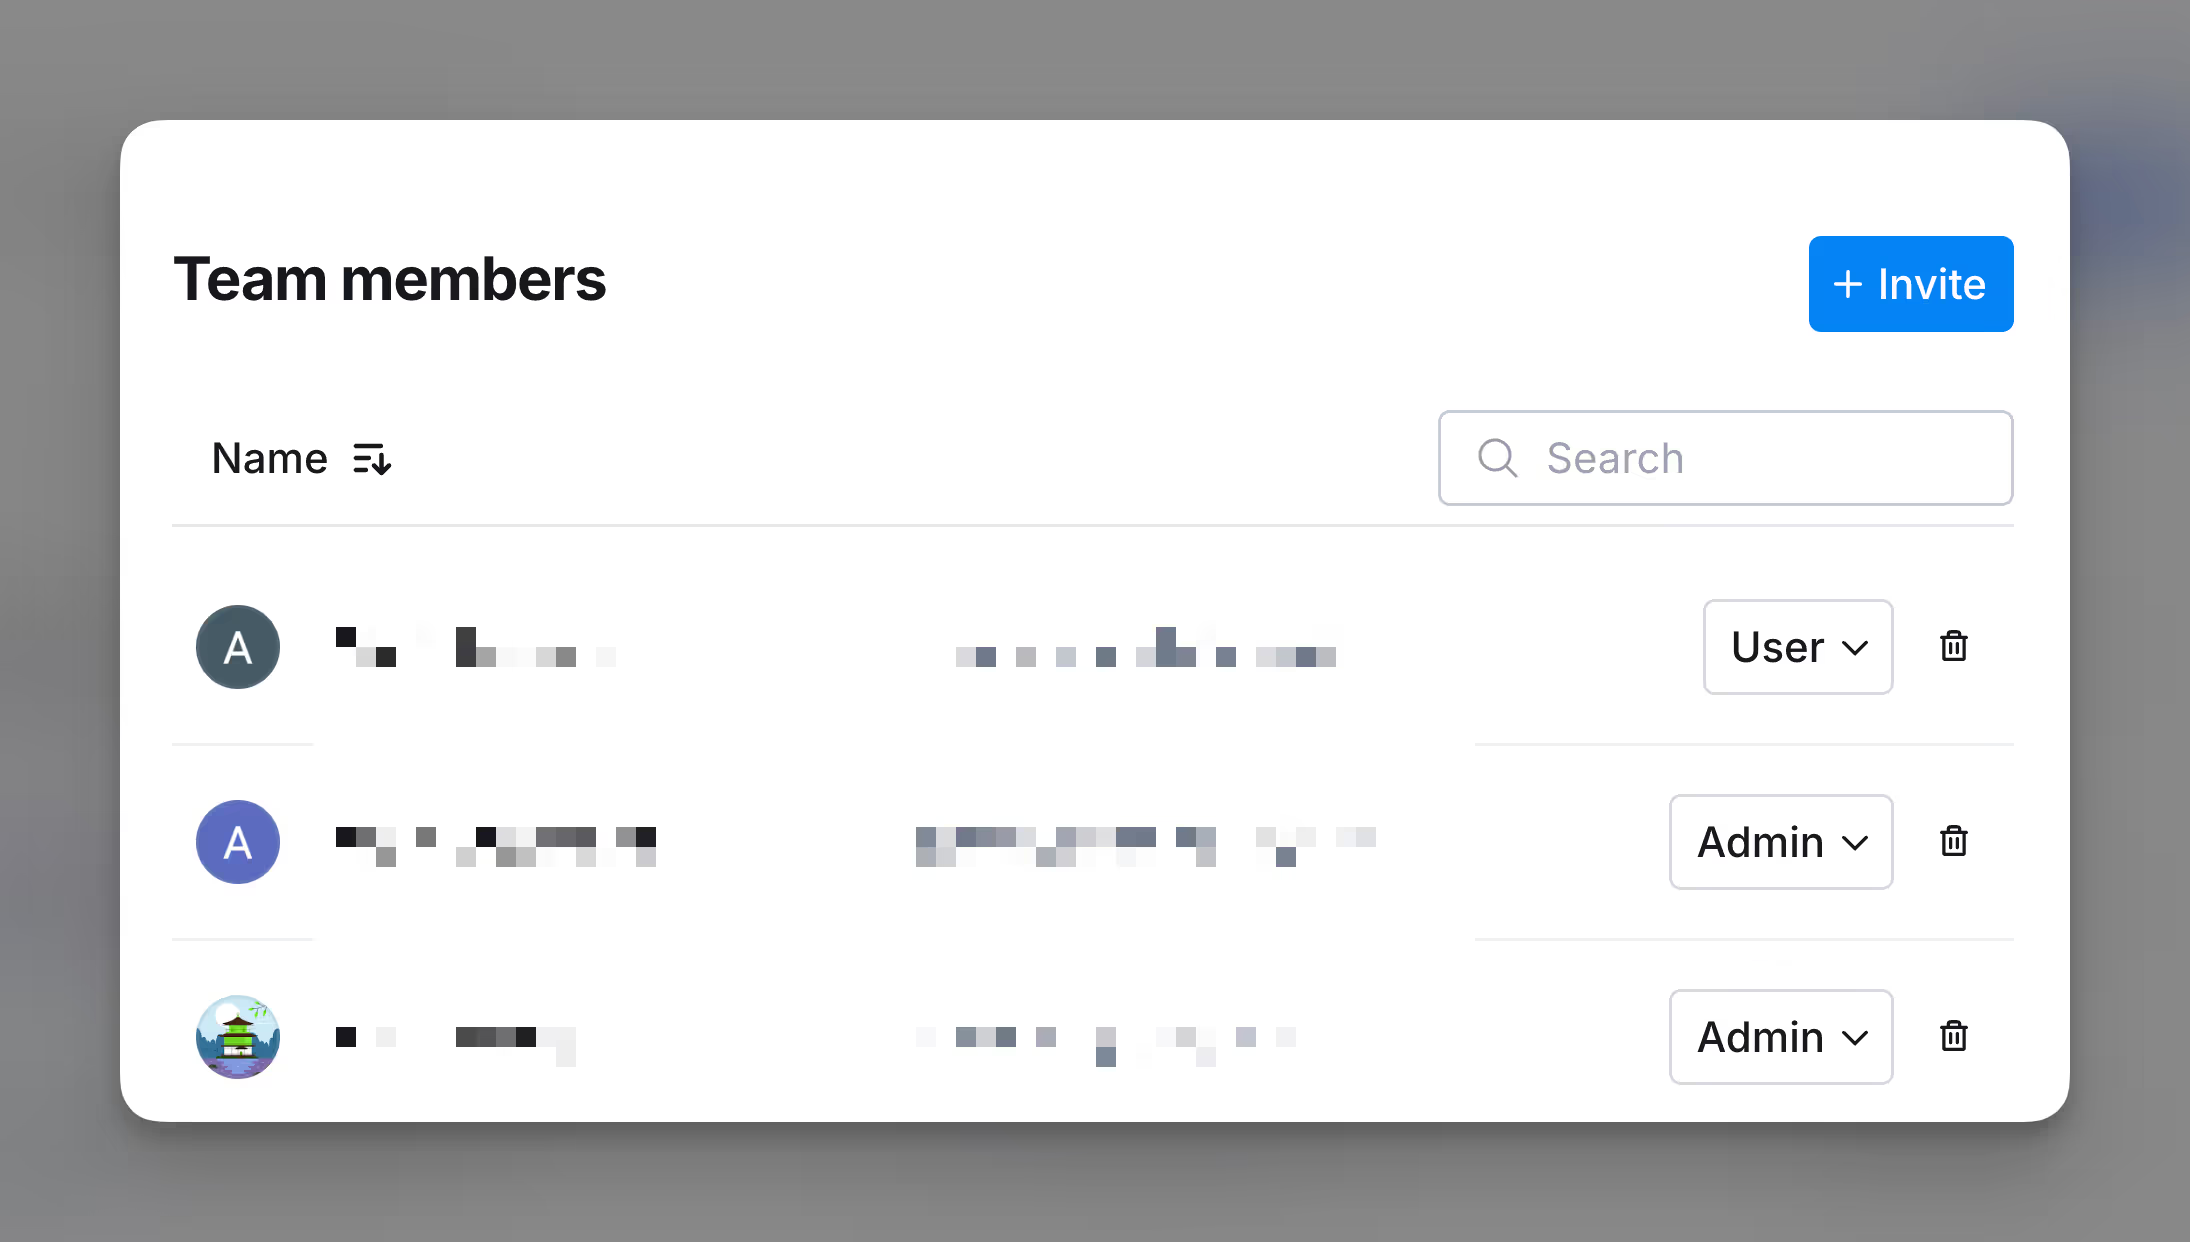
- Go to Settings > Team members.
- Click the + Invite button in the top-right corner.
- Enter the email address of the person you want to invite.
- Select the appropriate role (User or Admin) from the dropdown.
- Send the invitation.
The invited person will receive an email to join the workspace with the specified role.
Change a team member’s role
To update a member’s role:
- Navigate to Settings > Team members.
- Locate the team member whose role you want to update.
- Use the dropdown menu next to their name to select the desired role (User or Admin).
- Changes are applied immediately.
Remove a team member
To remove a member from your workspace:
- Go to Settings > Team members.
- Find the member you wish to remove.
- Click the Trash icon next to their name.
- Confirm the removal.
Connections and integration accounts
The Connections settings allow you to manage integrations with external services. Each integration is represented as an account with its own authentication and configuration.
You can connect multiple accounts to the same integration for added flexibility, designate default accounts for specific integrations, and modify, reconnect, or remove accounts as needed.
What is an integration account?
An integration account is a configured connection between your workspace and an external service, such as an API or data provider. Each account enables your workspace to authenticate and interact with the service to perform specific tasks or access features
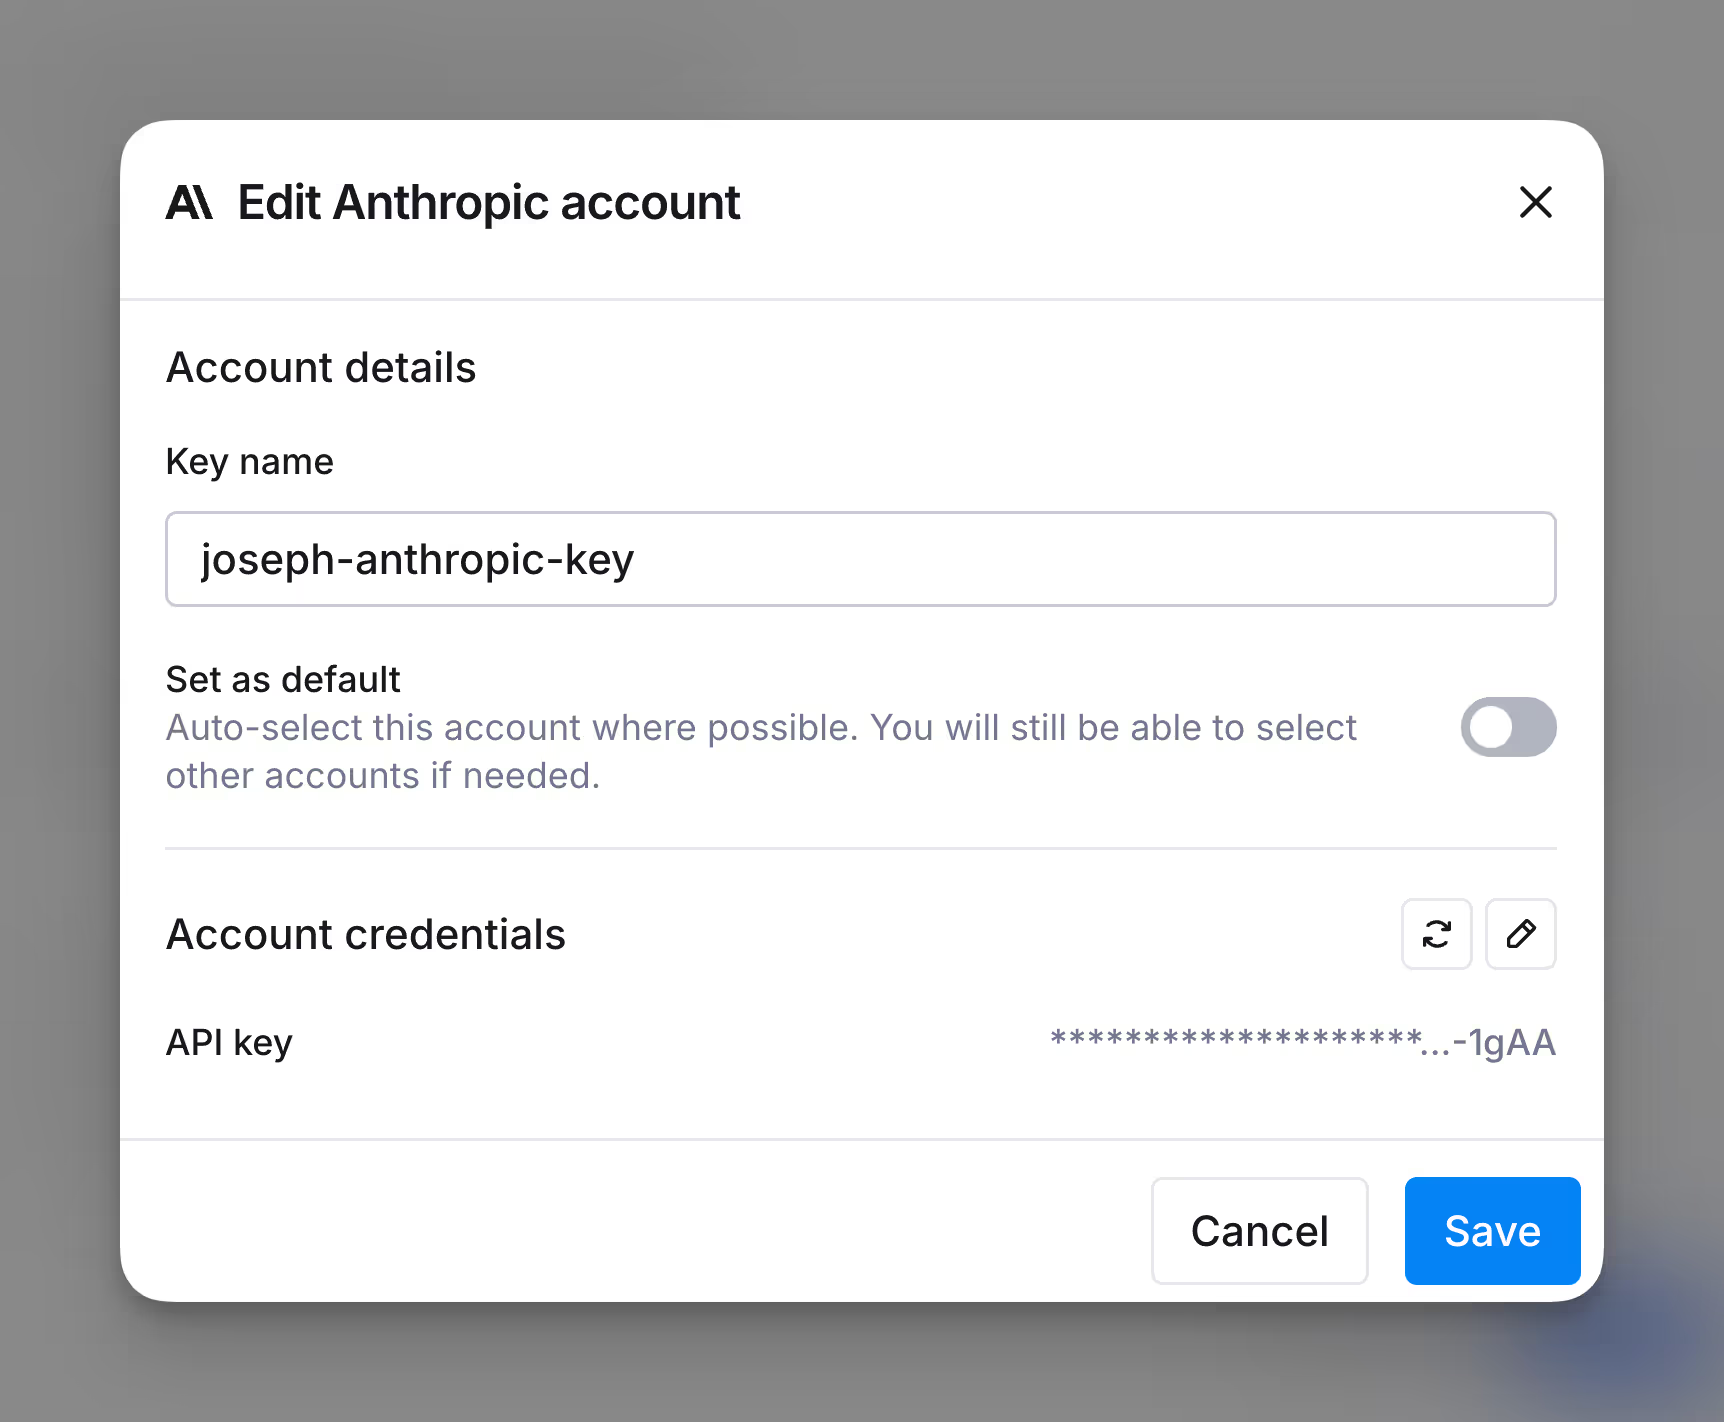
- Account / Key Name: A user-defined name to identify the account, such as “Marketing HubSpot Account” or “Development Anthropic Key.” This helps distinguish it from other accounts in the same service.
- Account Credentials: The authentication details (e.g., API keys or OAuth tokens) required to connect securely to the external service. Credentials can be tested or updated if they become invalid.
- Default Status: An optional setting that makes the account the default choice for its service, streamlining its use in workflows.

Types of accounts
User-managed accounts:
- Configured by users with their own credentials, such as personal API keys or OAuth tokens.
- Ideal for integrations that require team- or project-specific access.
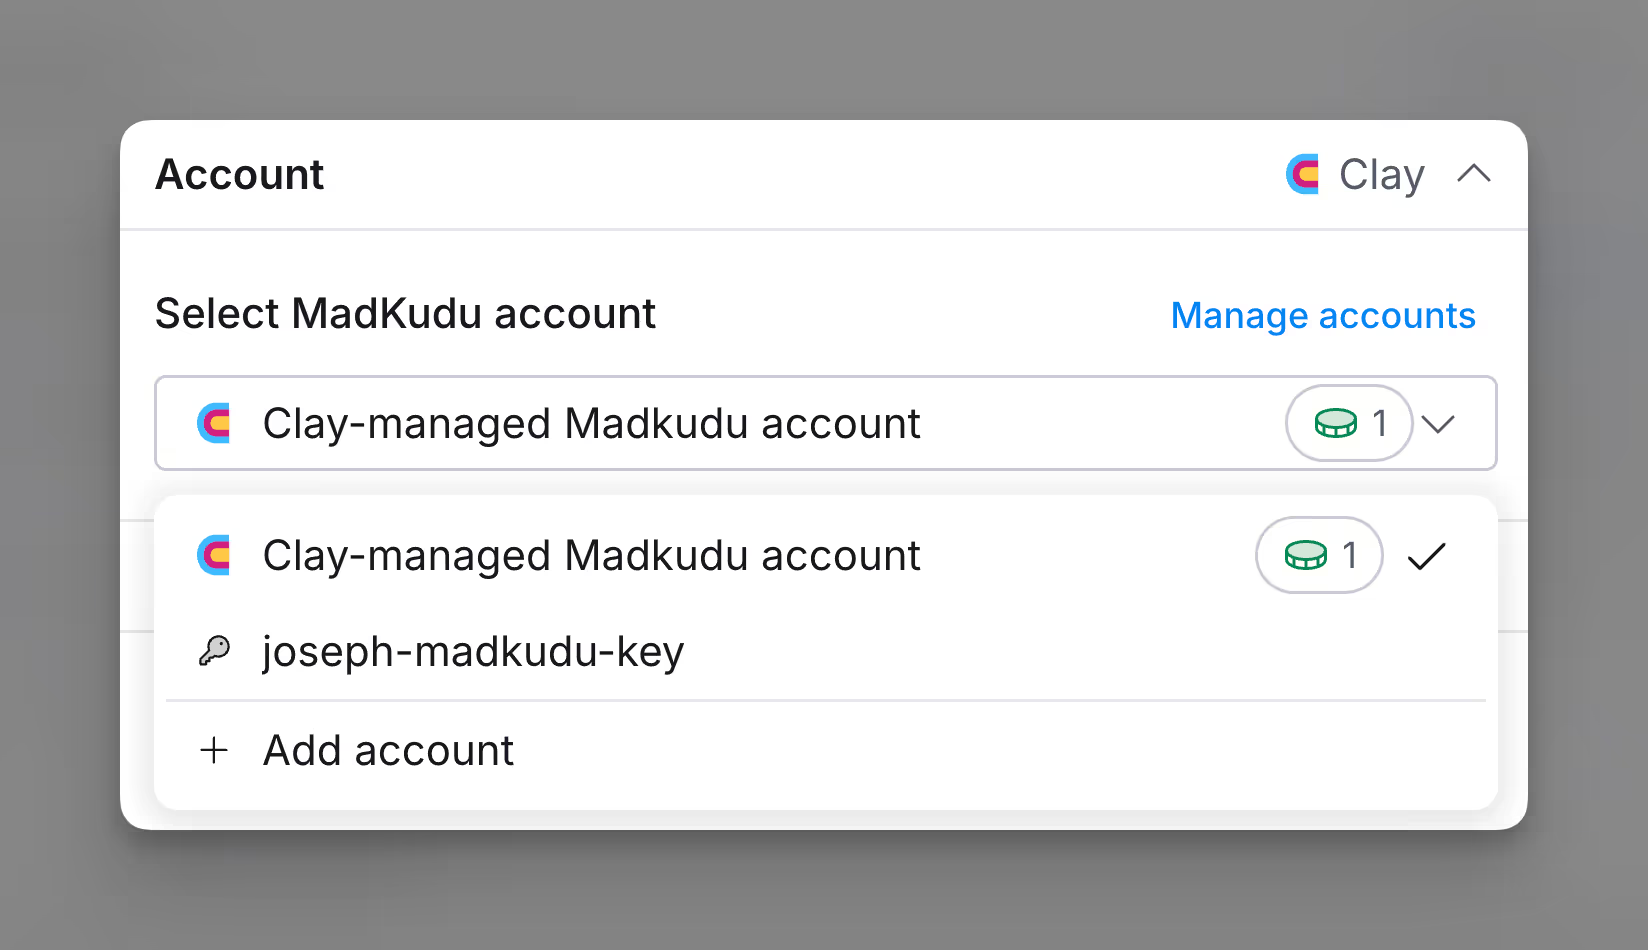
Clay-managed accounts:
- Provided by Clay and configured for public use.
- These accounts use workspace credits instead.
- Clearly labeled in the Connections section, and often pre-set as default.

Add a new integration account
To add a new account for an integration:
- Navigate to Settings > Connections.
- Click + Add connection in the top-right corner.
- Use the search bar to locate the service you want to integrate with.
- Follow the on-screen instructions to authenticate and configure the connection.
- Once completed, the account will appear under the corresponding service in the Connections list.
Managing Existing Accounts
View your integration accounts
- Navigate to Settings > Connections.
- Select a service (e.g., HubSpot or Anthropic) to see all associated accounts.
- Use the search bar to quickly locate a specific account.
Edit your integration accounts
- Select the service and click the … menu next to an account.
- Choose Edit to:
- Update the Key Name.
- Modify or re-enter credentials.
- Toggle Set as Default to make this account the default.
- Click Save to apply changes.
Test your integration account credentials
To ensure your account credentials are valid and the integration is functioning correctly:
- Navigate to Settings > Connections.
- Select the service (e.g., Anthropic) to view its associated accounts.
- Locate the account you want to test.
- Click the … menu next to the account and select Test Connection.
Set integration account as default
A default account is automatically selected for workflows or integrations where no specific account is specified. To set an account as default:
- Navigate to Settings > Connections and select the desired service (e.g., Anthropic).
- Locate the account you wish to set as the default.
- Click the … menu next to the account, and select Set as Default.
- The account will now display a default label to indicate its status.
Delete integration accounts
- Navigate to the service in the Connections section.
- Click the … menu next to the account and select Delete.
- Confirm the deletion.
Clay-managed accounts
Clay-managed accounts simplify access to external services by providing pre-configured integrations that use workspace credits instead of requiring individual credentials.
For some integrations, only Clay-managed accounts are supported. For others, you will need to provide your own API key.
Plans and Billing
Upgrade your plan
To upgrade your Clay workspace plan:
- Click on your profile picture in the top-right corner of the screen, and select Settings.
- In the left-hand sidebar, navigate to Plans & billing, then click the Change plan button.
- Select the plan you want to upgrade to and review the details.
- Confirm your selection by clicking Upgrade.
Your new plan will be activated immediately, and any applicable charges will be applied.
Clay workspace plans
Clay is available in five plans: Free, Starter, Explorer, Pro, and Enterprise. For more comprehensive comparison of all the plans, please visit our pricing page.
You are able to adjust your yearly or monthly credit limits for most plans to match your usage needs. These adjustments can be made directly during sign-up or by contacting our team.
Free plan
Get started with 1.2K credits per year (or 100 credits per month) at no cost.
With the Free Plan, you are able to:
- Add unlimited users to your workspace.
- Run up to 5,000 searches per people, company, and job search.
- Export data from your Clay table.
- Access AI features and Claygent.
- Rollover unused credits, capped at twice your monthly credit limit.
- Access Clay’s 100+ integration providers using the Clay-managed account.
- Use Clay’s Chrome extension.
Please note that phone number enrichments are not available as part of the free plan.
Starter plan
The Starter Plan is available in two credit quantities: 24K credits per year (2K credits per month) or 36K credits per year (3K credits per month).
Along with everything in the Free Plan, you are able to:
- Access phone number enrichments.
- Utilize your own API keys to create your own integration accounts (in addition to Clay-managed account)
Explorer plan
The Explorer Plan is available in three credit quantities: 120K credits per year (10K credits per month), 168K credits per year (14K credits per month), or 240K credits per year (20K credits per month).
You get everything in the Starter Plan, plus:
- Integrate with any HTTP API.
- Utilize webhooks as a source.
- Access email sequencing integrations, including Outreach and Salesloft.
Pro plan
The Pro Plan is available in four credit quantities: 600K credits per year (50K credits per month), 840K credits per year (70K credits per month), 1.2M credits per year (100K credits per month), or 1.8M credits per year (150K credits per month).
The Pro Plan includes all the features in the Explorer Plan. In addition you can:
- Access CRM integrations (Salesforce, Hubspot, etc.).
Enterprise plan
The Enterprise Plan offers tailored controls to support your entire organization, including a customizable amount of credits to match your organization’s needs.
You are able to access all the features in the Pro Plan. In addition, you can:
- Build tables with unlimited rows using Passthrough Tables.
- Run up to 40 column actions per table.
- Receive dedicated AI prompting support.
- Access the Snowflake integration.
- Receive dedicated Slack support.
- Gain insights into your credit usage with credit reporting analytics.
- Manage employee access with SSO.
Downgrade your Clay workspace plan
To downgrade your Clay workspace plan:
- Open the dropdown menu by clicking your profile picture in the top-right corner, then select Settings.
- Navigate to Plans & billing and click Change plan.
- Choose the plan you’d like to downgrade to and confirm your selection.
Billing
Update your payment method and billing email
To update your billing and payment information:
- Click on your profile picture in the top-right corner and select Settings.
- In the sidebar, navigate to Plans & billing.
- Click Update credit card to edit your payment method or Update email to change your billing email.
- Enter the updated information for your payment method or billing email.
- Confirm your changes and click Update.
Trials
Clay offers a 14-day free trial with 1,000 credits, giving you access to key features like webhooks, CRM integrations, email sequencers, and HTTP API capabilities.
Note that phone number enrichments are not available during the trial period. To enable this, please upgrade to a paid plan.
Referrals
Clay’s referral program allows you to invite others to join and earn rewards. When someone signs up using your referral link and activates a paying workspace, both of you will earn 3,000 Clay credits.
To access and share your referral link:
- Click on your profile picture in the top-right corner and select Settings.
- Navigate to Referrals in the sidebar.
- Copy your unique referral link displayed in the Referrals section.
- Share the link with friends, colleagues, or teams who might benefit from using Clay.
You can monitor your referral activity, including the number of leads, converted users, and credits earned, directly in the Referrals section.


