Segment session signals overview
Discover and analyze real-time website visitors for actionable insights and engagement.
Segment Session Integration Overview
The Segment Session Event signal helps you monitor website visitor traffic data and utilize this within your Clay workflow.
Setting up Segment session table
In just a few steps, you can sync your Segment session table to sync website visitor sessions.
- Set up your Segment session Clay table
- Create Segment destination
- Enrich IP addresses at a company level
- Configure event signals within table
Set up Clay table
Step 1: Under your enrichment panel, copy your Segment Destination URL.

Create Segment destination
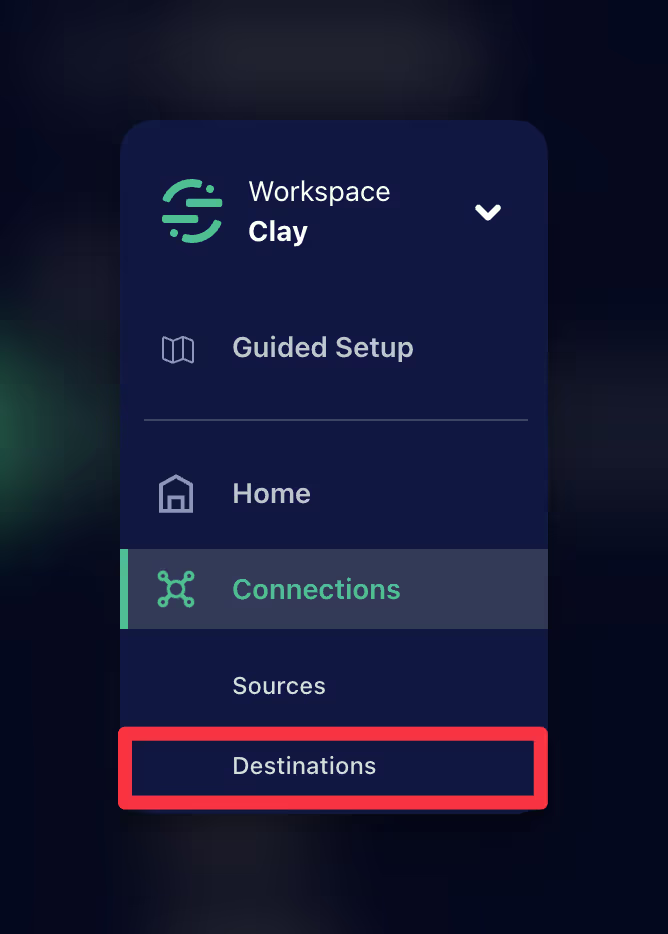
Step 2: Under the left column of your Segment workspace, select Connections → Destinations.
Step 3: In the top right corner, select Add source.

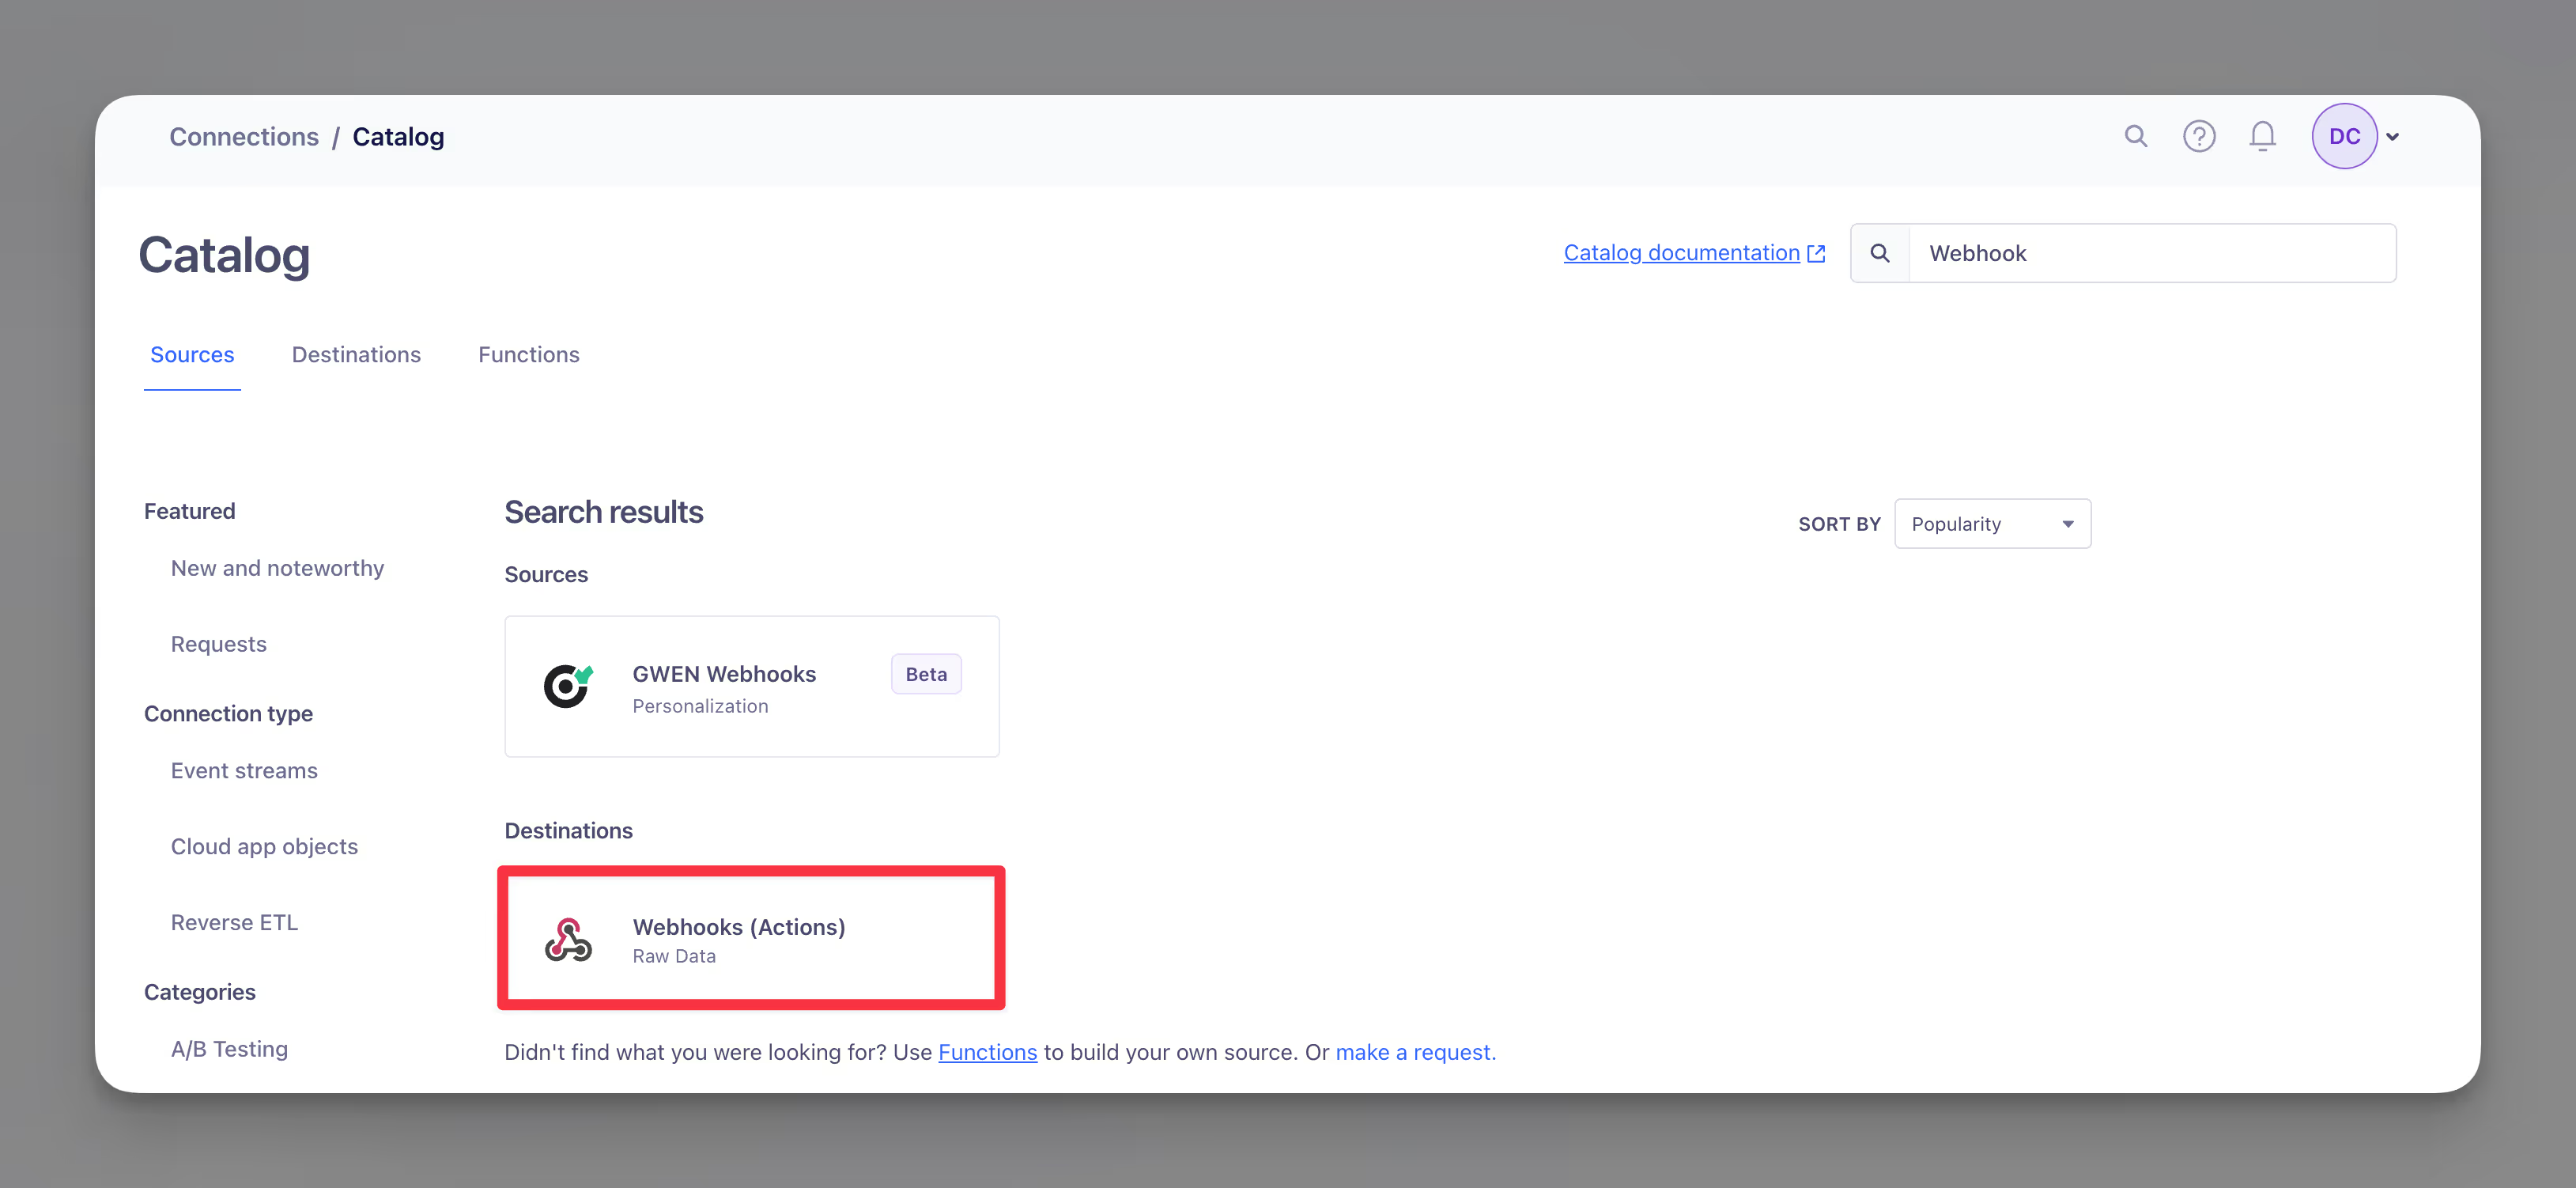
Step 4: Within the Catalog, search for “Webhook” in the top right search bar.
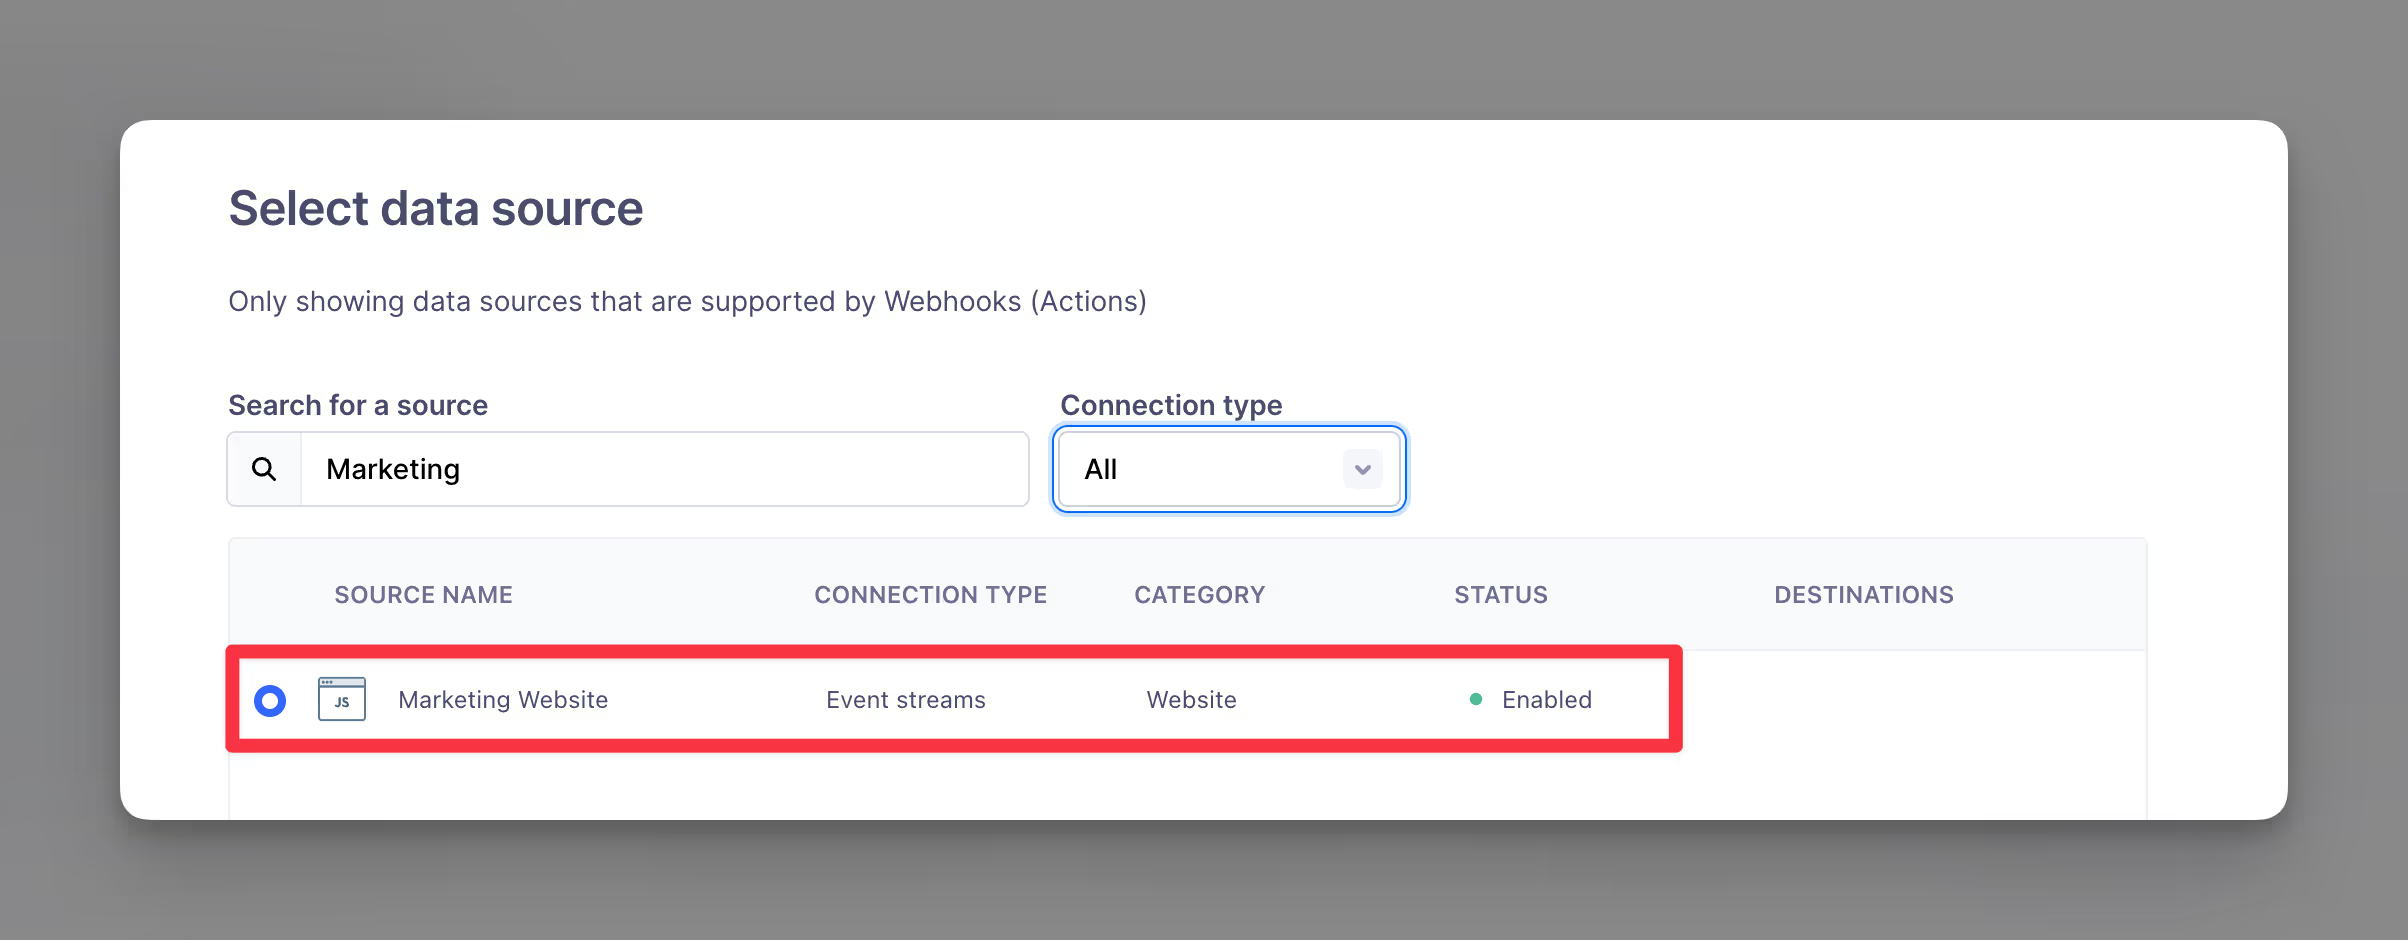
Step 5: Specify the source you want to send to your Segment Clay table.
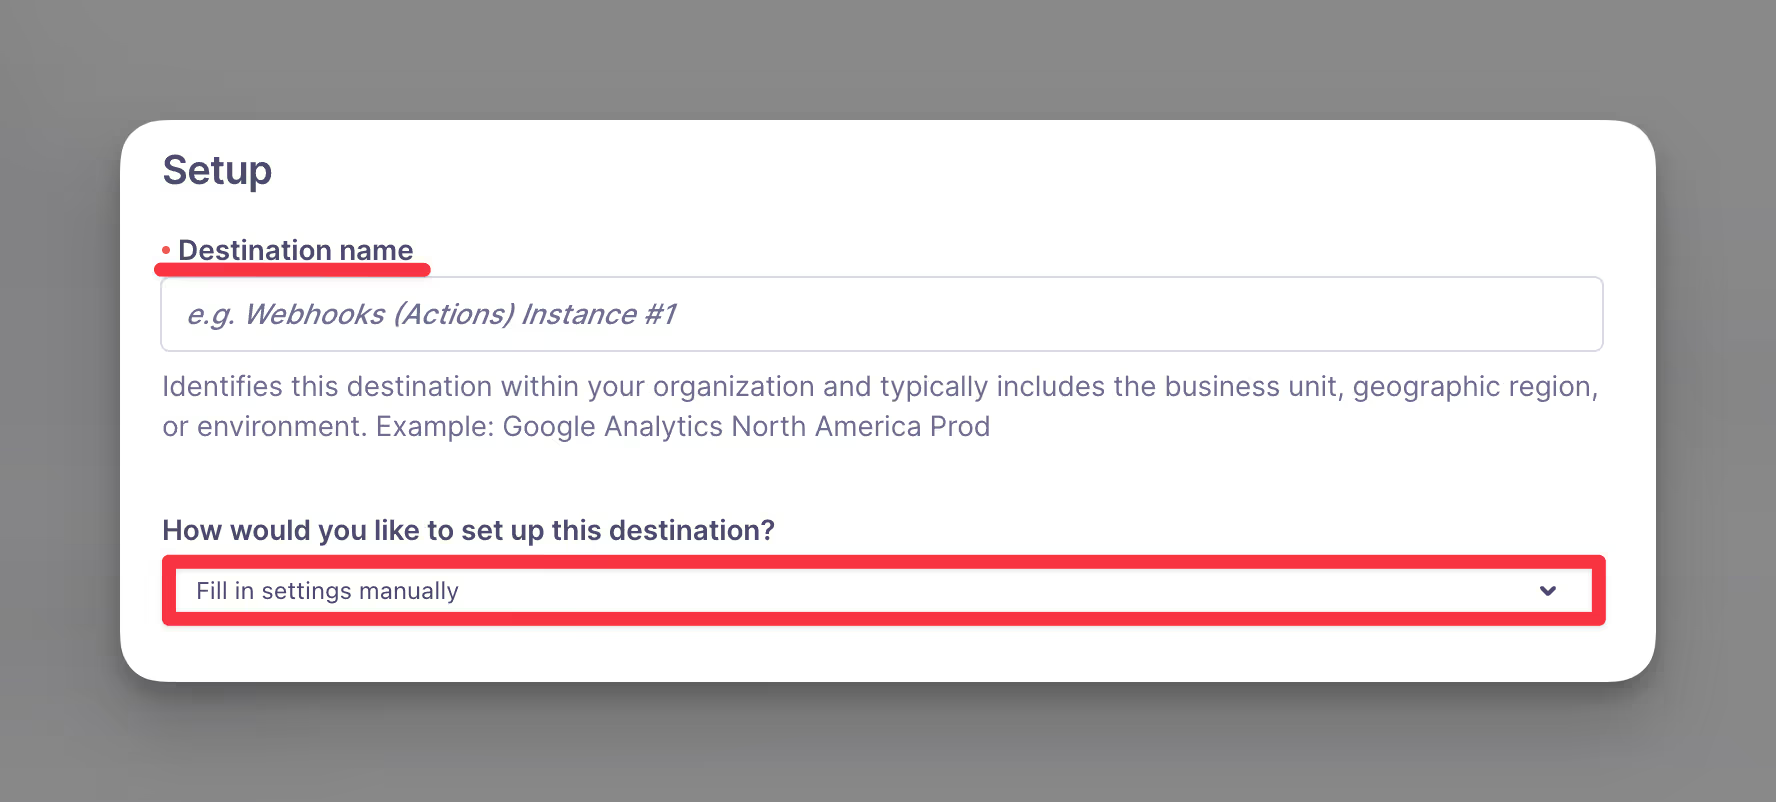
Step 6: Name your destination and ensure you enter Fill in settings manually.
Step 7: Now within your destination page, head over to Mappings to create a New Mapping.
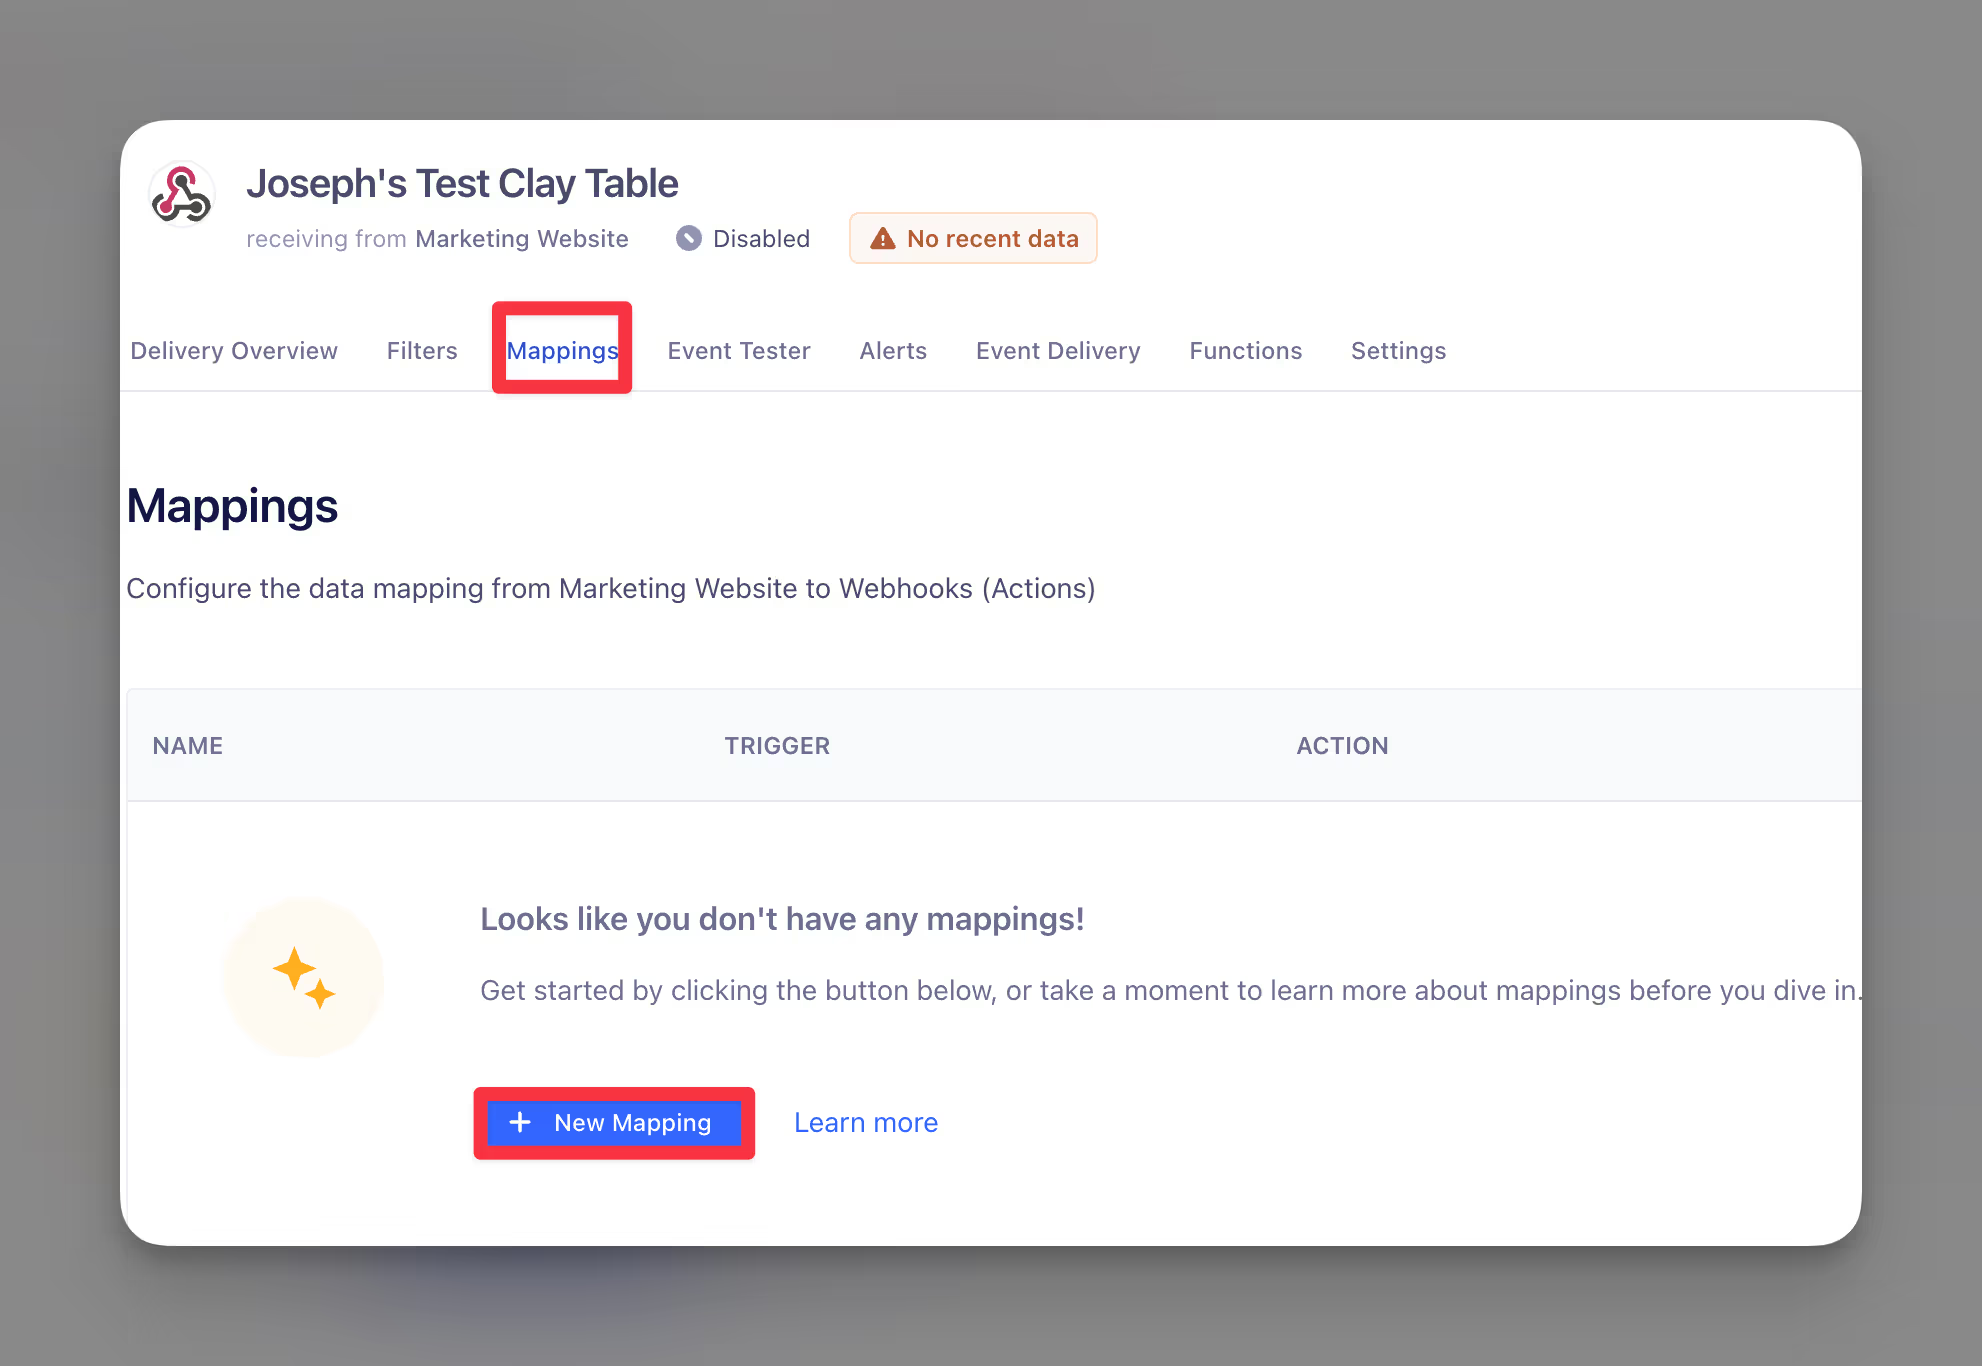
Set up Segment mapping
Step 8: Select the Send action.
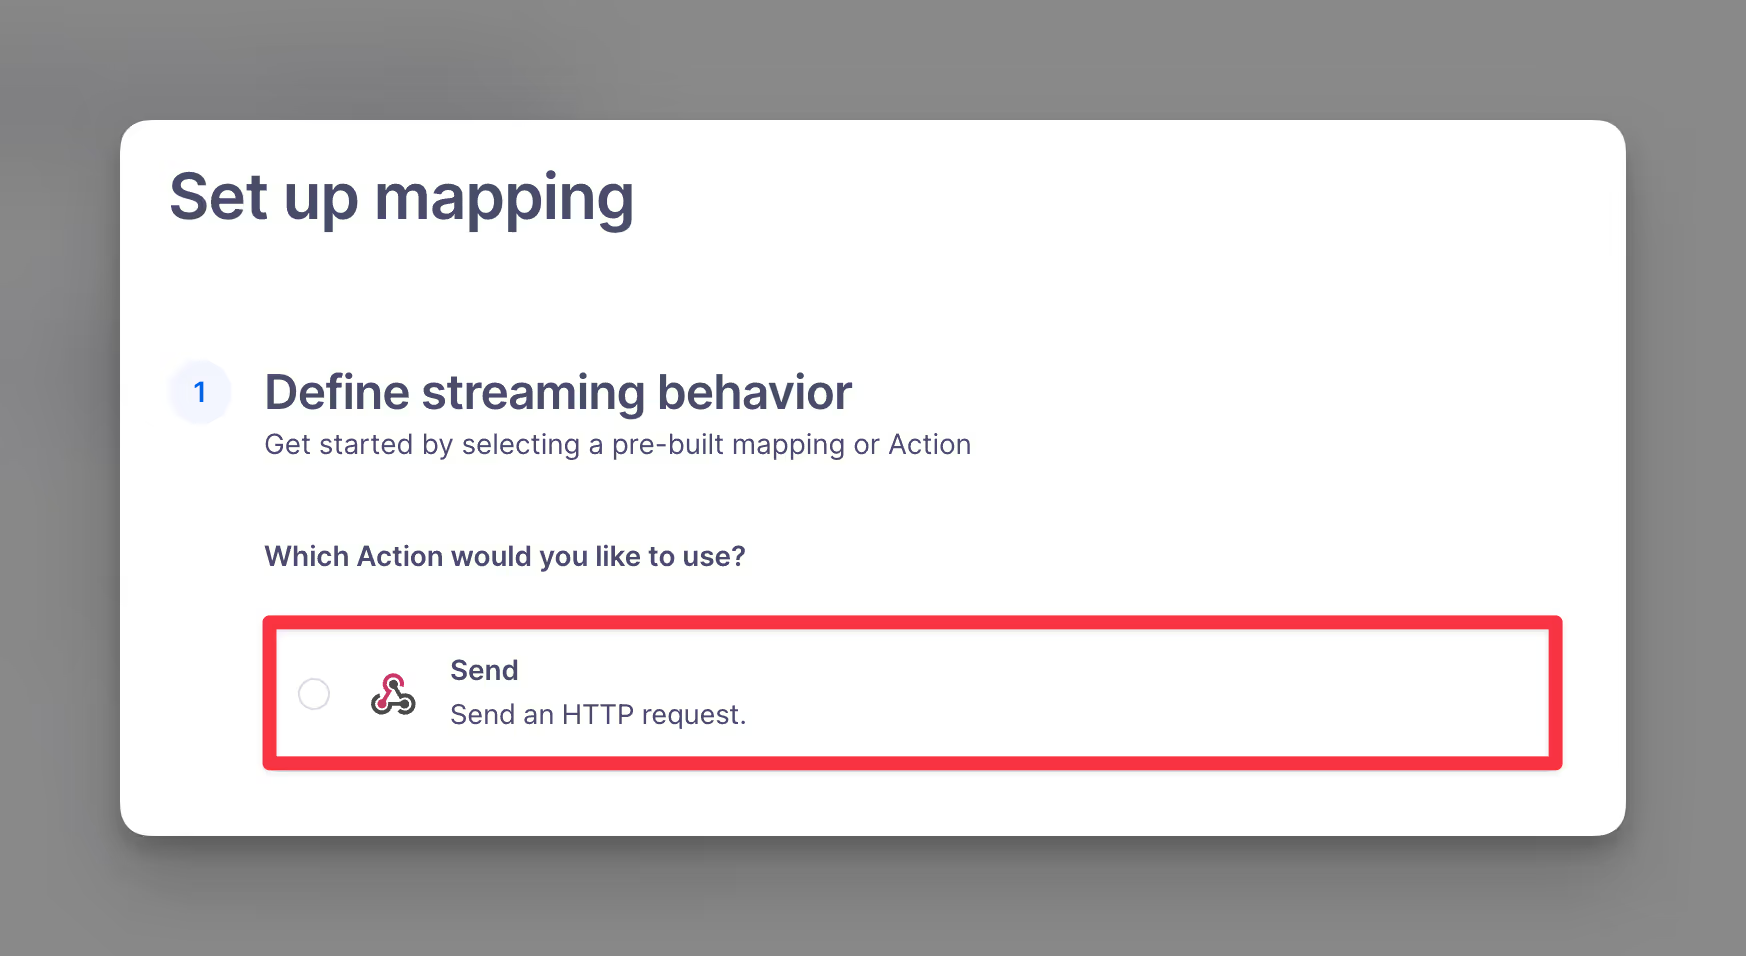
Step 9: Under Define event trigger, select Event Type is Page.

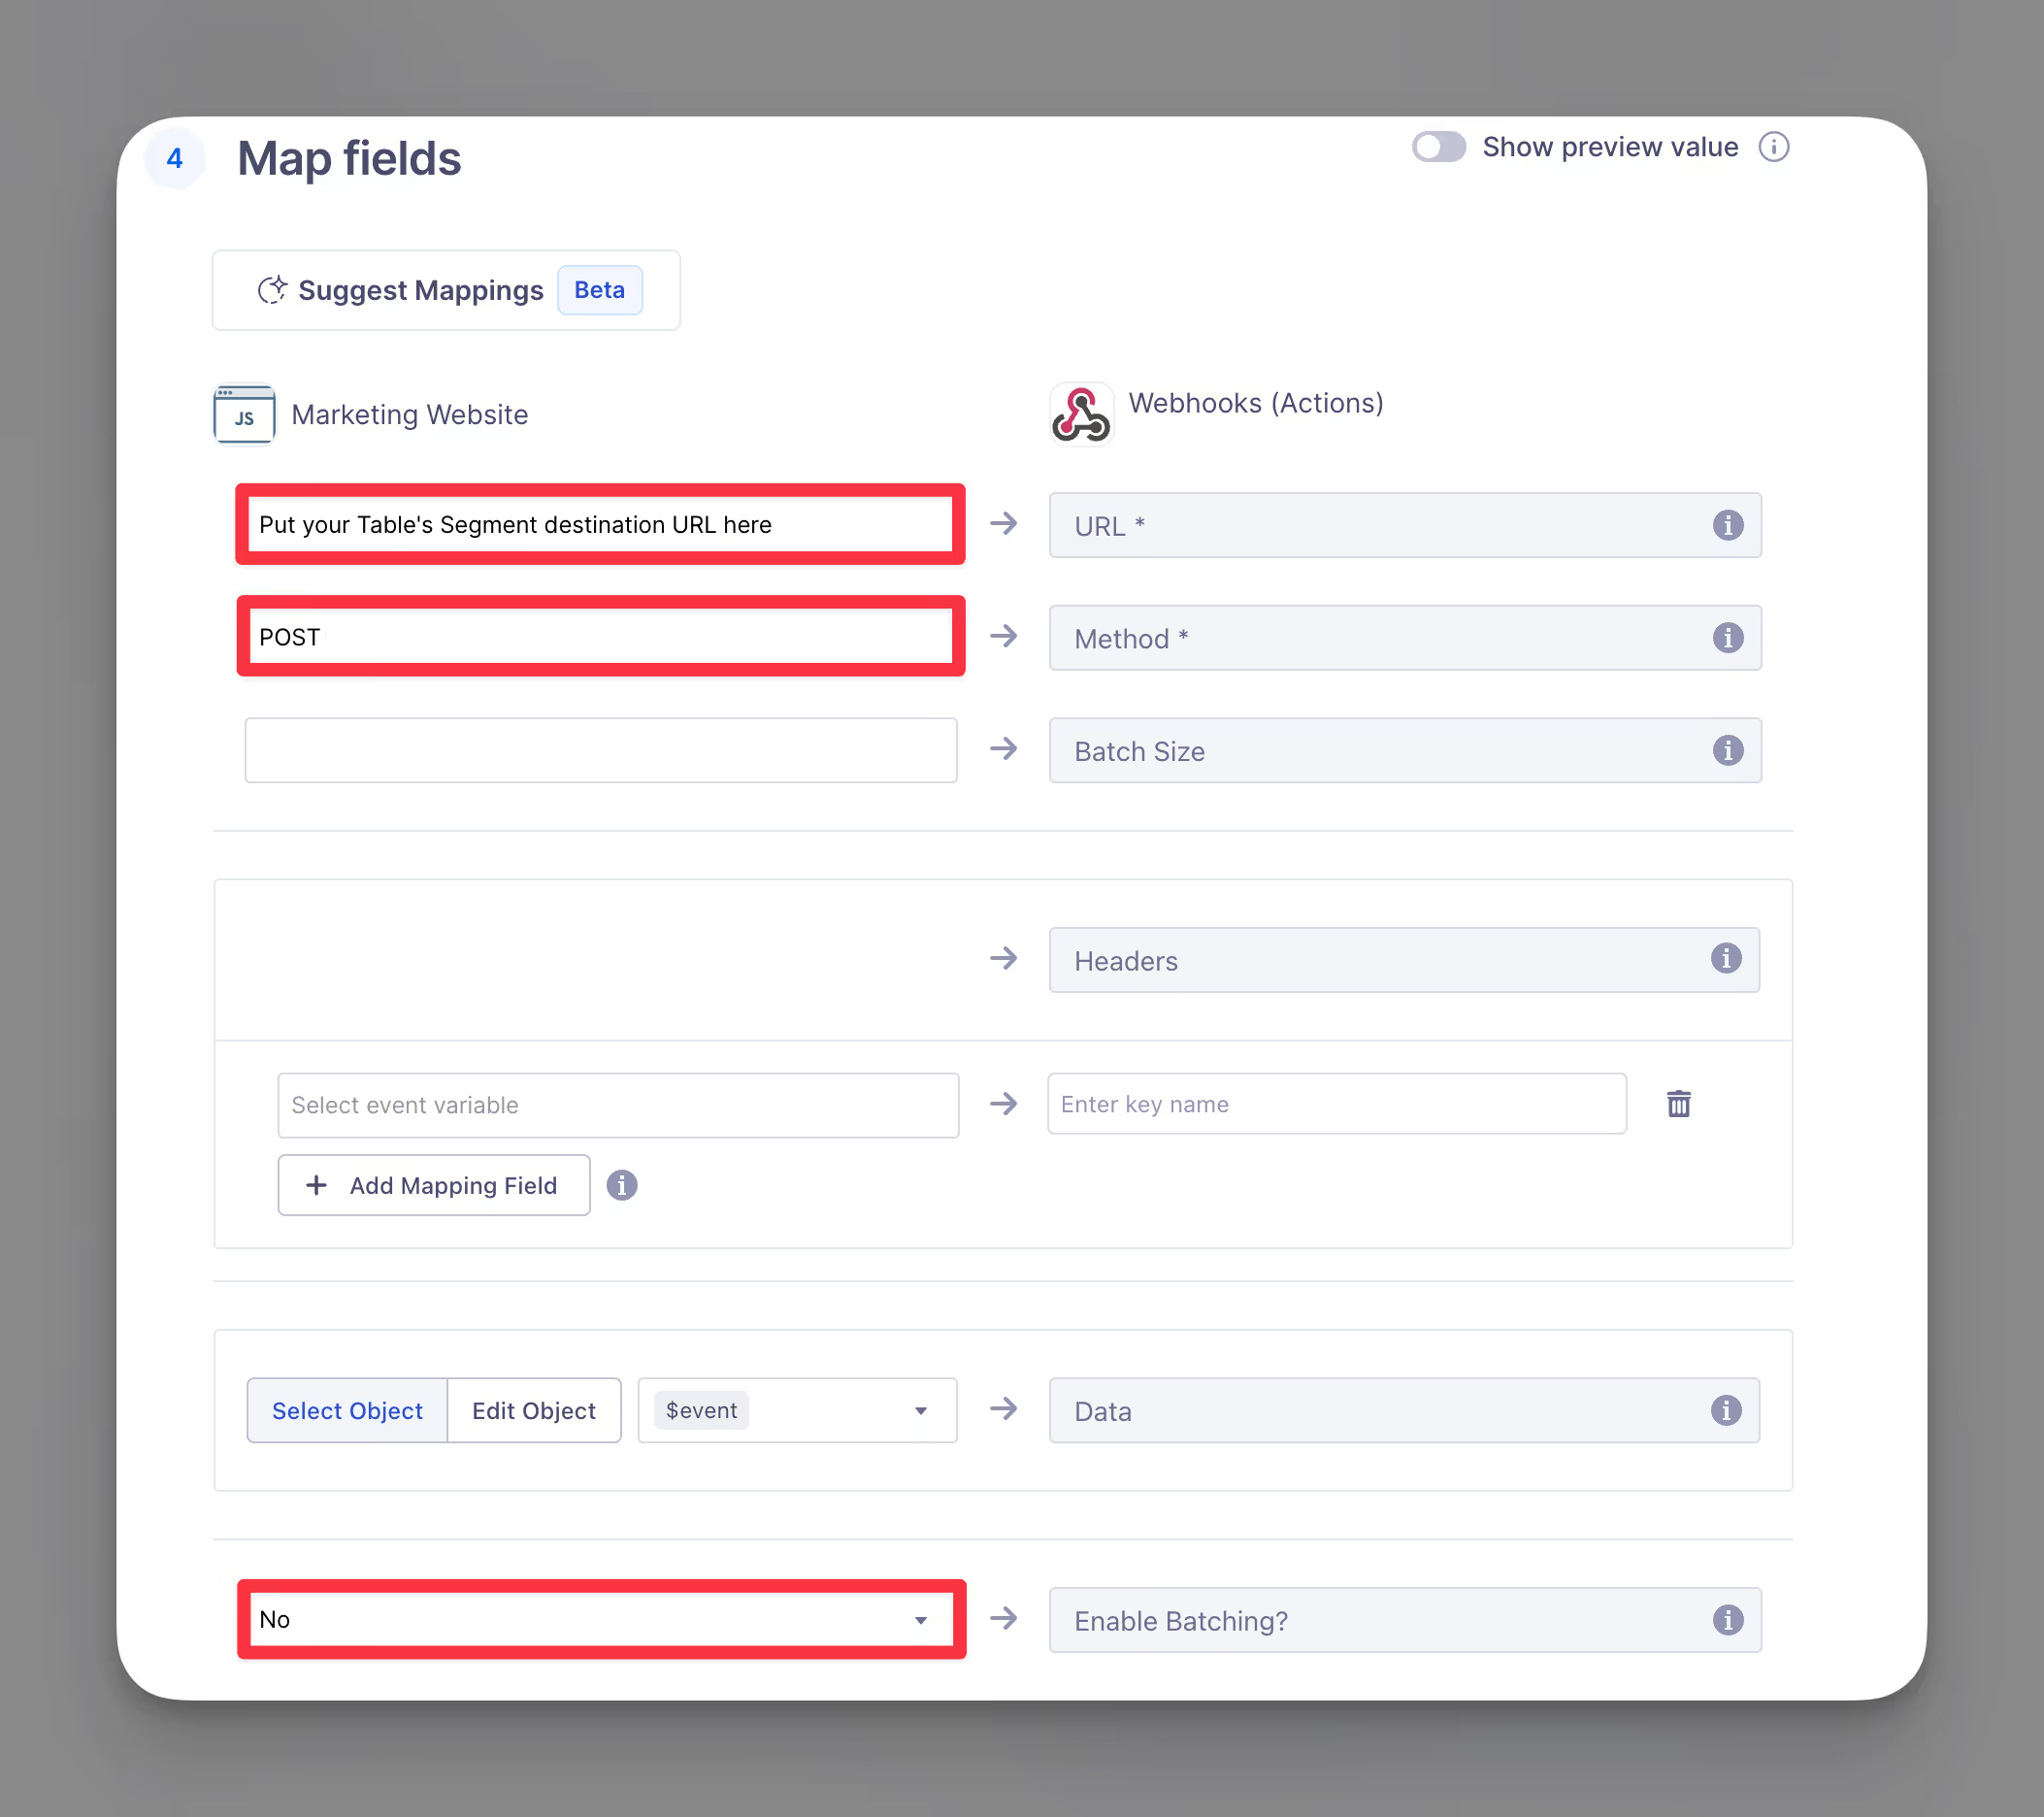
Step 10: Within the Map fields section, map out the following fields from your website:
{{Segment_Destination_URL}}from Step 1 → URLPOST→ MethodNo→ Enable Batching?
Step 11: Within Send test record, very that your mapping is working.
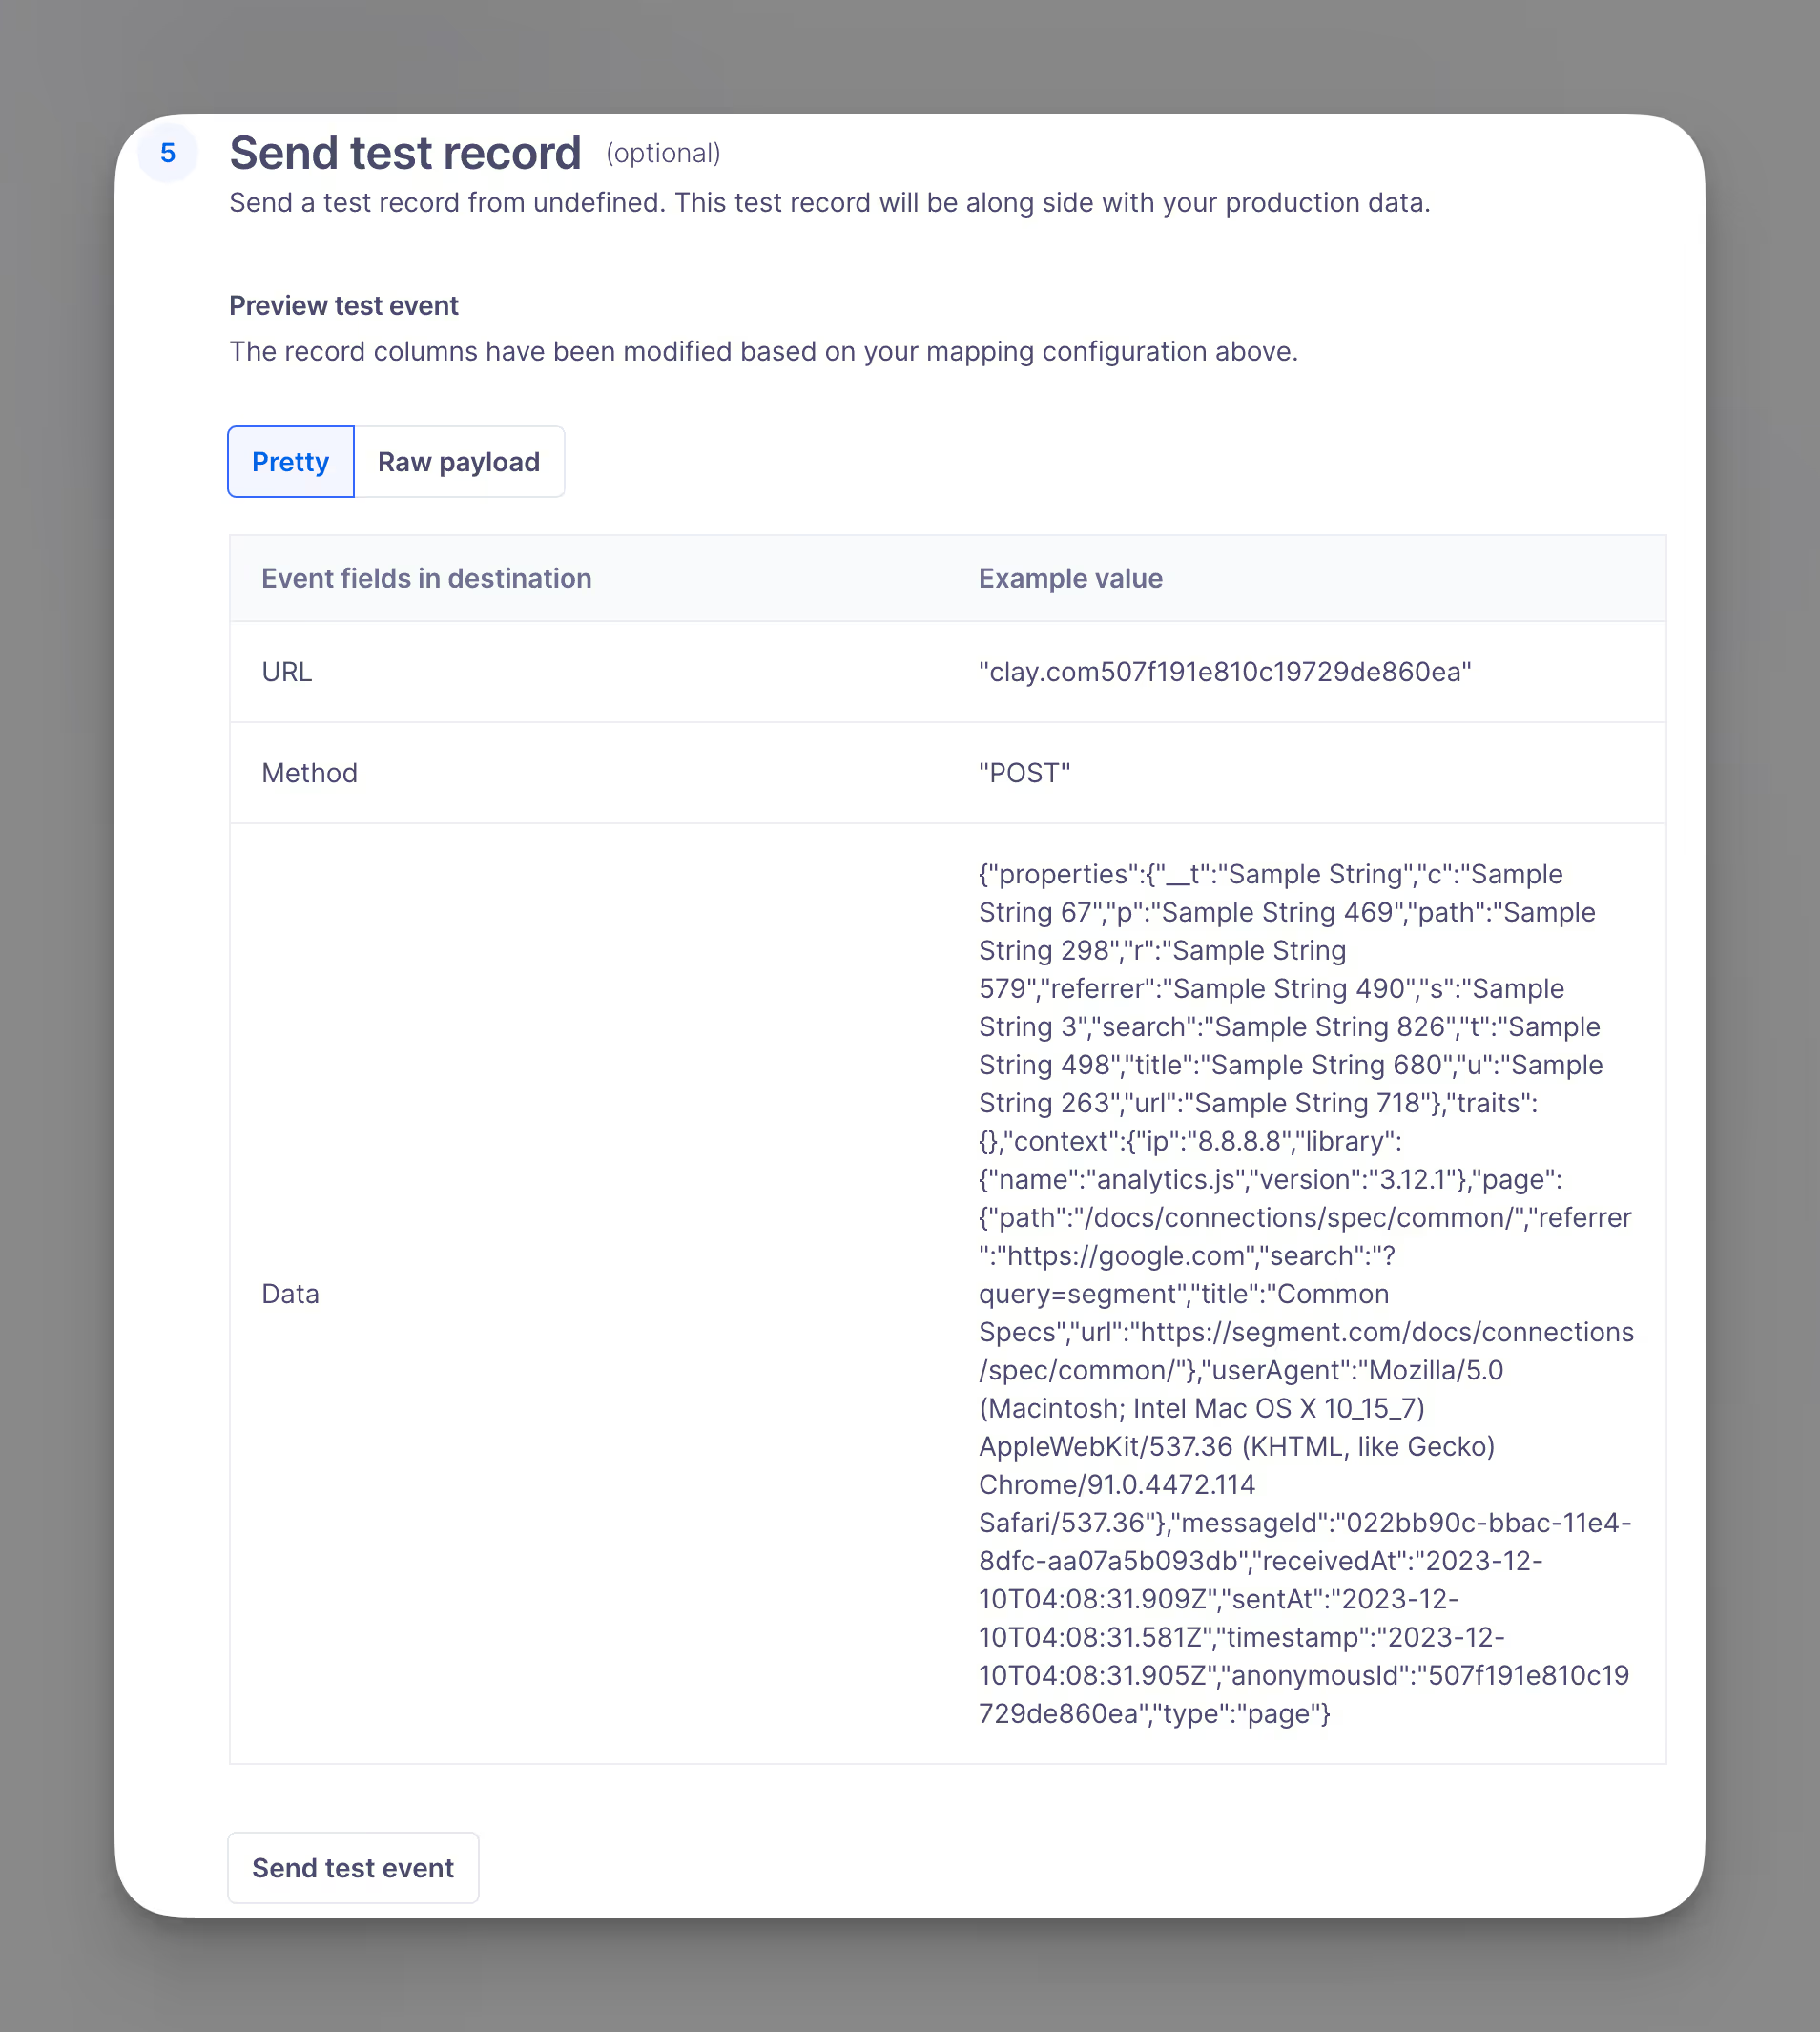
Finish configuring Clay table
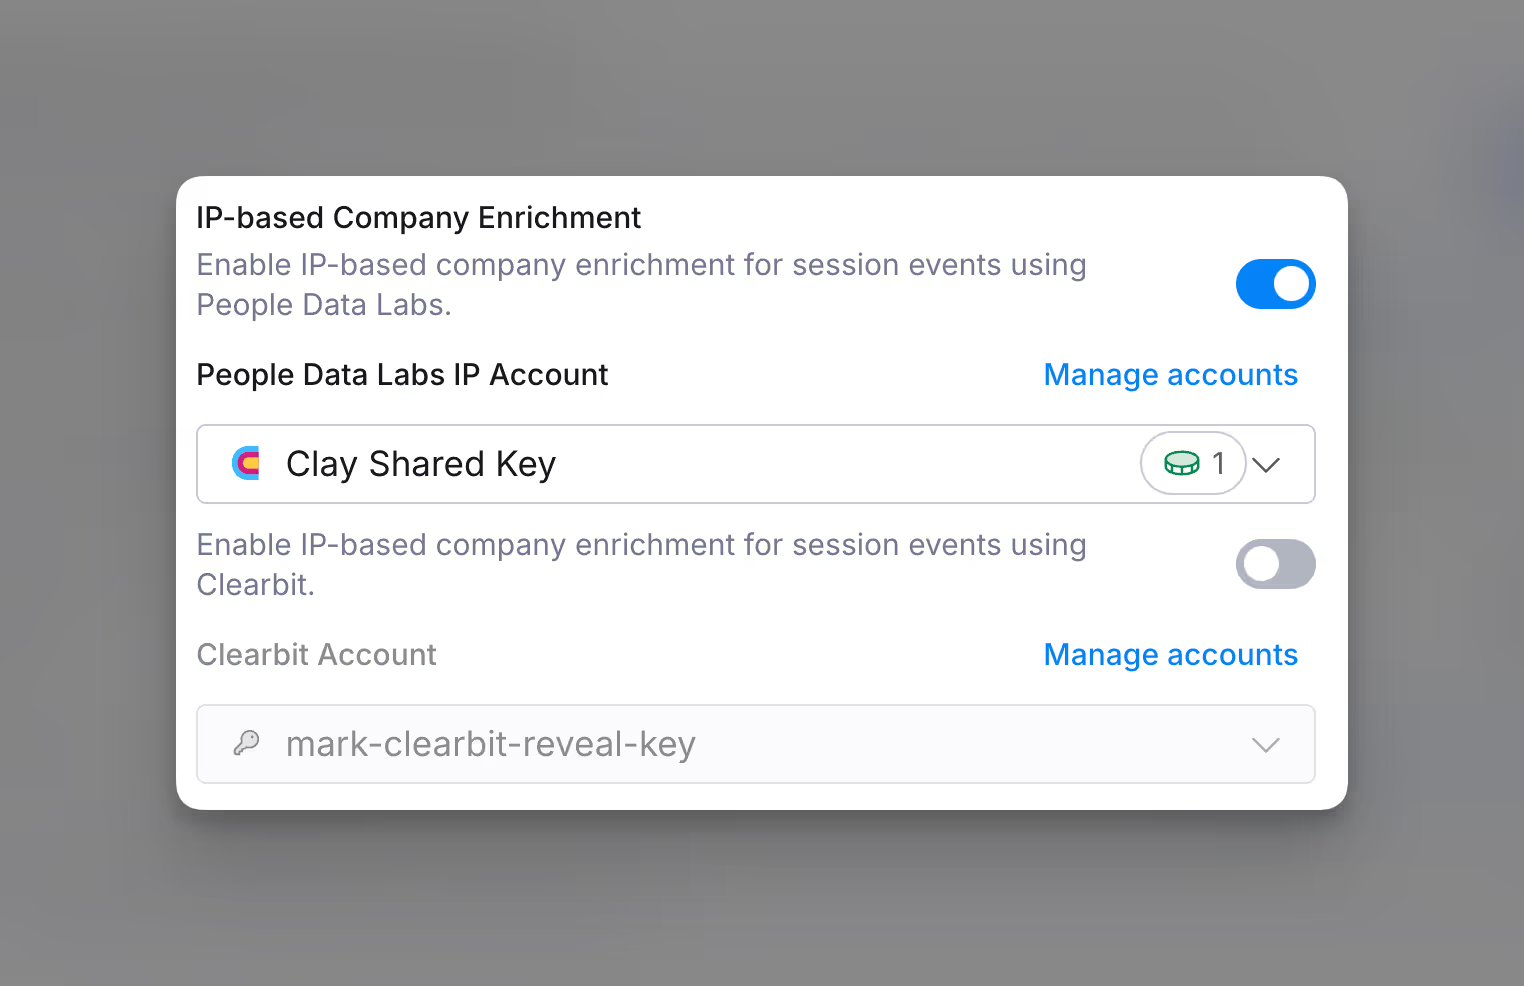
Step 12: (Optional) Enrich the IP address of your website visitor whenever a new table entry is made.
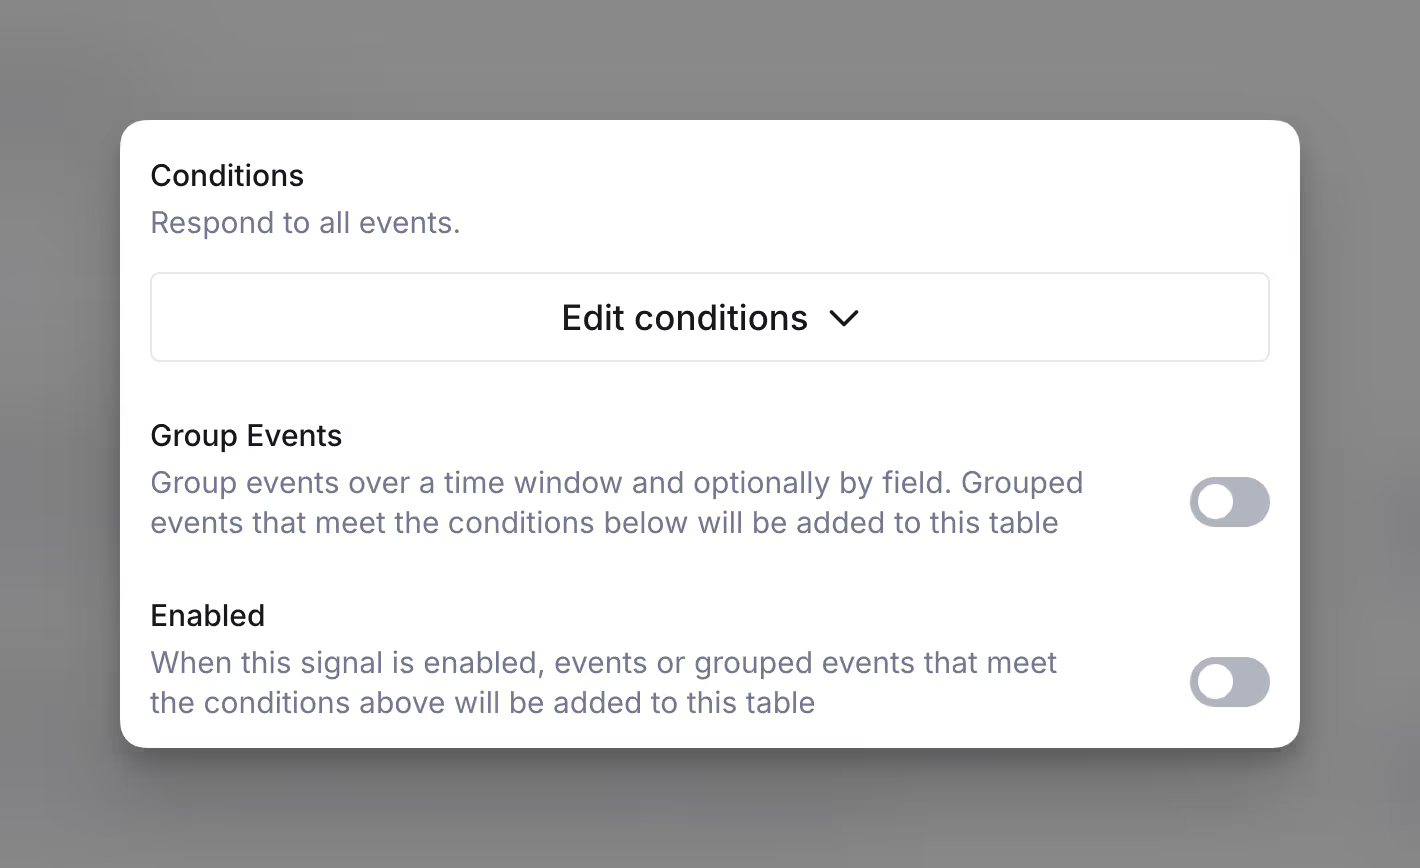
Step 13: Configure website visits
Common tracking variables include sessionDuration, confidence score, referrer, and company
Congratulations! You are all set with setting up your Segment table.
