Mistral integration overview
Open generative AI models for developers and businesses.
Mistral Overview
Mistral enables you to generate text, allowing you to complete texts like content creation, data manipulation, and object categorization.
Setting up Mistral
Accessing the Mistral integration
Mistral is an integration you can use as an enrichment.
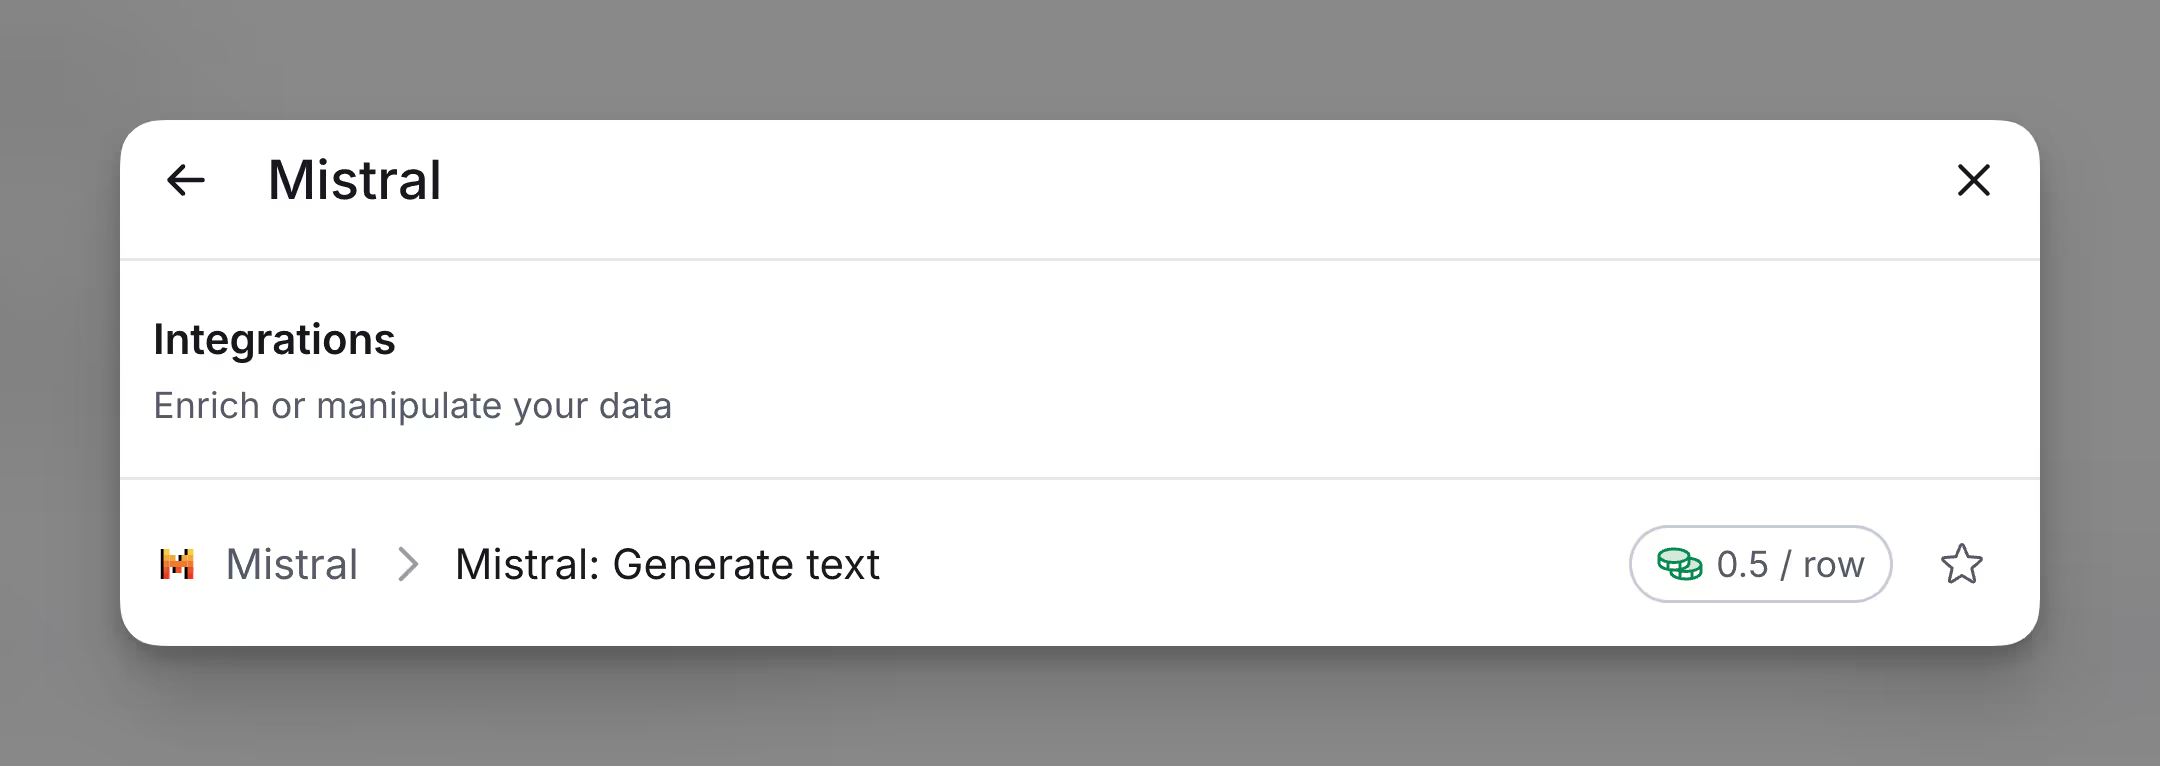
To access Mistral, click Add Enrichment in the top-right corner and search for “Mistral” in the bar. Select Mistral. Each enriched cell costs 0.5 credits.
Using Mistral: Clay-Managed Account vs. Personal API Key
You can connect and pay for Mistral in two options.
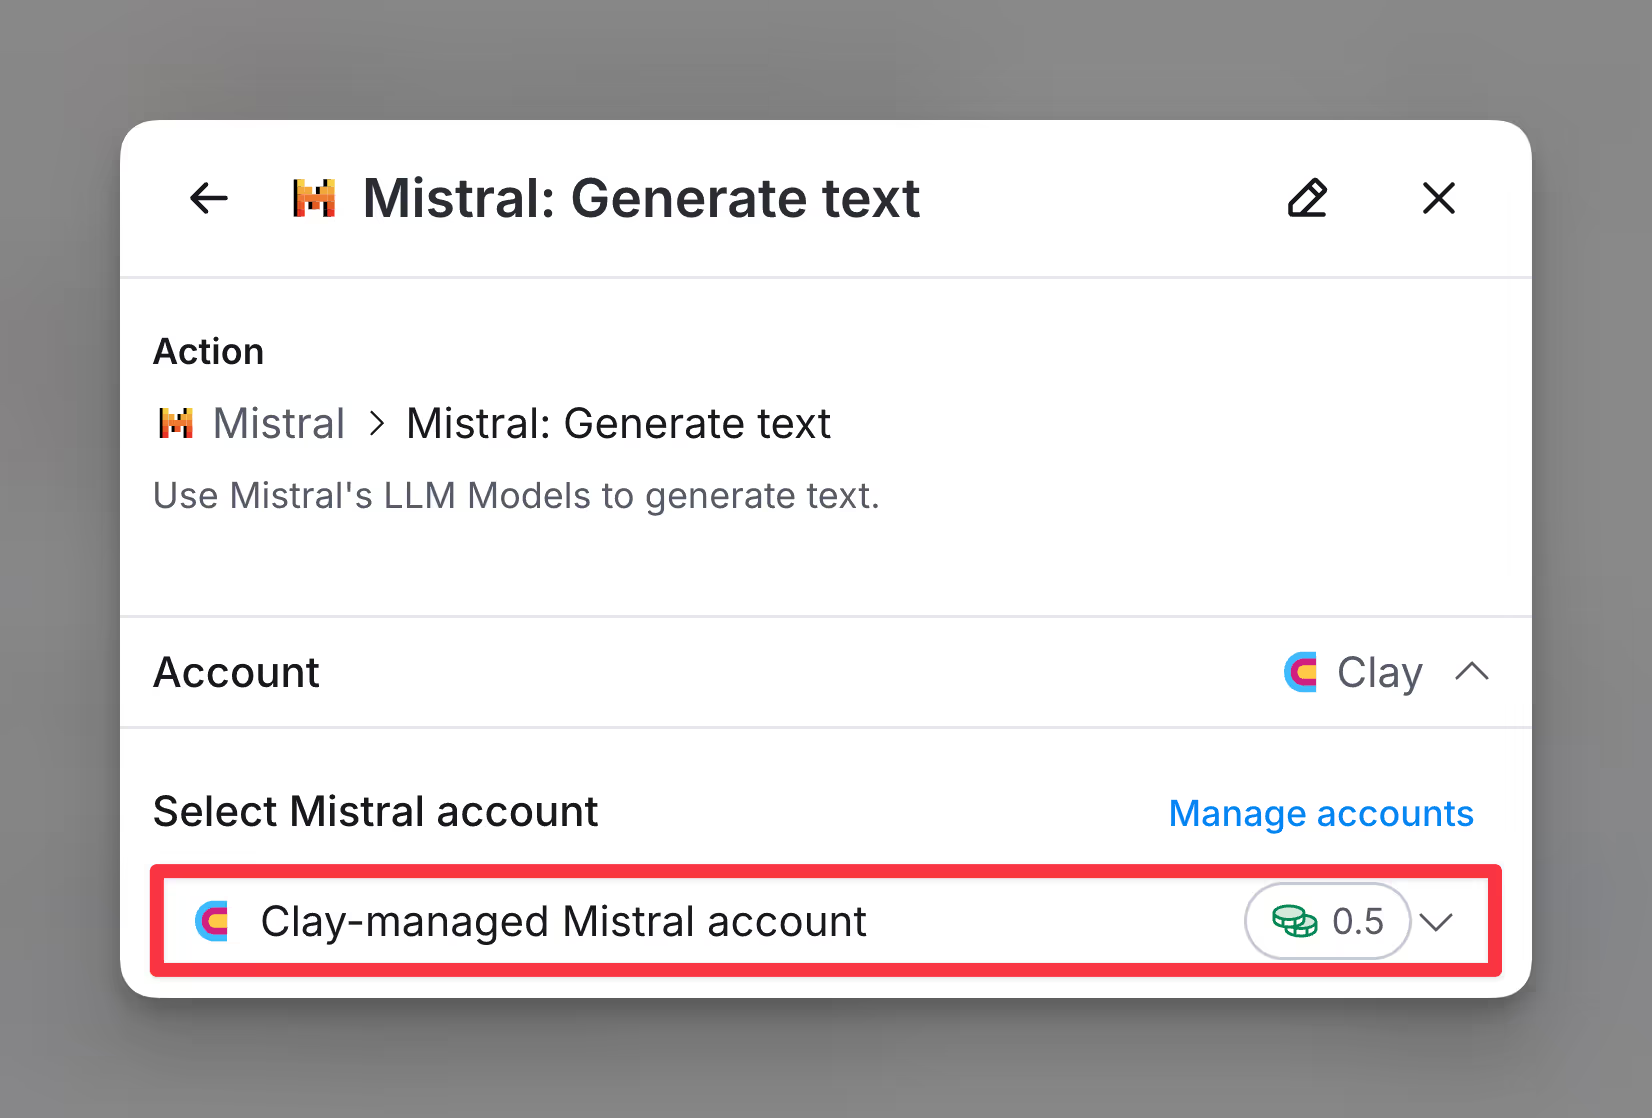
Method 1: Clay-managed account: Utilize your Clay credits to pay for Mistral enrichments utilizing the credits available in your Clay account.
Method 2: Mistral account via API key
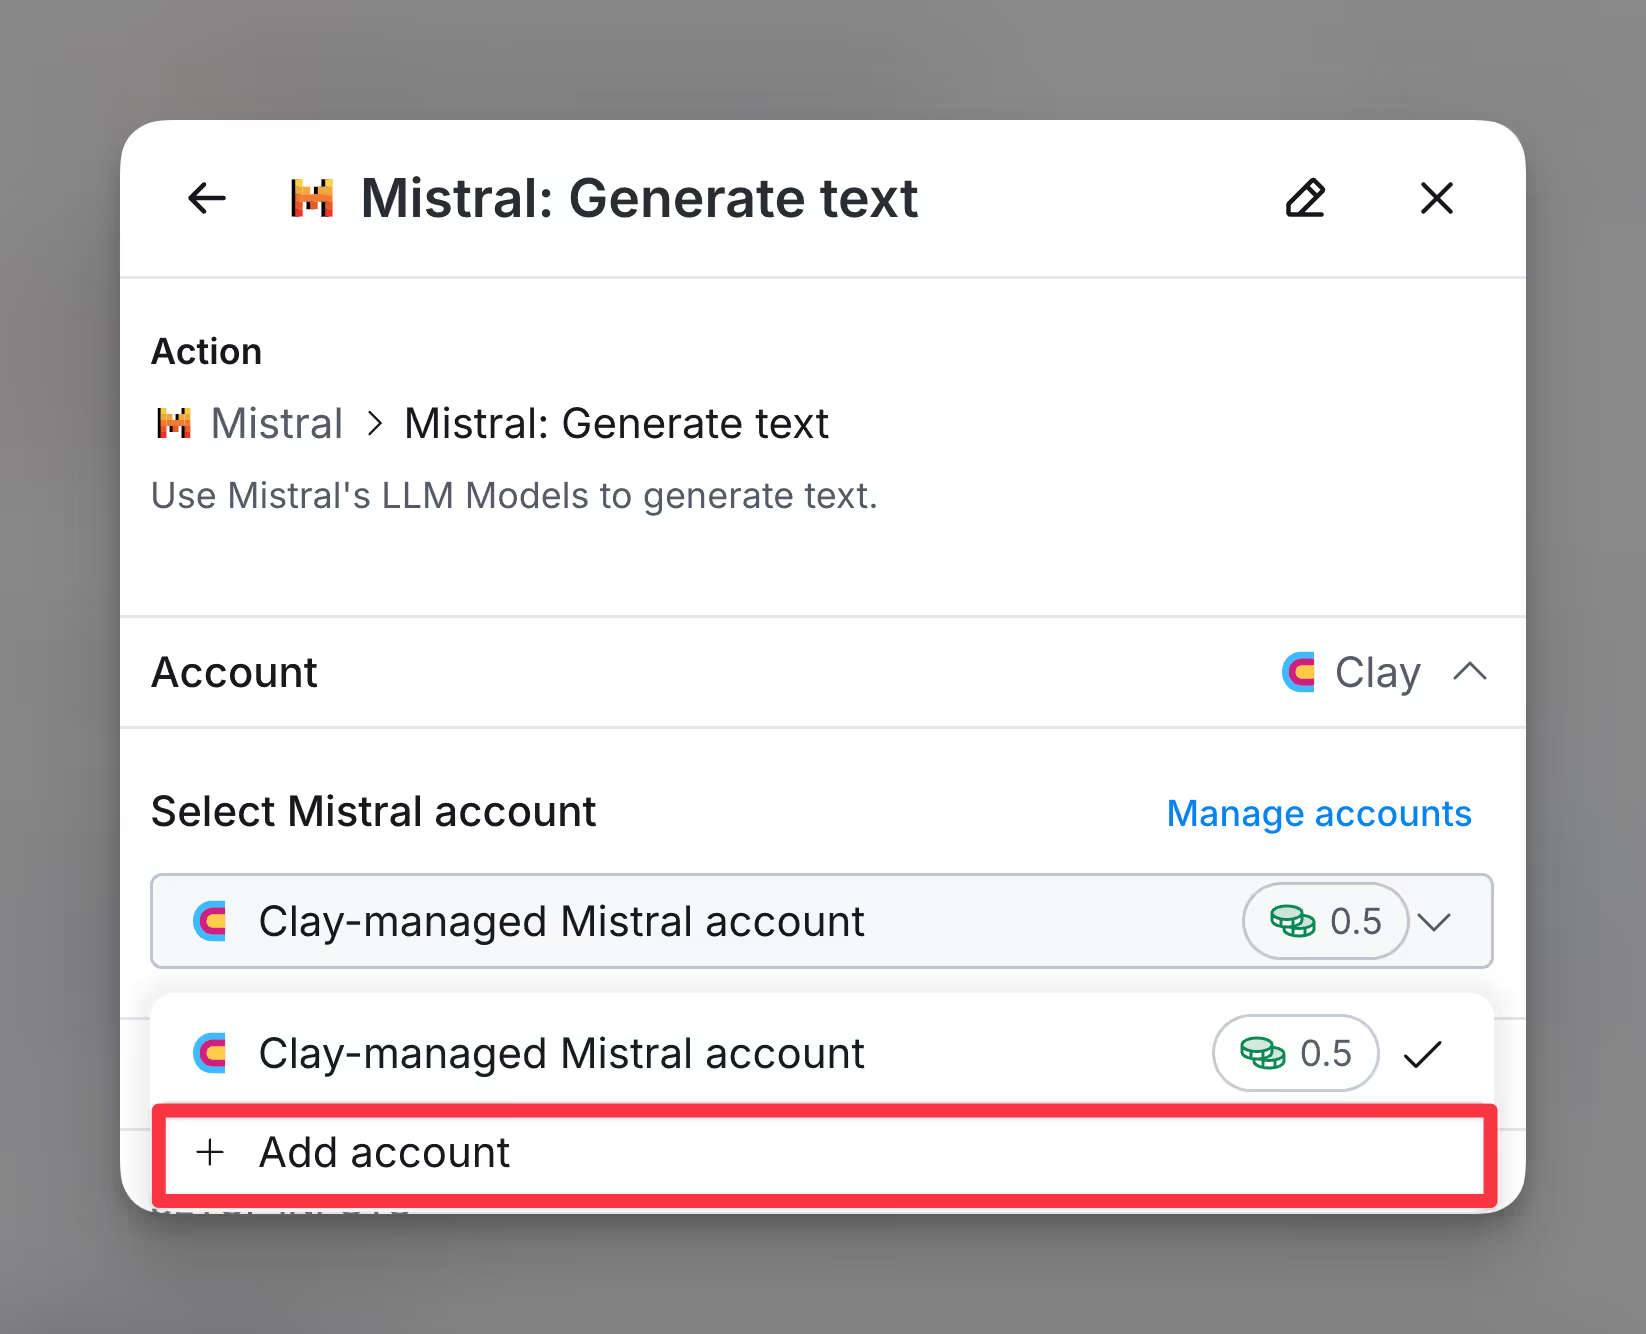
This is only available to paid Clay users. Use your Mistral account by integrating your API key into Clay. You can create a Mistral account either through the enrichment panel or Settings > Connections.
Using the Mistral integration
Step 1: Select the Mistral integration
You can access the Mistral integration through the enrichment search bar.
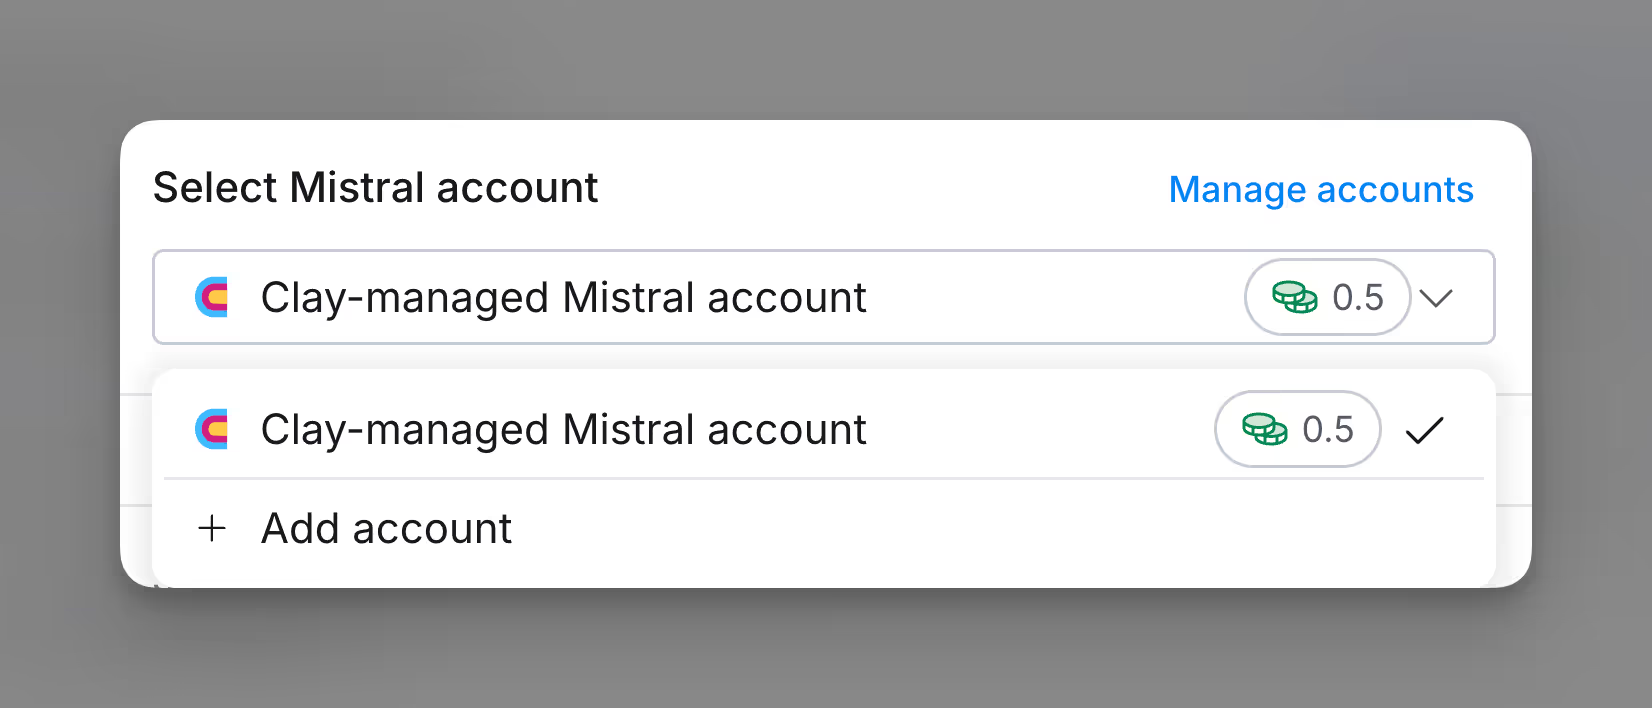
Step 2: Select Mistral account
Choose the Mistral account you want to use for your enrichment.
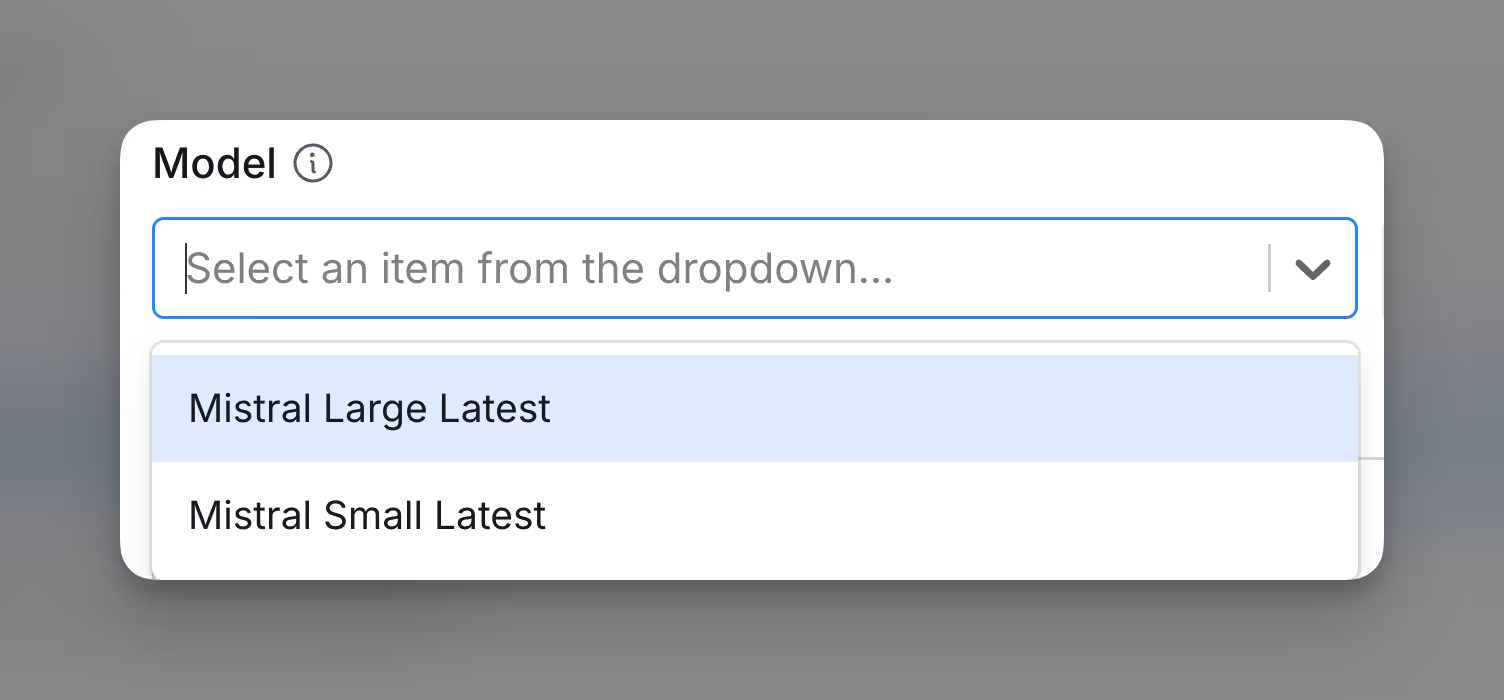
Step 3: Determine the Mistral model
You can choose either the Mistral Large Latest or Mistral Small Latest model. For more information on the models, please reference Mistral’s documentation.
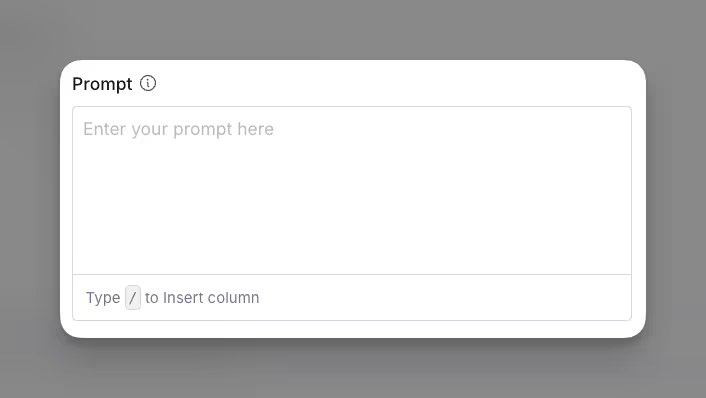
Step 4: Enter prompt
In the Prompt field, type the prompt for which you want to generate completions. This will guide the model in producing the responses or outputs based on your input.
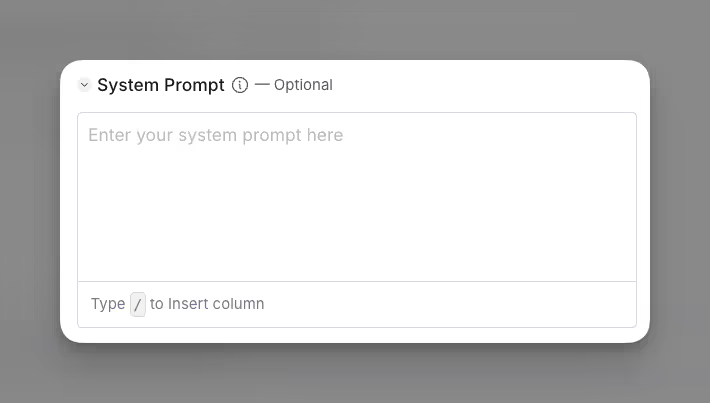
Step 5: Enter system prompt (optional)
In the System Prompt field, enter a brief instruction to guide the model’s tone and behavior. This optional prompt helps the model align responses with your specific needs.
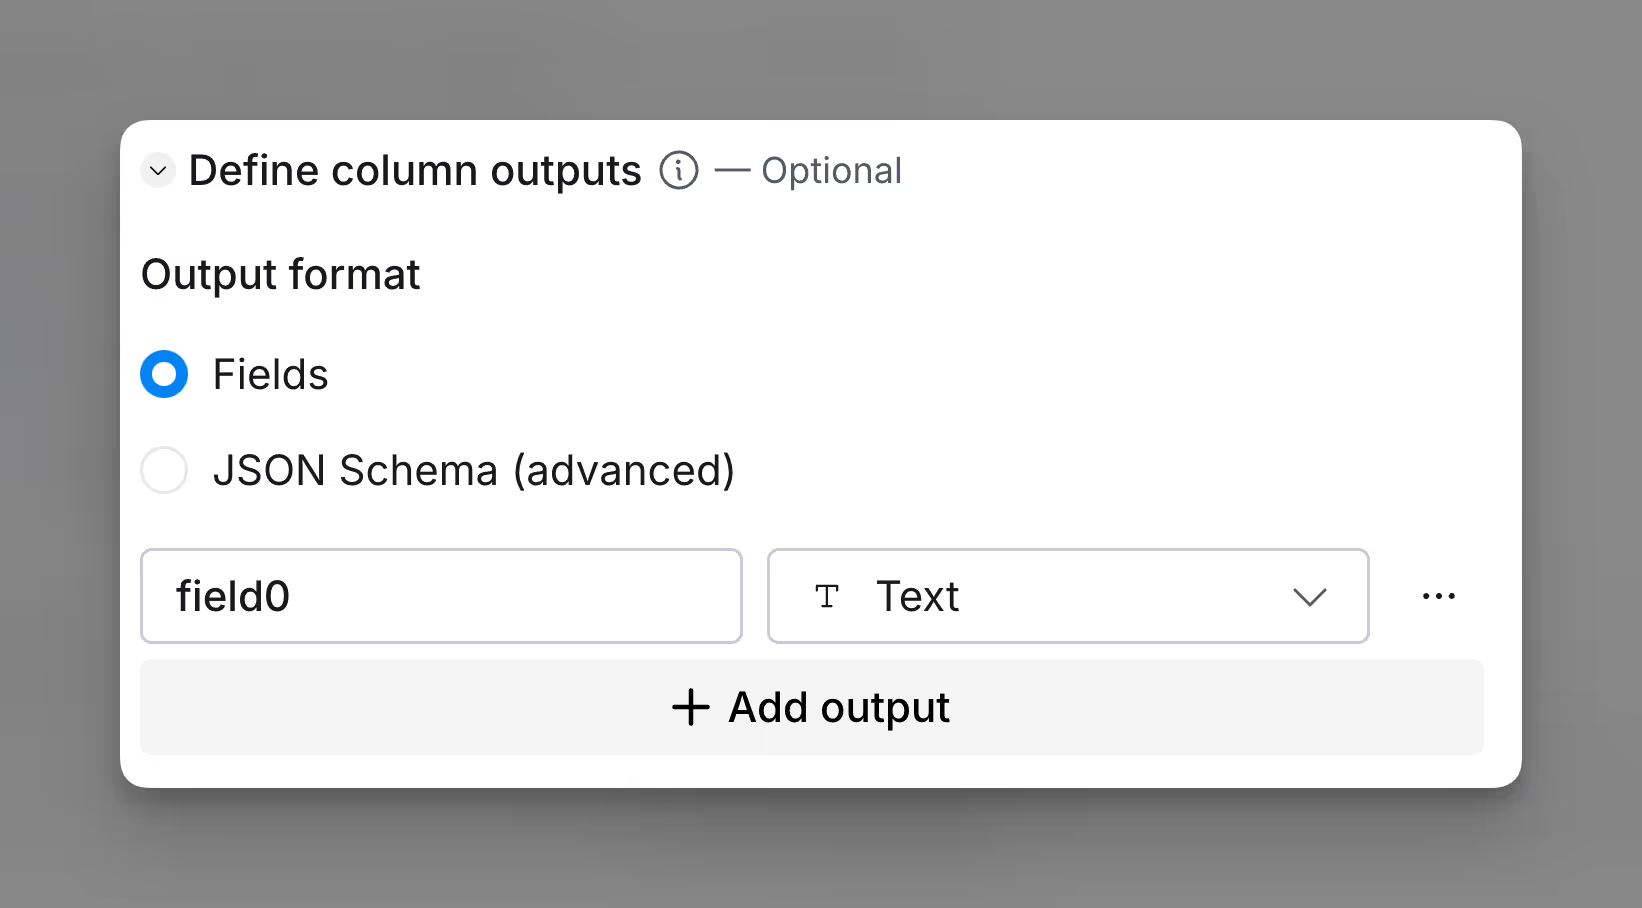
Step 6: Define column outputs
This section helps you structure the data returned in your table. You have two options for formatting your output:
Fields
This option is ideal for straightforward data extraction and organization.
Select “Fields” to create individual fields that correspond to columns in your table.
Each field represents a column and can be customized with the following data types: Text, Number, True/False, URL, Email, and Select.
JSON Schema (Advanced)
For more complex setups, choose the “JSON Schema” option.
This provides additional flexibility to define and structure your data in JSON format.
Tip: Defining column outputs allows you to pull specific data into individual columns, making it easier to analyze and manage information within your table.
Step 7: Control variables for AI responses
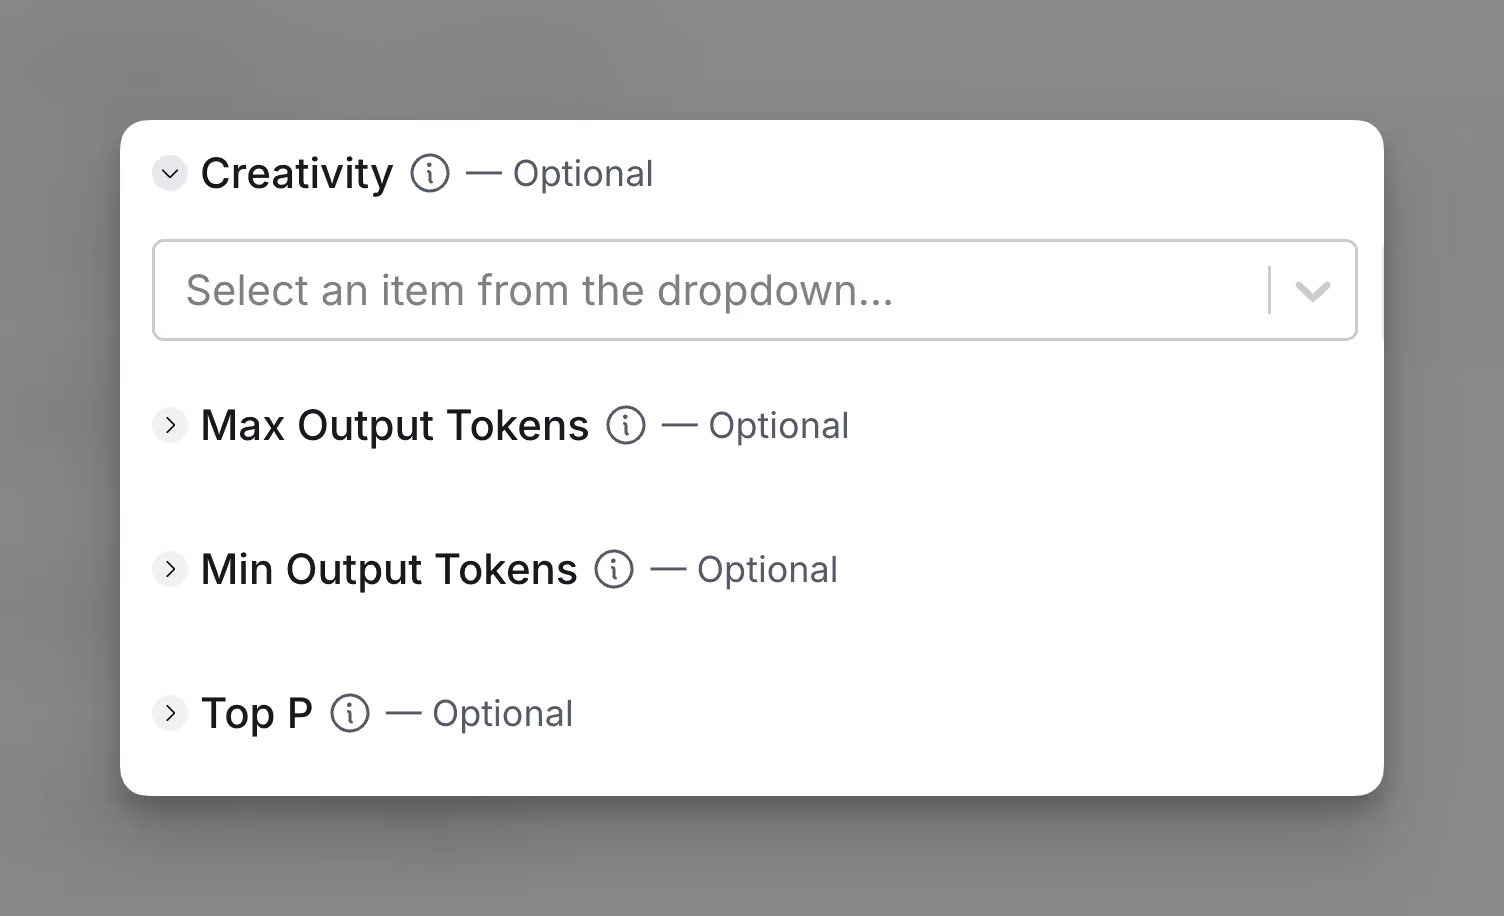
You can also fine fine-tune the AI’s response behavior with the following variables:
- Creativity: Adjusts the creativity level of responses. Lower values yield more conservative, predictable answers, while higher values allow for more imaginative and diverse outputs. Defaults to 0.7.
- Max and Min Output Tokens: Sets the maximum and minimum number of tokens (words or parts of words) in a response. This controls the length of the output, ensuring it remains within the specified range.
- Top P: Restricts the AI’s response to tokens within the top-p probability mass, controlling diversity. This nucleus sampling technique limits the response to the most probable tokens, impacting randomness in the output.
Step 8: Configure run settings
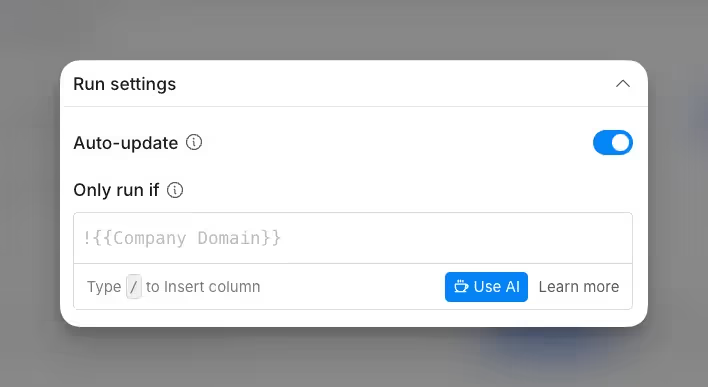
To run this enrichment only under specific conditions, enter a formula so the column updates only when the formula is true.
Autoupdate: By default, auto-update enriches new rows as they’re added. Toggle this off if you don’t want auto-updates, though this may result in stale data.
Conditional Run: Use a formula to specify conditions for running this enrichment. Learn more in this Clay University lesson.
Now you can run your Mistral integration within your Clay table!


