Enrow integration overview
Data tool for email verification and contact finding.
Getting started with Enrow
The Enrow integration in Clay allows users to find and validate work emails. The two actions that Clay provides for Enrow include:
- Find Work Email
- Validate Work Email
We'll cover how to connect Clay to Enrow, then we'll go over each action that is available with Enrow.
But first let's talk a bit about data enrichment waterfalls.
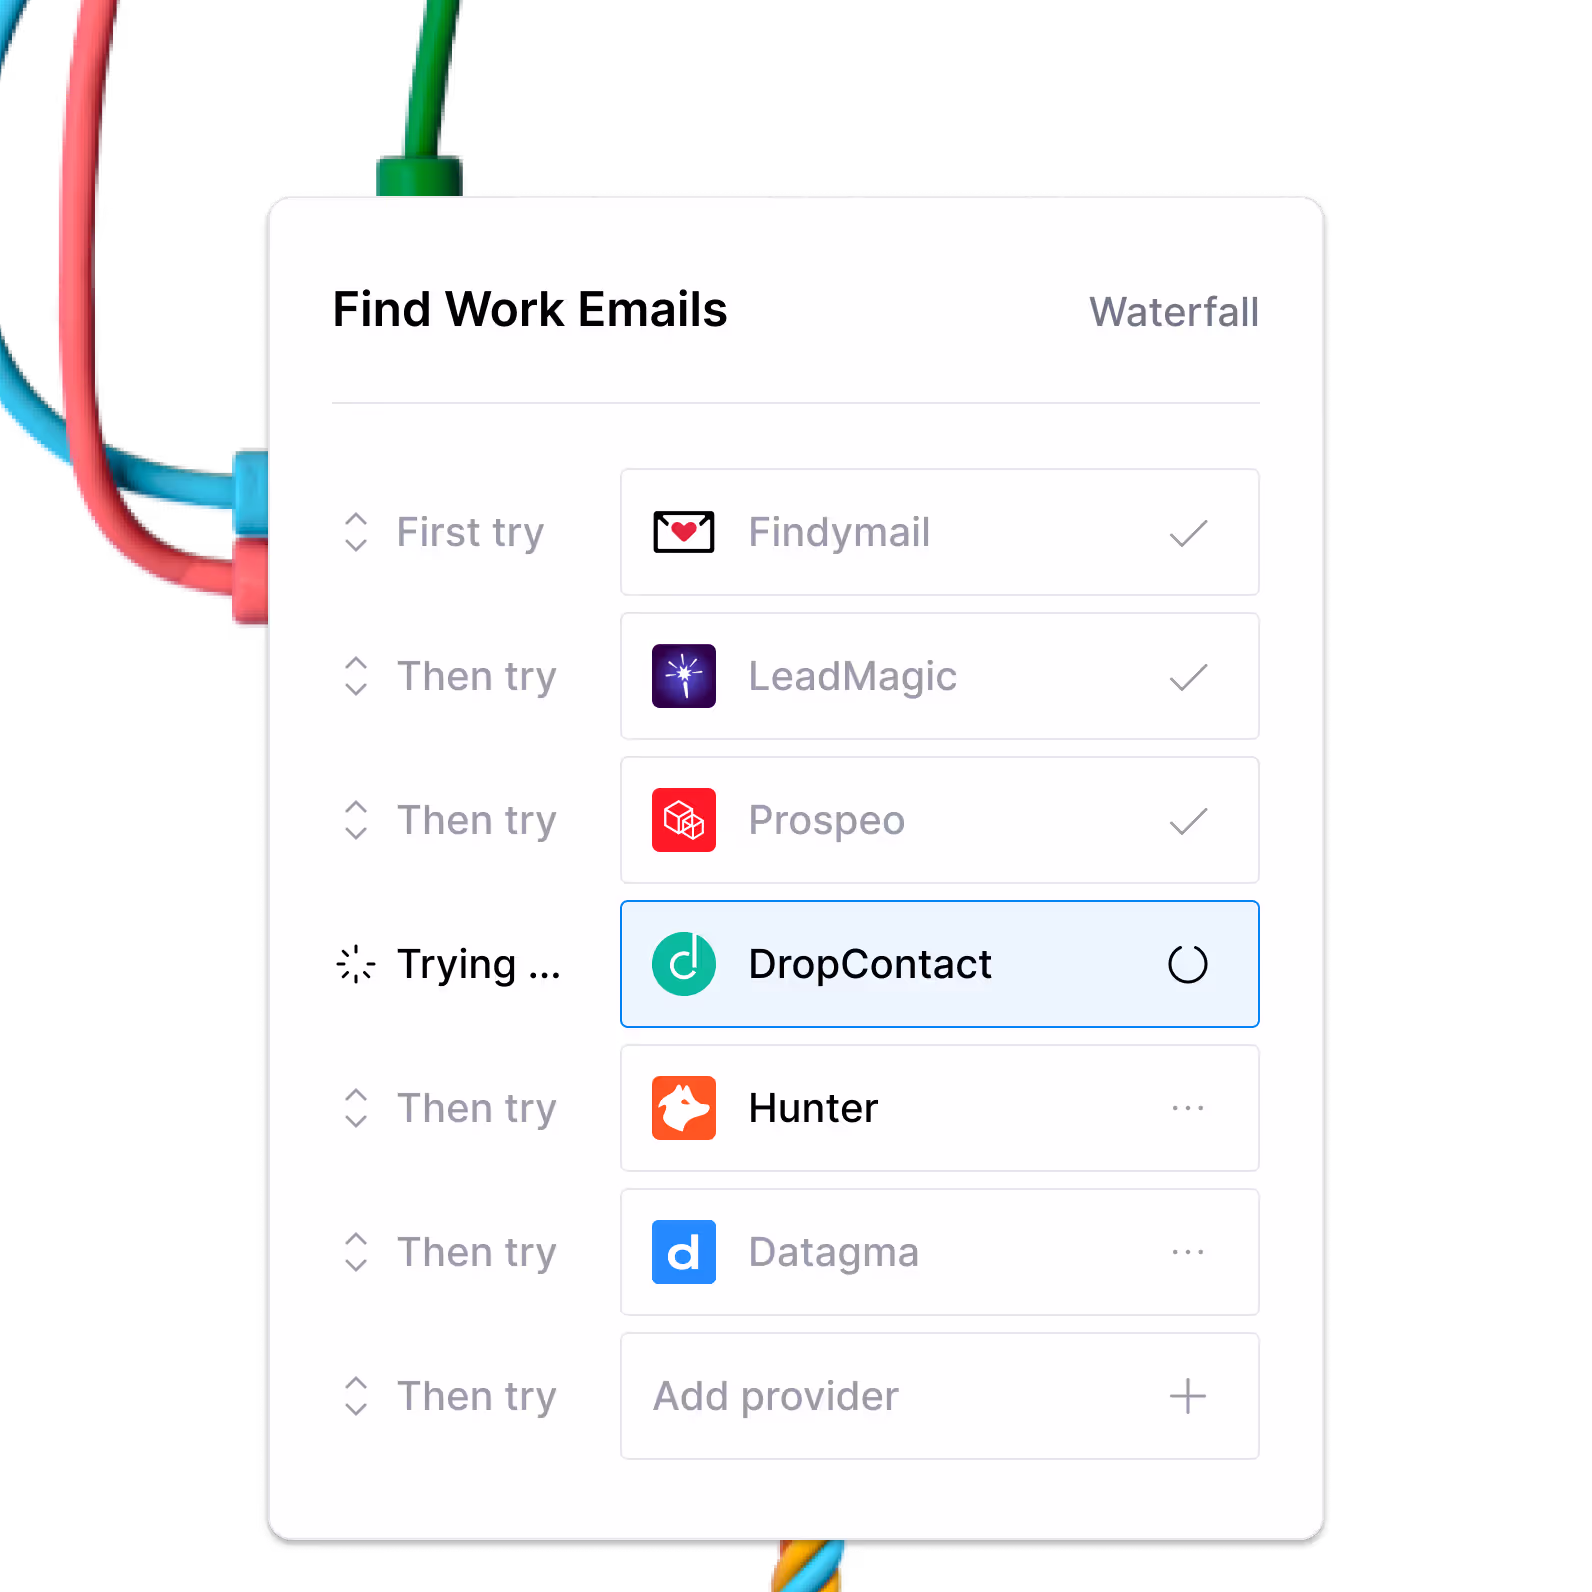
Getting better email coverage with waterfall enrichments
Enrow is great for finding email contacts, but it's not the only way to get this data.
For better coverage on email data, we recommend using Clay's waterfall enrichments, which will let you search sequentially across multiple data providers.
Learn more on how to use Clay waterfalls with this Clay University lesson.
That said, let's get into it on how to use Enrow with Clay!
Connecting with Clay with Enrow
You have two options to connect Enrow with Clay.
Option 1: Use the Clay-managed Enrow account
By default, Enrow enrichments will use the Clay-managed Enrow account. This means that any new enrichment will charge the designated credit amount.
Simply pull up any Enrow enrichment within Clay to use the Clay-managed Enrow account.
Option 2: Add your own Enrow API key
If you are currently on paid plan (Starter, Explorer, Pro) you can use your own Enrow account within Clay through an API key.
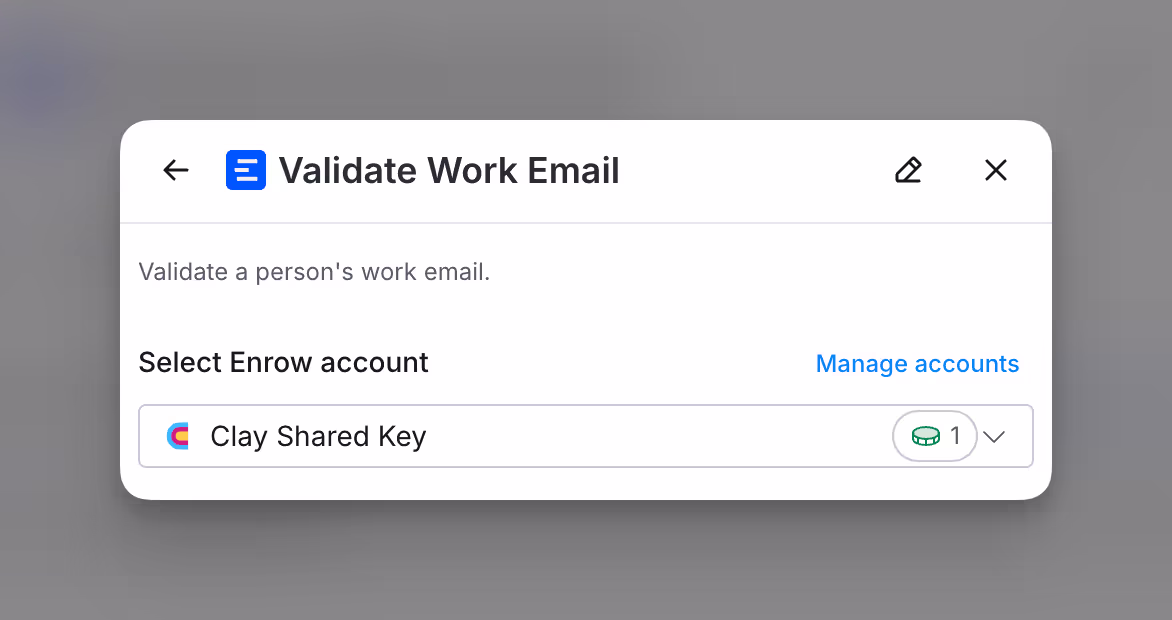
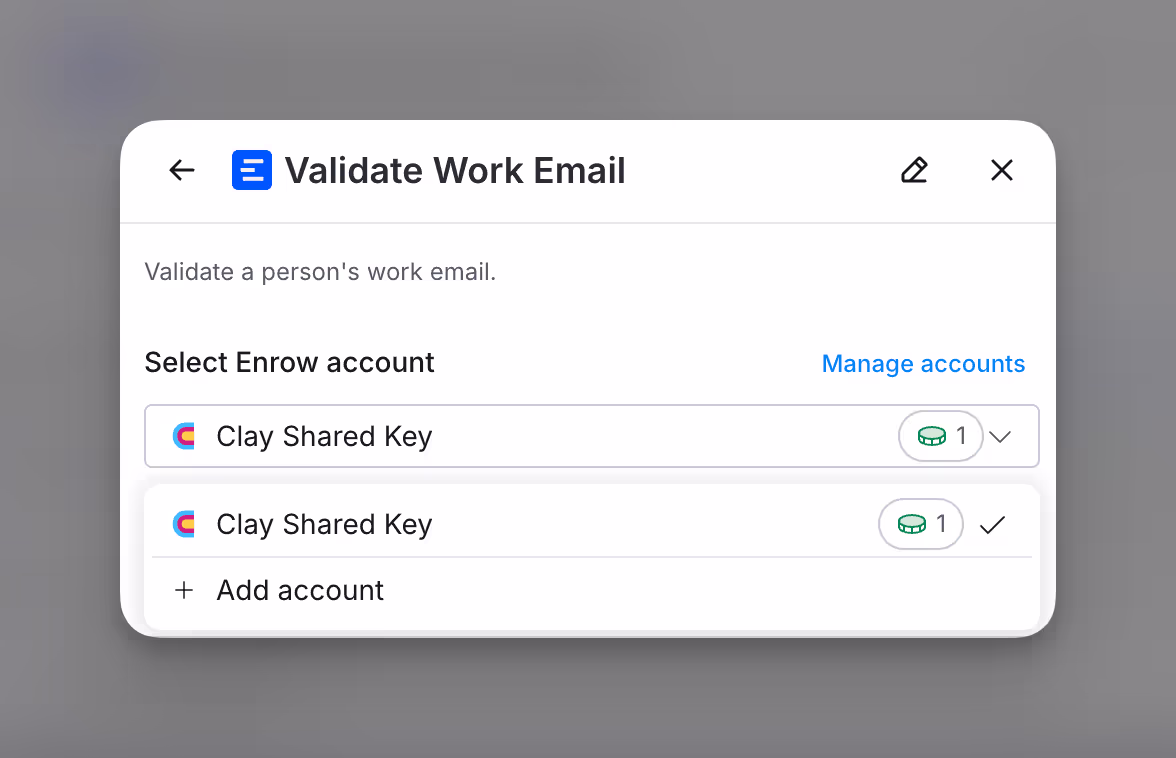
To add your own API key for any Enrow enrichment, you can do so when you're selecting an account.
Below is an example of where to click within the enrichment panel to add your API key.
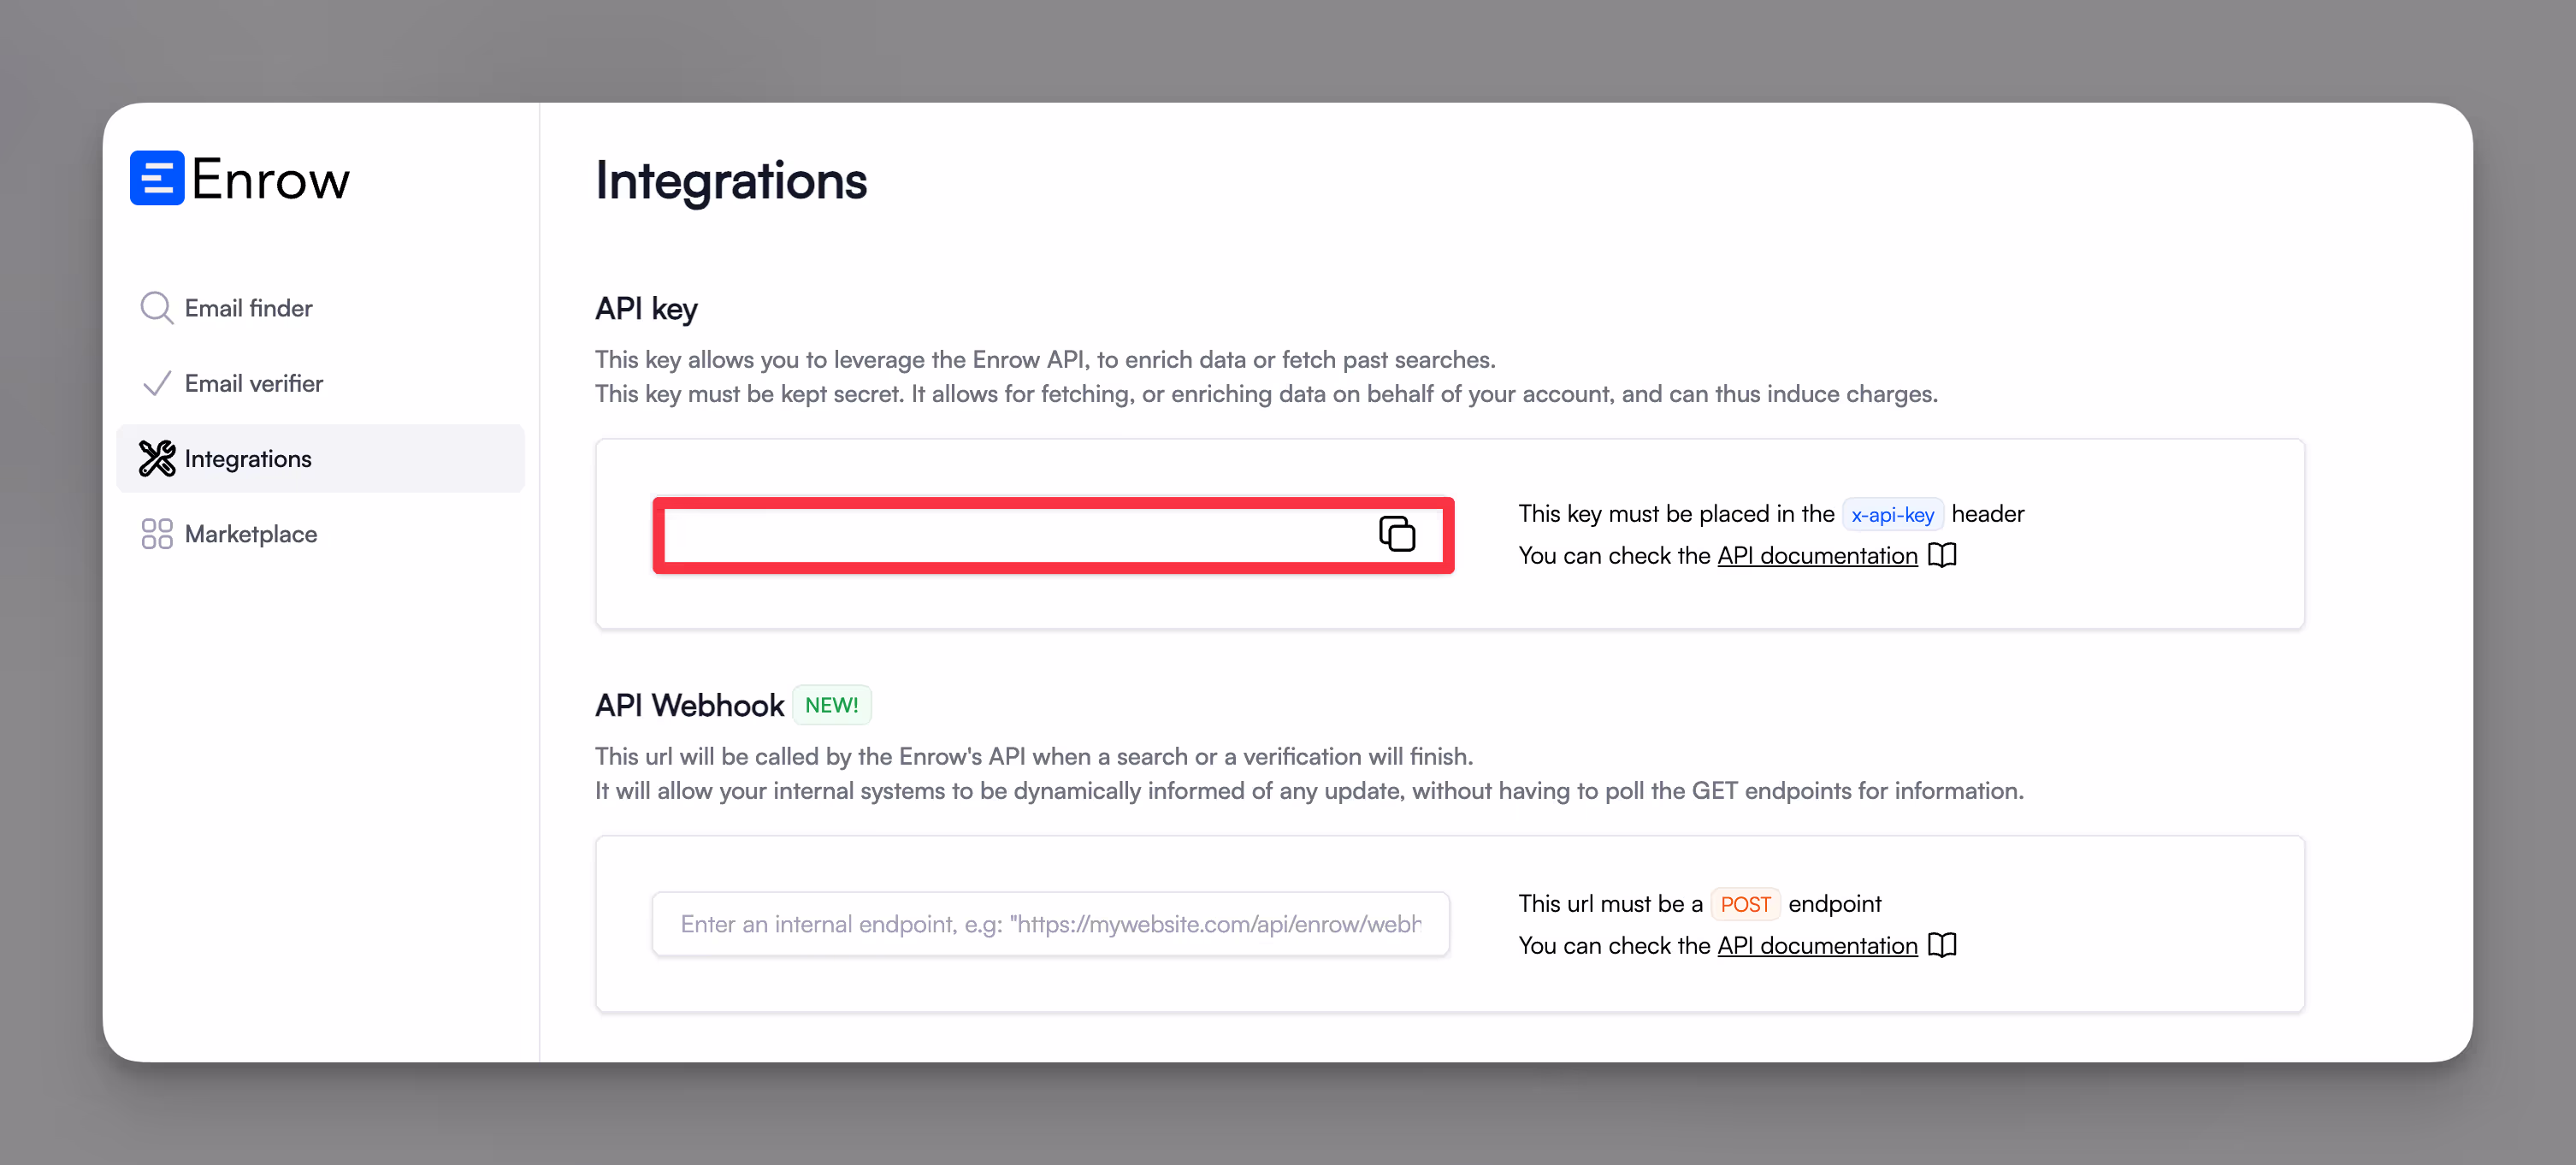
You can access your Enrow API key through the Integrations section.
Action Validate Work Email
The Validate Work Email action validates your contacts email inbox.
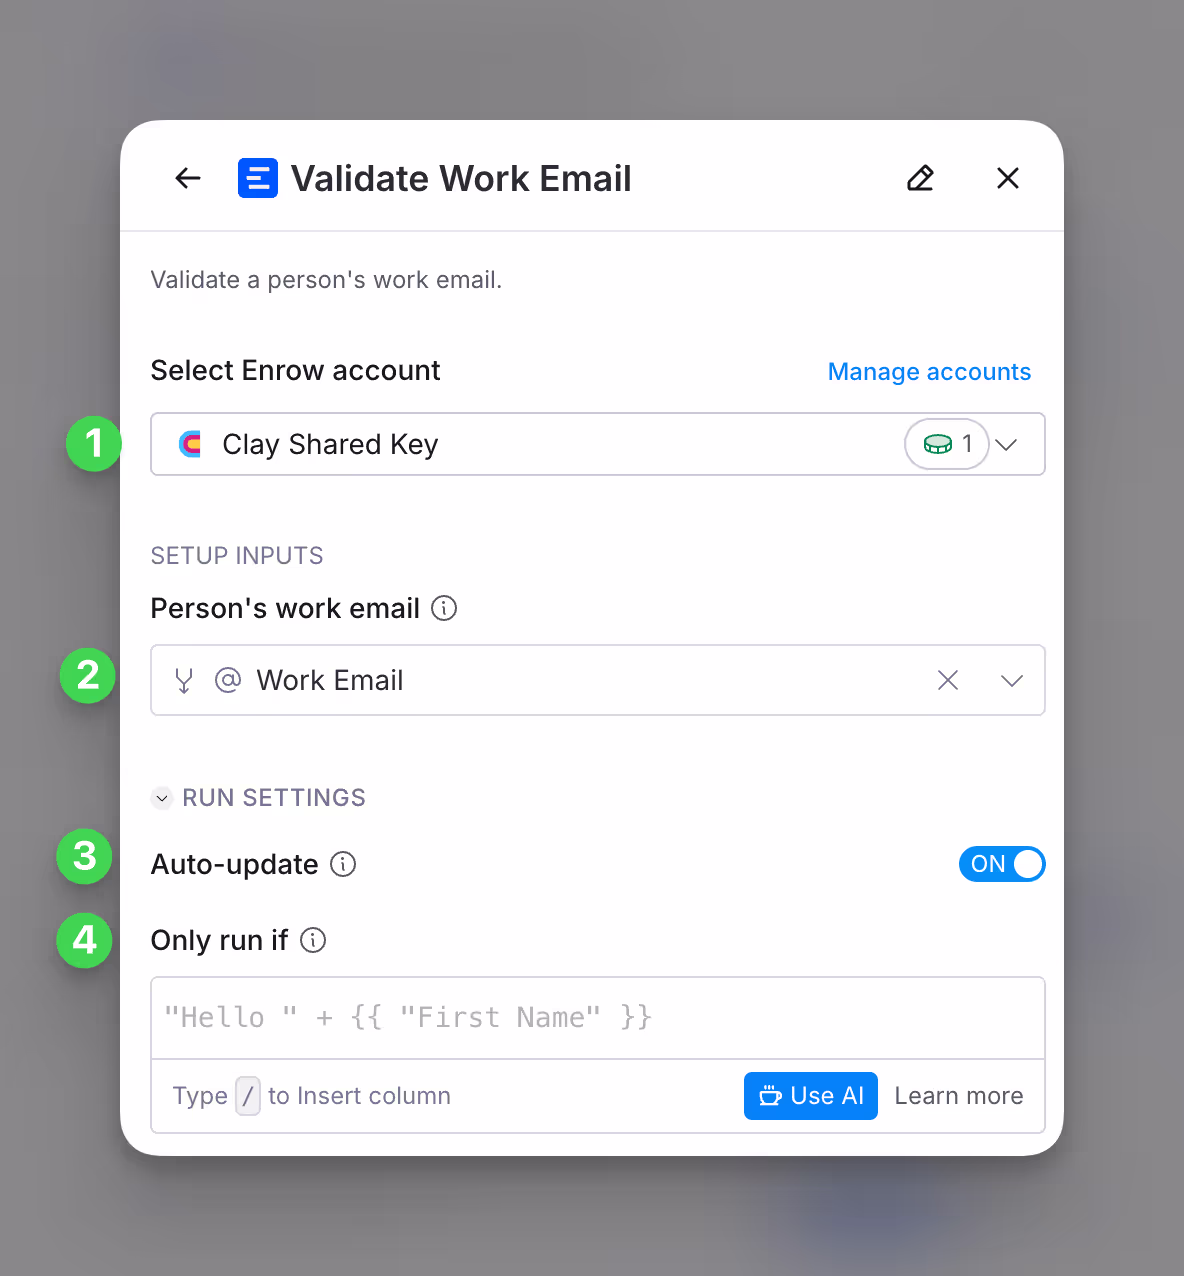
Step 1: Choose the Enrow account you want to use
First, you can use either the Clay-managed Enrow account or your own API key.
If you use the Clay-managed Enrow account you will be charged at 1 credit per enriched cell. For more information on how Clay credits work, please refer to this guide.
Step 2: Enter optional and required setup inputs
Please input the person’s work email you want to validate in this step.
Step 3 (Optional): Select Auto-update
By default, Enrow will auto-update the integration every 24 hours. This is optional. Make sure to toggle this step off if you do not want to auto-update, however, you might run into stale data problems.
For more information about how auto-update works, please read this brief guide.
Step 4 (Optional): Select conditional run criteria
If you want to only run this enrichment under set circumstances, you are able to input formulas where the column runs only if the formula is true. Learn more about conditional runs in this Clay University lesson.
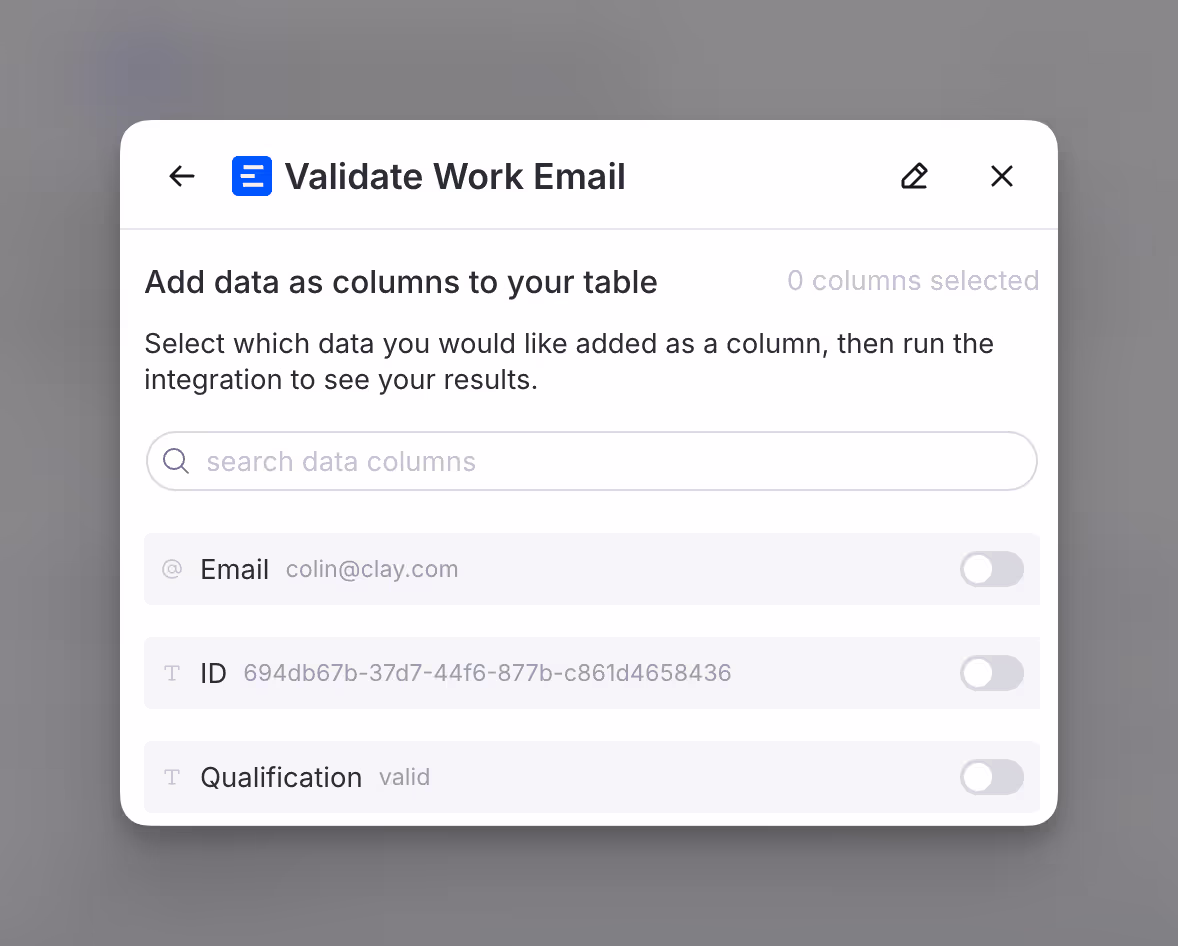
Step 5: Choose data to add as columns to table
Select which data from the enrichment you’d like to add as columns to your table. Even if you choose not to add columns at this point, the enriched data will still be available and accessible for later use.
Action Find Work Email
The Find Work Email action helps you find a person’s work email from name and company domain or company name.

Step 1: Choose the Enrow account you want to use
First, you can use either the Clay-managed Enrow account or your own API key.
If you use the Clay-managed Enrow account you will be charged at 2 credits per enriched cell. For more information on how Clay credits work, please refer to this guide.
Step 2: Enter optional and required setup inputs
Please input the person’s name and either the company domain or name.
Additionally if you are inputting the company name, then the Country field is required for maximum accuracy.
Step 3 (Optional): Select Auto-update
By default, Enrow will auto-update the integration every 24 hours. This is optional. Make sure to toggle this step off if you do not want to auto-update, however, you might run into stale data problems.
For more information about how auto-update works, please read this brief guide.
Step 4 (Optional): Select conditional run criteria
If you want to only run this enrichment under set circumstances, you are able to input formulas where the column runs only if the formula is true. Learn more about conditional runs in this Clay University lesson.
Step 5: Choose data to add as columns to table
Select which data from the enrichment you’d like to add as columns to your table. Even if you choose not to add columns at this point, the enriched data will still be available and accessible for later use.
