Google Sheets integration overview
Cloud-based spreadsheet for real-time collaboration.
Google Sheets Overview
Google Sheets in Clay enables seamless integration between your Clay tables and Google Sheets, allowing you to easily sync and manage data across both platforms.
You can use the Google Sheets integration to:
- Add Rows
- Lookup Rows
- Lookup, Add or Update Rows
Setting up the Google Sheets integration
To set up the Google Sheets integration to sync with Clay:
Step 1: Visit the Settings page and navigate to Connections.
Step 2: Click + Add Connection and select Snowflake from the menu
Step 3: Sign into your Google account via OAuth and name your account key.
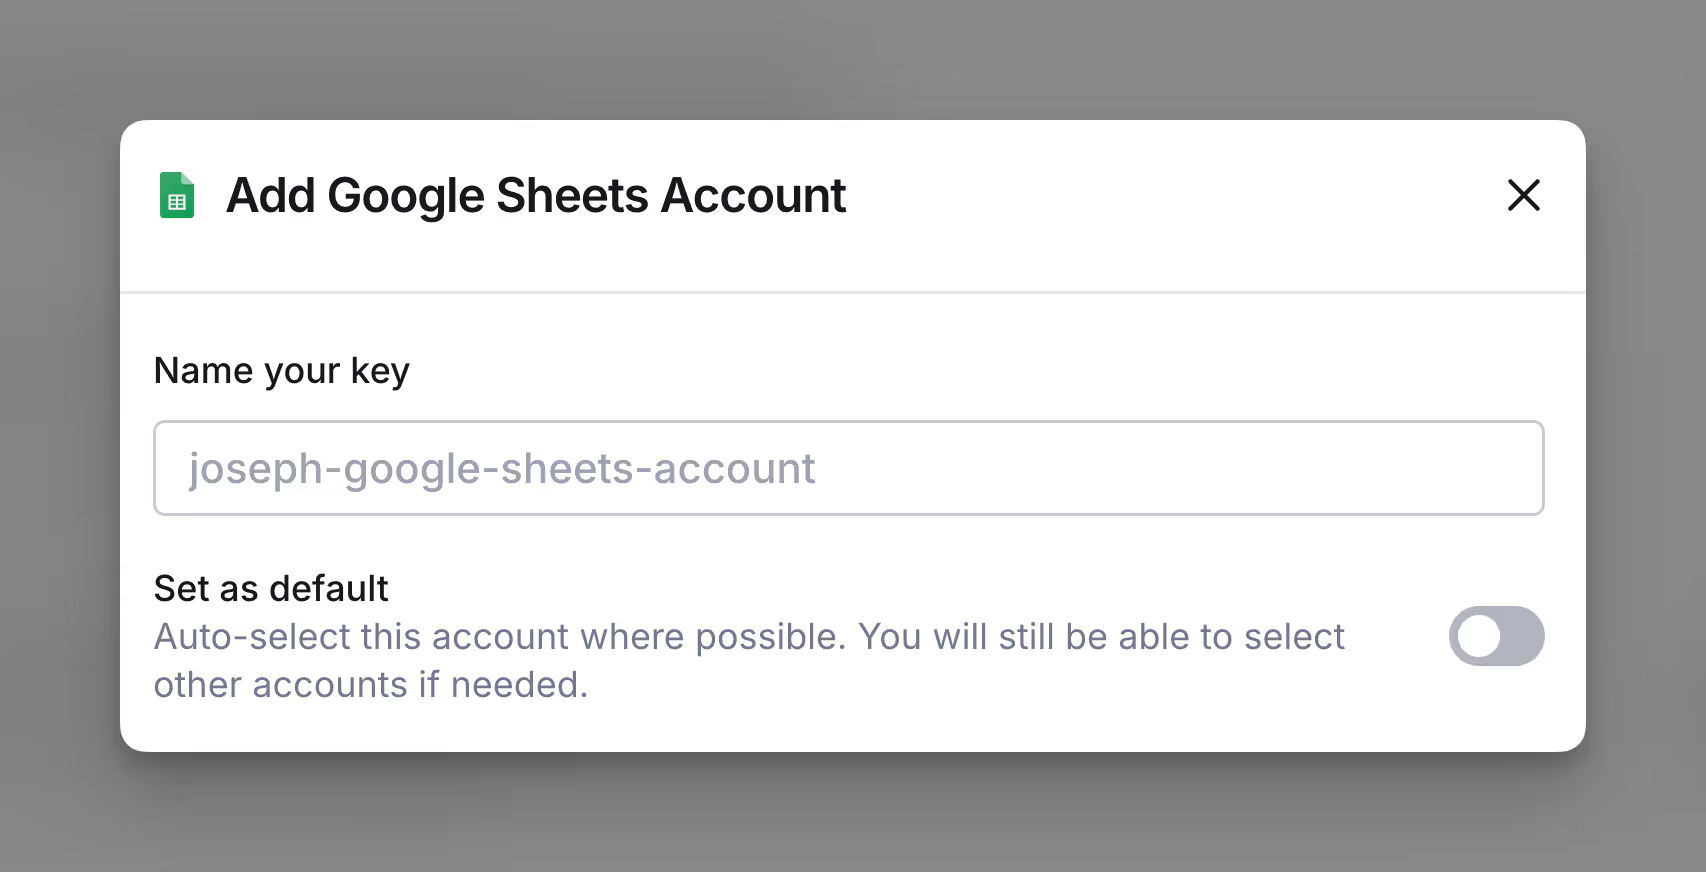
Available Google Sheets actions
Sync your Clay data with Google Sheets through the following actions:
- Add Rows
- Lookup Rows
- Lookup, Add or Update Rows
Action Add Row
Add a row to a Google Sheet via its URL.
To add a row to your sheet:
Step 1: Select the Google Sheets account you want to use.
Ensure the selected account has read or write access to the sheet you want to add a row to.
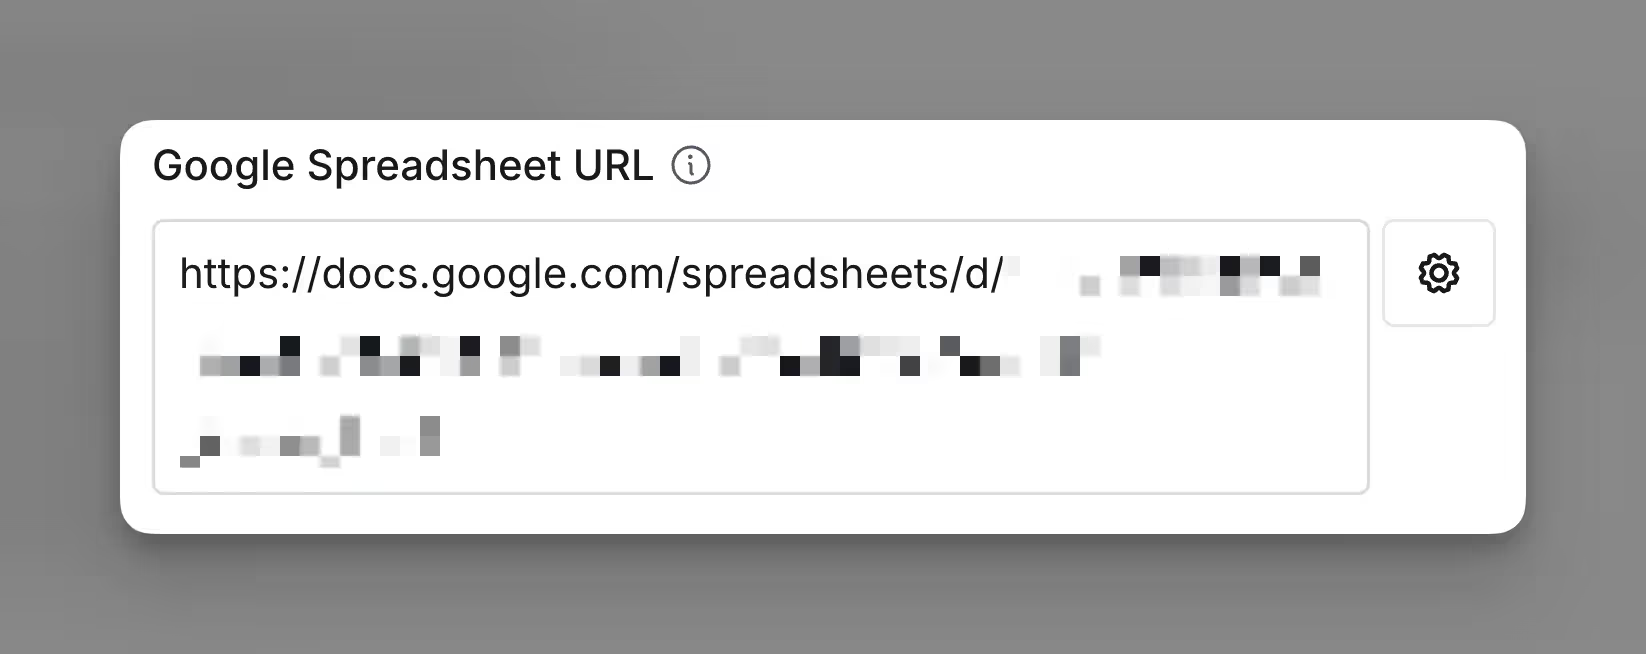
Step 2: Paste your Google Spreadsheet URL.
This can be any Google Spreadsheet you have read access to, including a public one.
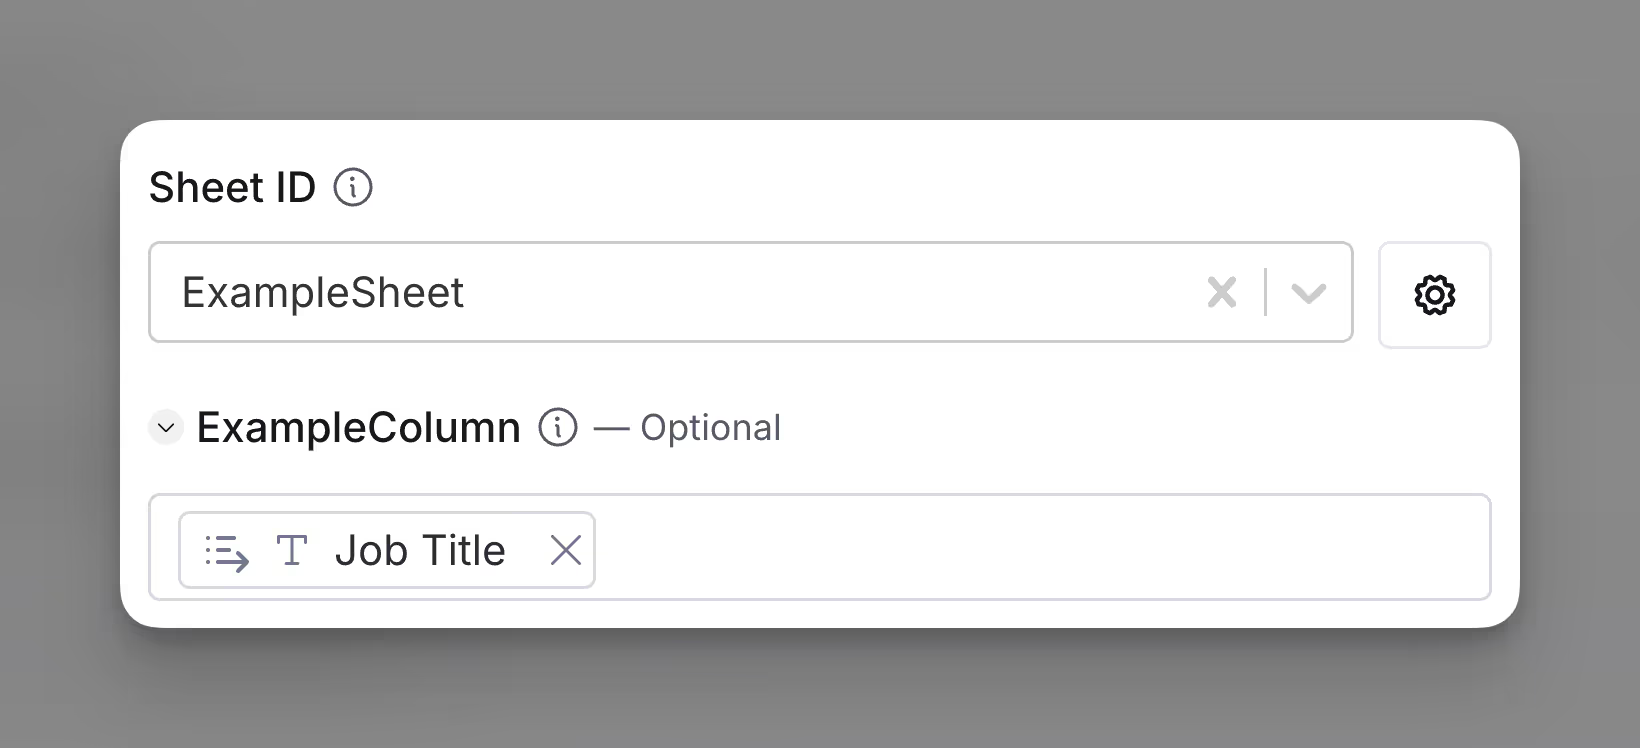
Step 3: Select the Sheet ID and map out columns.
Optionally, you can choose corresponding columns from your Clay table to map data into Google Sheets.
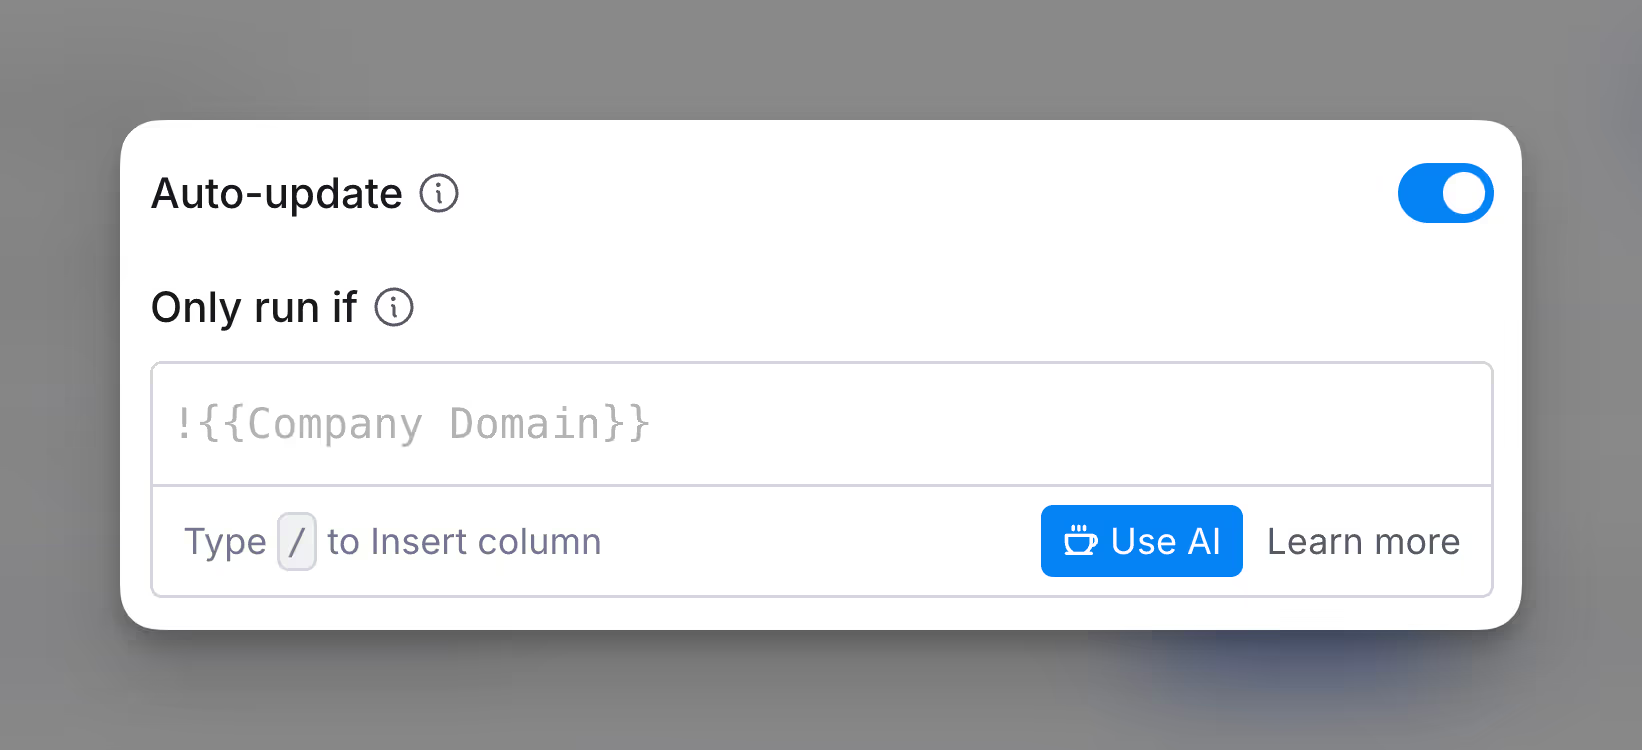
Step 4: Configure run settings.
By default, new rows within your Clay table will automatically add to your sheet. Learn more about auto-update in this brief guide.
To run enrichment only under specific conditions, use formulas that trigger the column when the formula is true. Learn more about AI formulas in this Clay University lesson.
Step 5: Run your enrichment to Add Row to your Google Sheet.
Action Lookup Row
Lookup a row in a Google Sheet using a column and a value.
To lookup a row within your sheet:
Step 1: Select the Google Sheets account you want to use.
Ensure the selected account has read or write access to the sheet where you want to look up a row.
Step 2: Paste your Google Spreadsheet URL.
This can be any Google Spreadsheet you have read access to, including a public one.

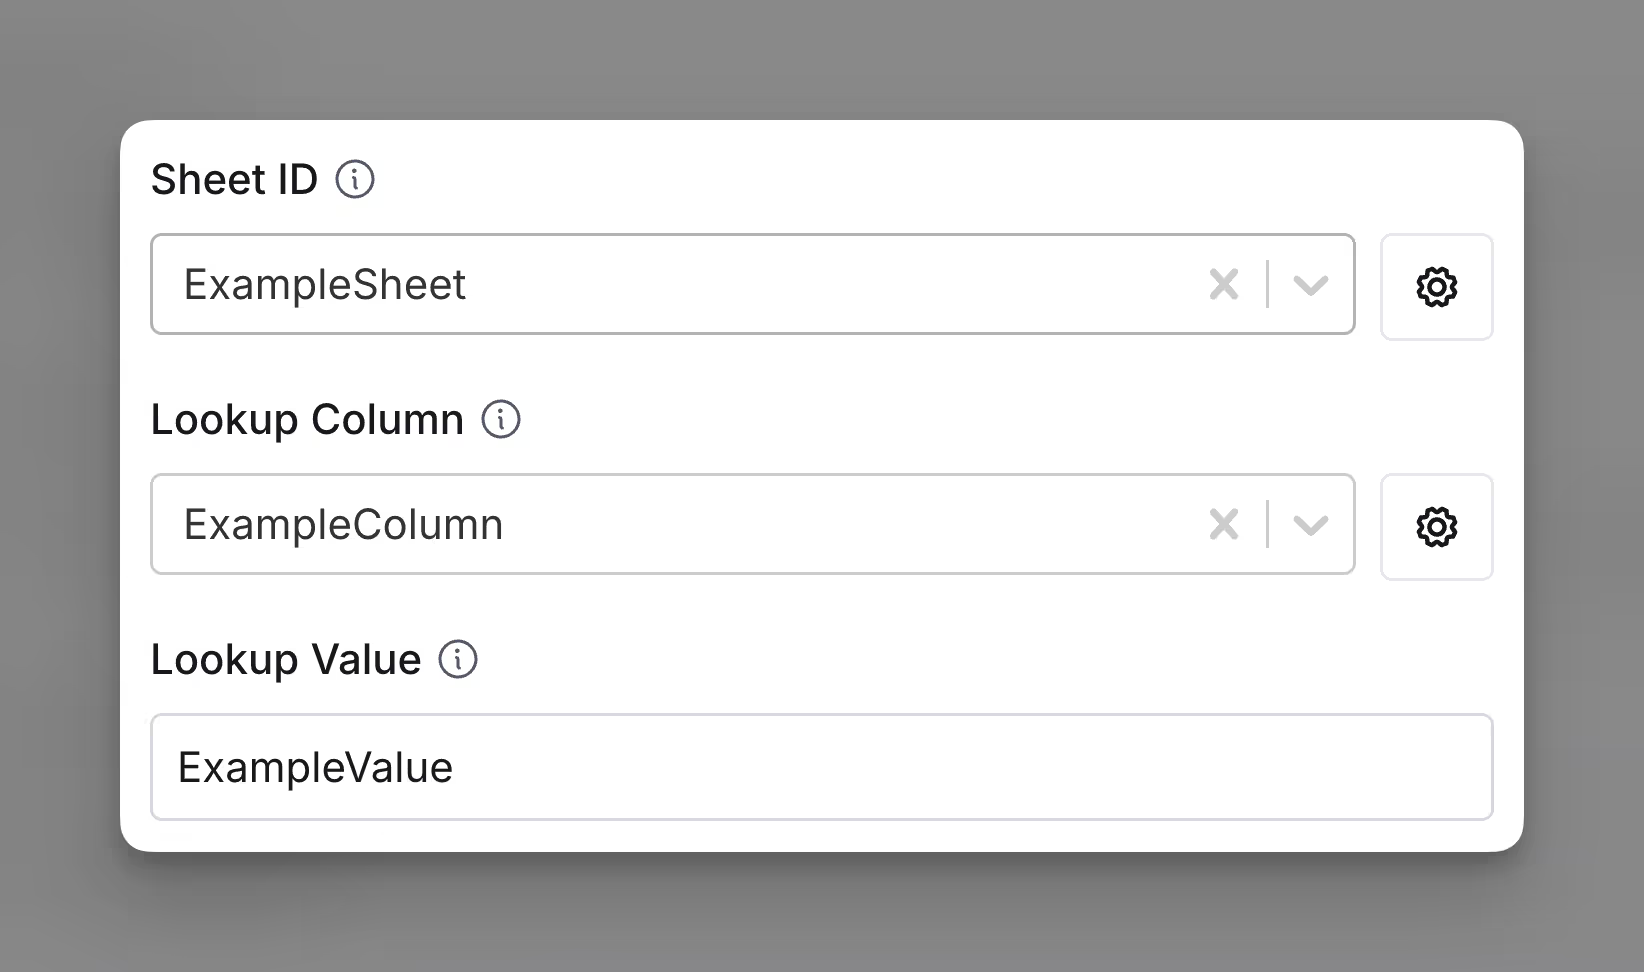
Step 3: Select the Sheet ID, the column to look up (Lookup Column), and the value to search for (Lookup Value).
Step 4: Configure run settings.
By default, new rows within your Clay table will automatically lookup within Sheets. Learn more about auto-update in this brief guide.
To run enrichment only under specific conditions, use formulas that trigger the column when the formula is true. Learn more about AI formulas in this Clay University lesson.

Step 5: Run your enrichment to Lookup Row within Google Sheets.
Action Lookup, Add, or Update Row
Lookup a row in a Google Sheet based on a column and value, with options to add or update rows as needed.
To set up this action:
Step 1: Select the Google Sheets account you want to use.
Ensure the selected account has read or write access to the sheet where you want to look up a row.
Step 2: Paste your Google Spreadsheet URL.
This can be any Google Spreadsheet you have read access to, including a public one.

Step 3: Specify the Sheet ID you want to lookup a value in.
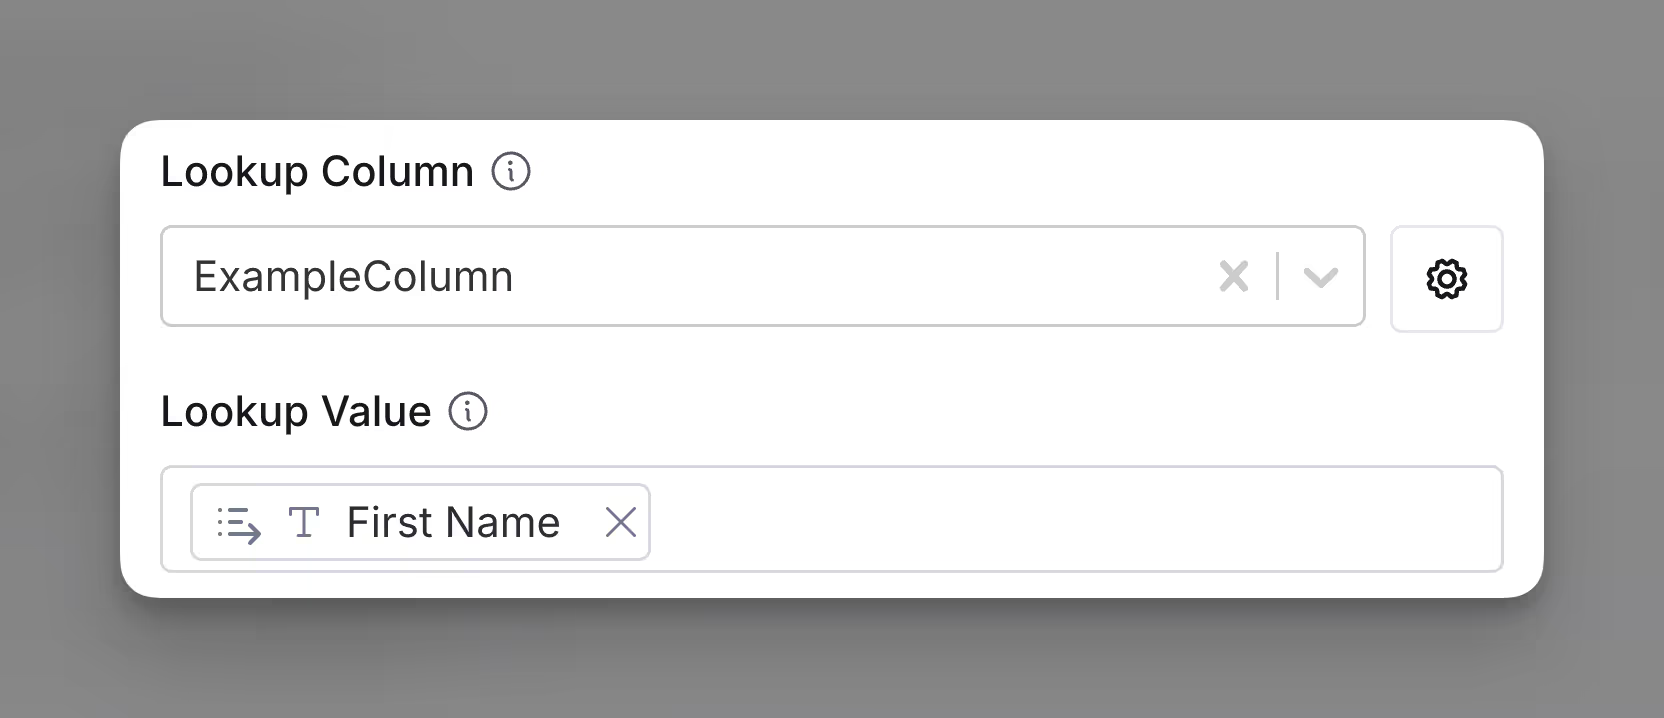
Step 4: Specify the Lookup Column and Value you want to find.
The Lookup Column is the column in your Google Sheets where you want to search for a match.
The Lookup Value is the value in your Clay table that you want to find in the specified column in Google Sheets.
Step 5: Configure Row Behavior
Decide what should happen based on whether a match is found:
Toggle “Add a row if no existing rows are found” to add a new row when no matches exist.
Toggle “Update row(s) if existing rows are found” to modify existing rows that match the lookup value.

Step 6: Configure run settings.
By default, new rows within your Clay table will automatically lookup within Sheets. Learn more about auto-update in this brief guide.
To run enrichment only under specific conditions, use formulas that trigger the column when the formula is true. Learn more about AI formulas in this Clay University lesson.

Step 7: Run your enrichment within Google Sheets.
