DeepL integration
AI-powered translation and writing tool.
What is DeepL?
DeepL is a translation tool that uses neural networks and high-quality data to provide accurate translations. In Clay, you can use DeepL to translate content within your table.
Setting up DeepL and Clay
You can connect DeepL in Clay two ways.
Option 1: Use the Clay-managed DeepL account
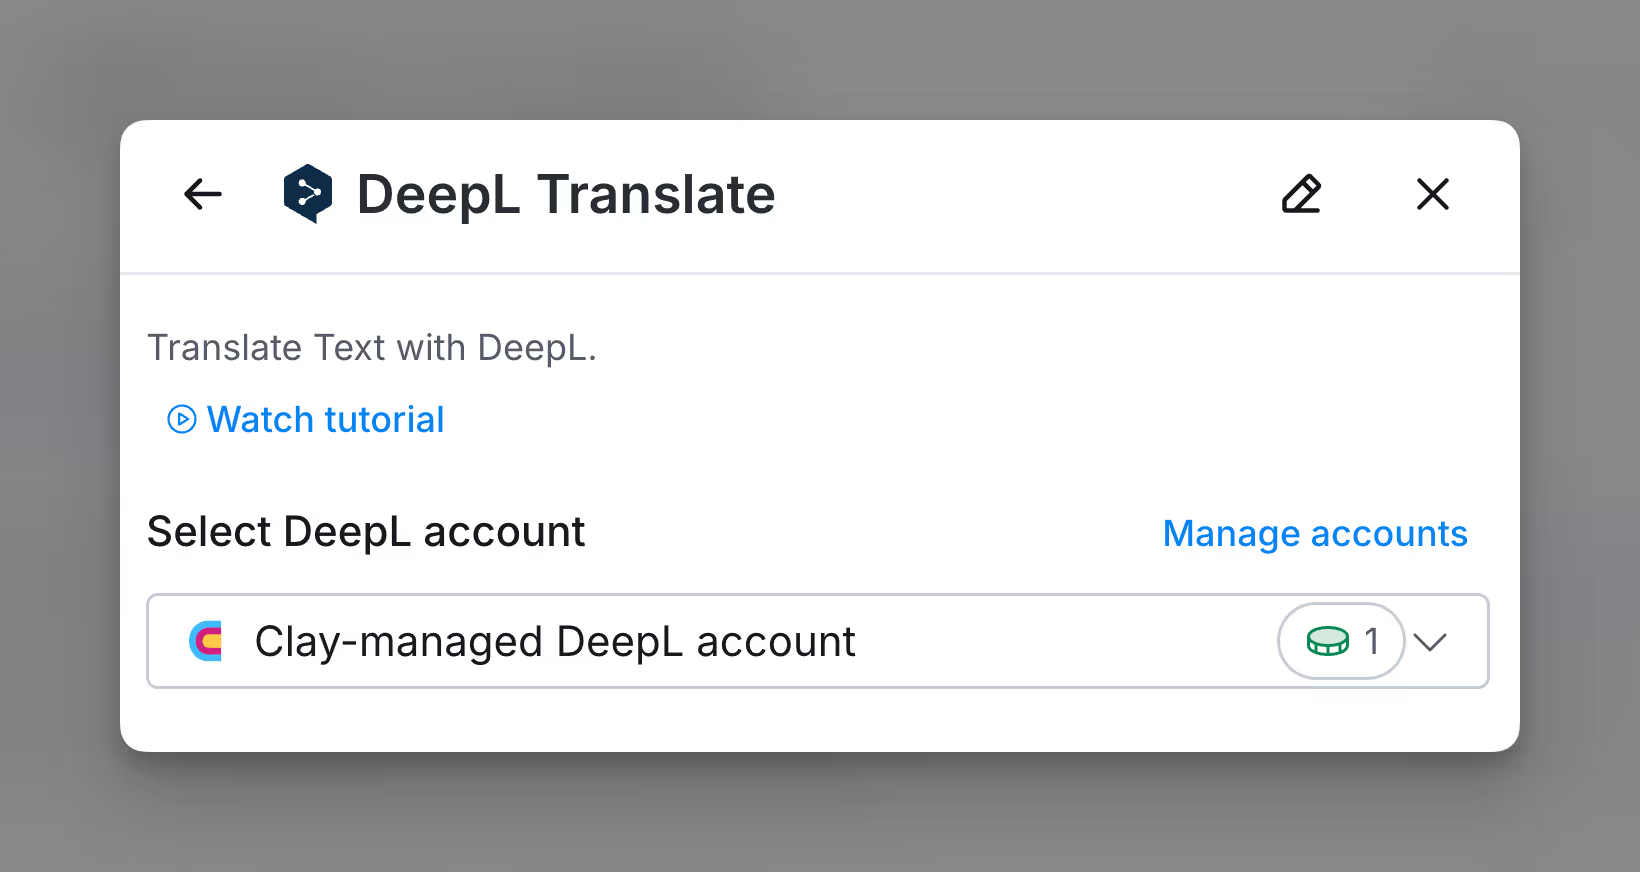
By default, DeepL enrichments in Clay use the Clay-managed DeepL account, which charges 2 credits for each enrichment.
To utilize this, simply open any DeepL enrichment within Clay.
Option 2: Use your own DeepL API key
If you are currently on paid plan (Starter, Explorer, Pro) you can use your own DeepL account within Clay through an API key.
For more instructions on how DeepL’s API key, please refer to DeepL’s documentation.
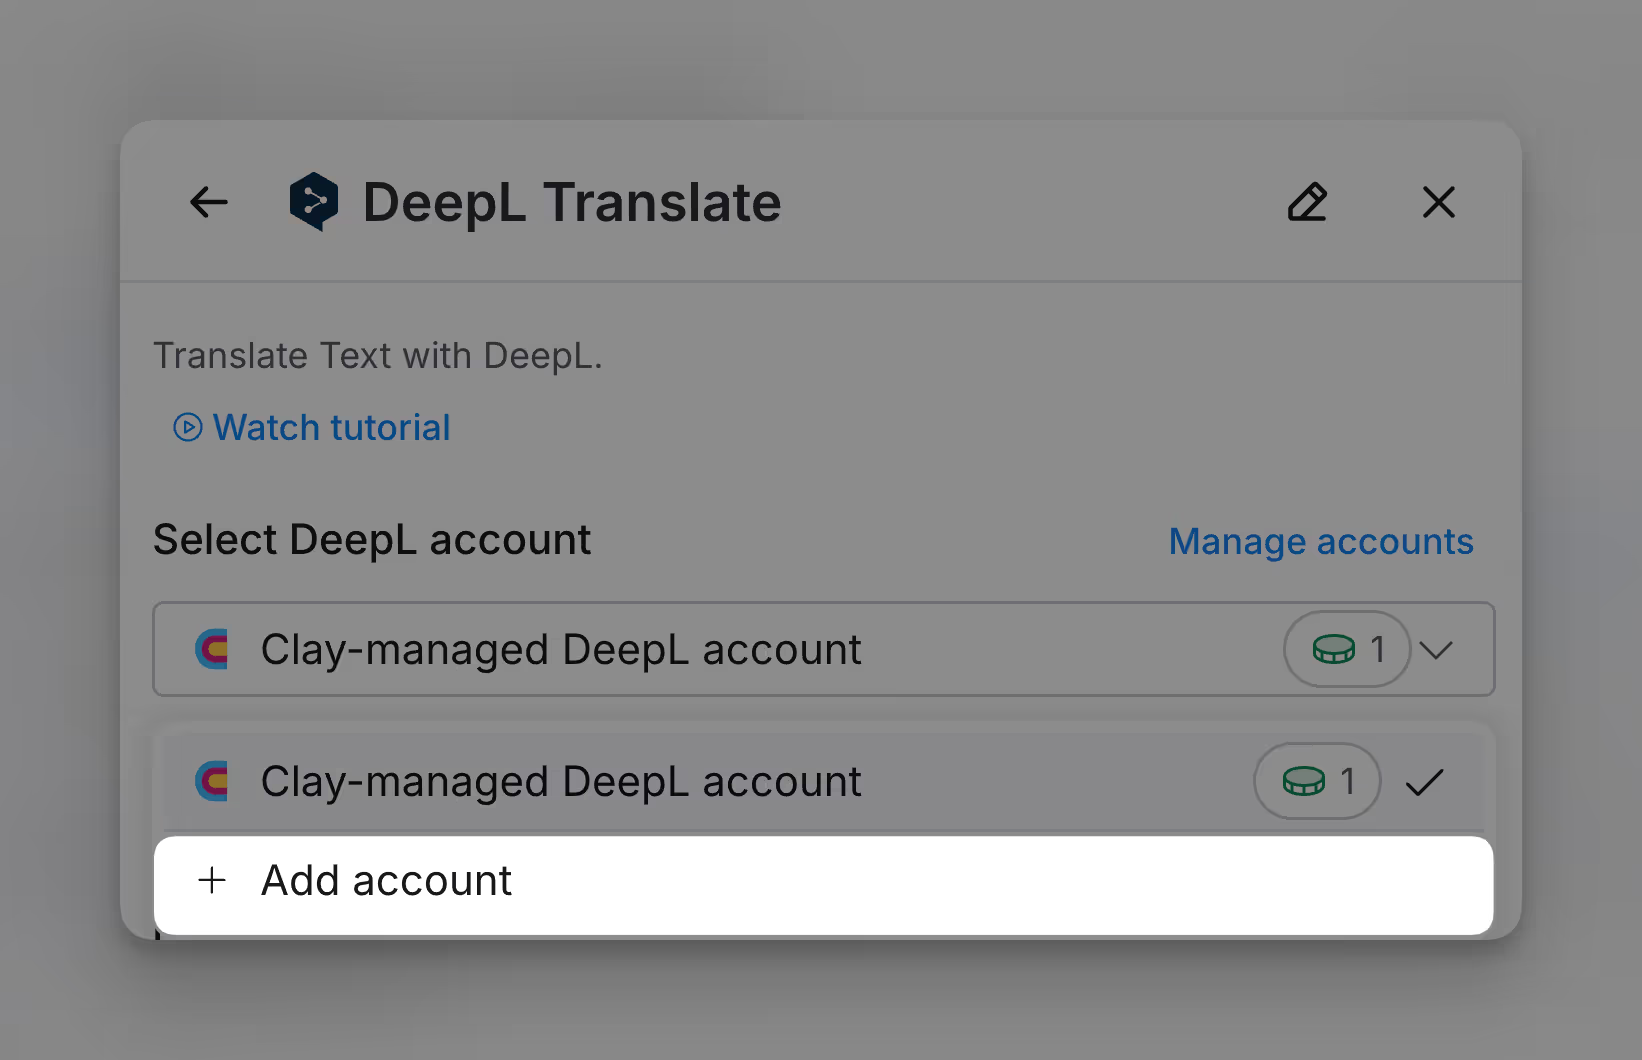
You can add your DeepL API key to Clay within the enrichment panel. The image below shows where to add your API key in the enrichment panel.
Action DeepL translate
The DeepL Translate action allows you to translate text with DeepL’s advanced translation tool.
Step 1: Select Find Technology Stack
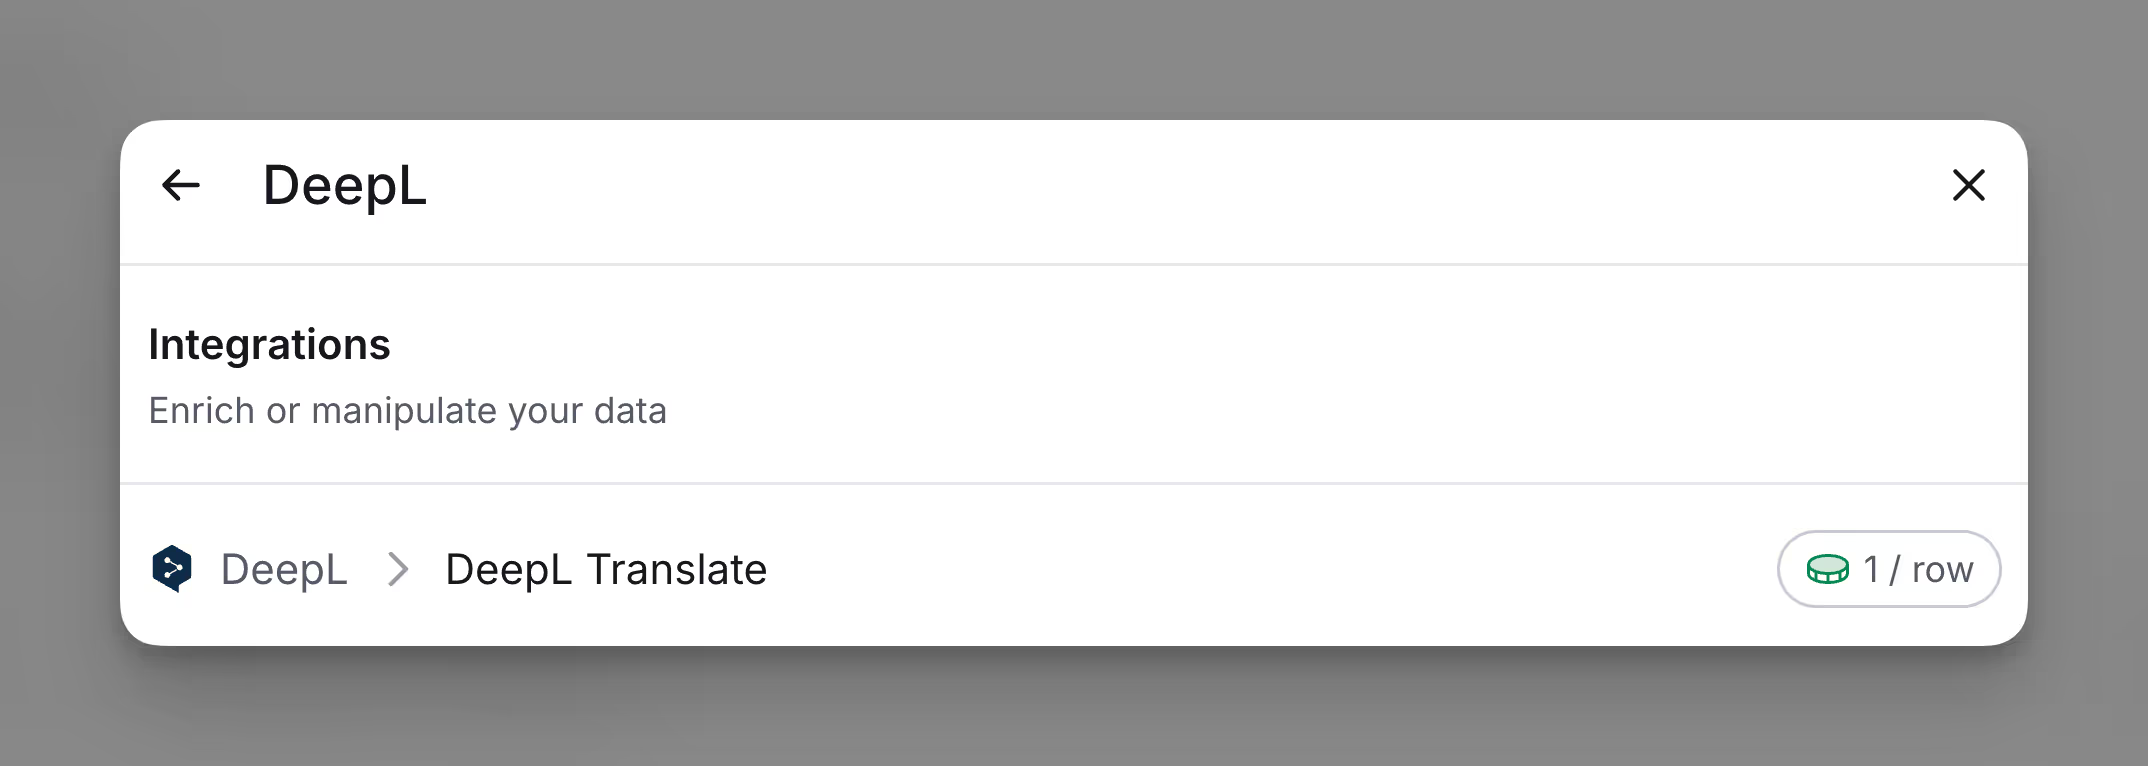
Access this action through the integration panel.
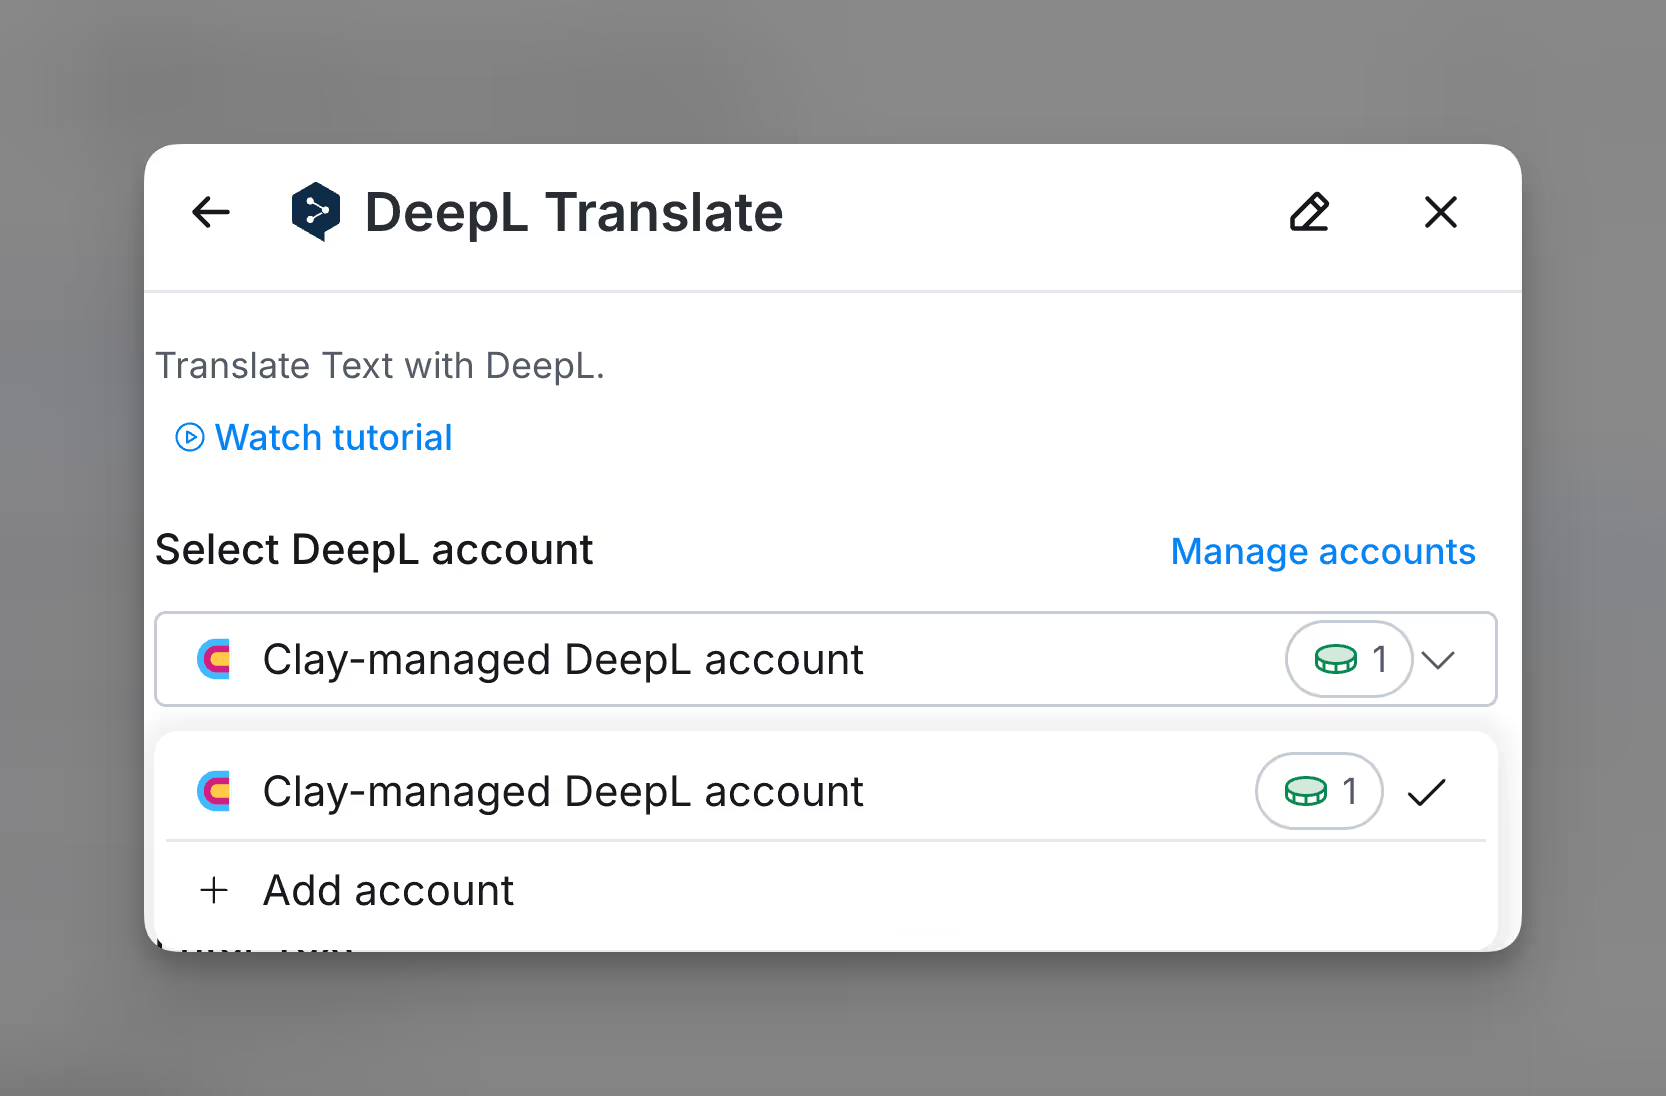
Step 2: Select DeepL account
Proceed with either a Clay-managed or a personal account.
Step 3: Configure translation inputs
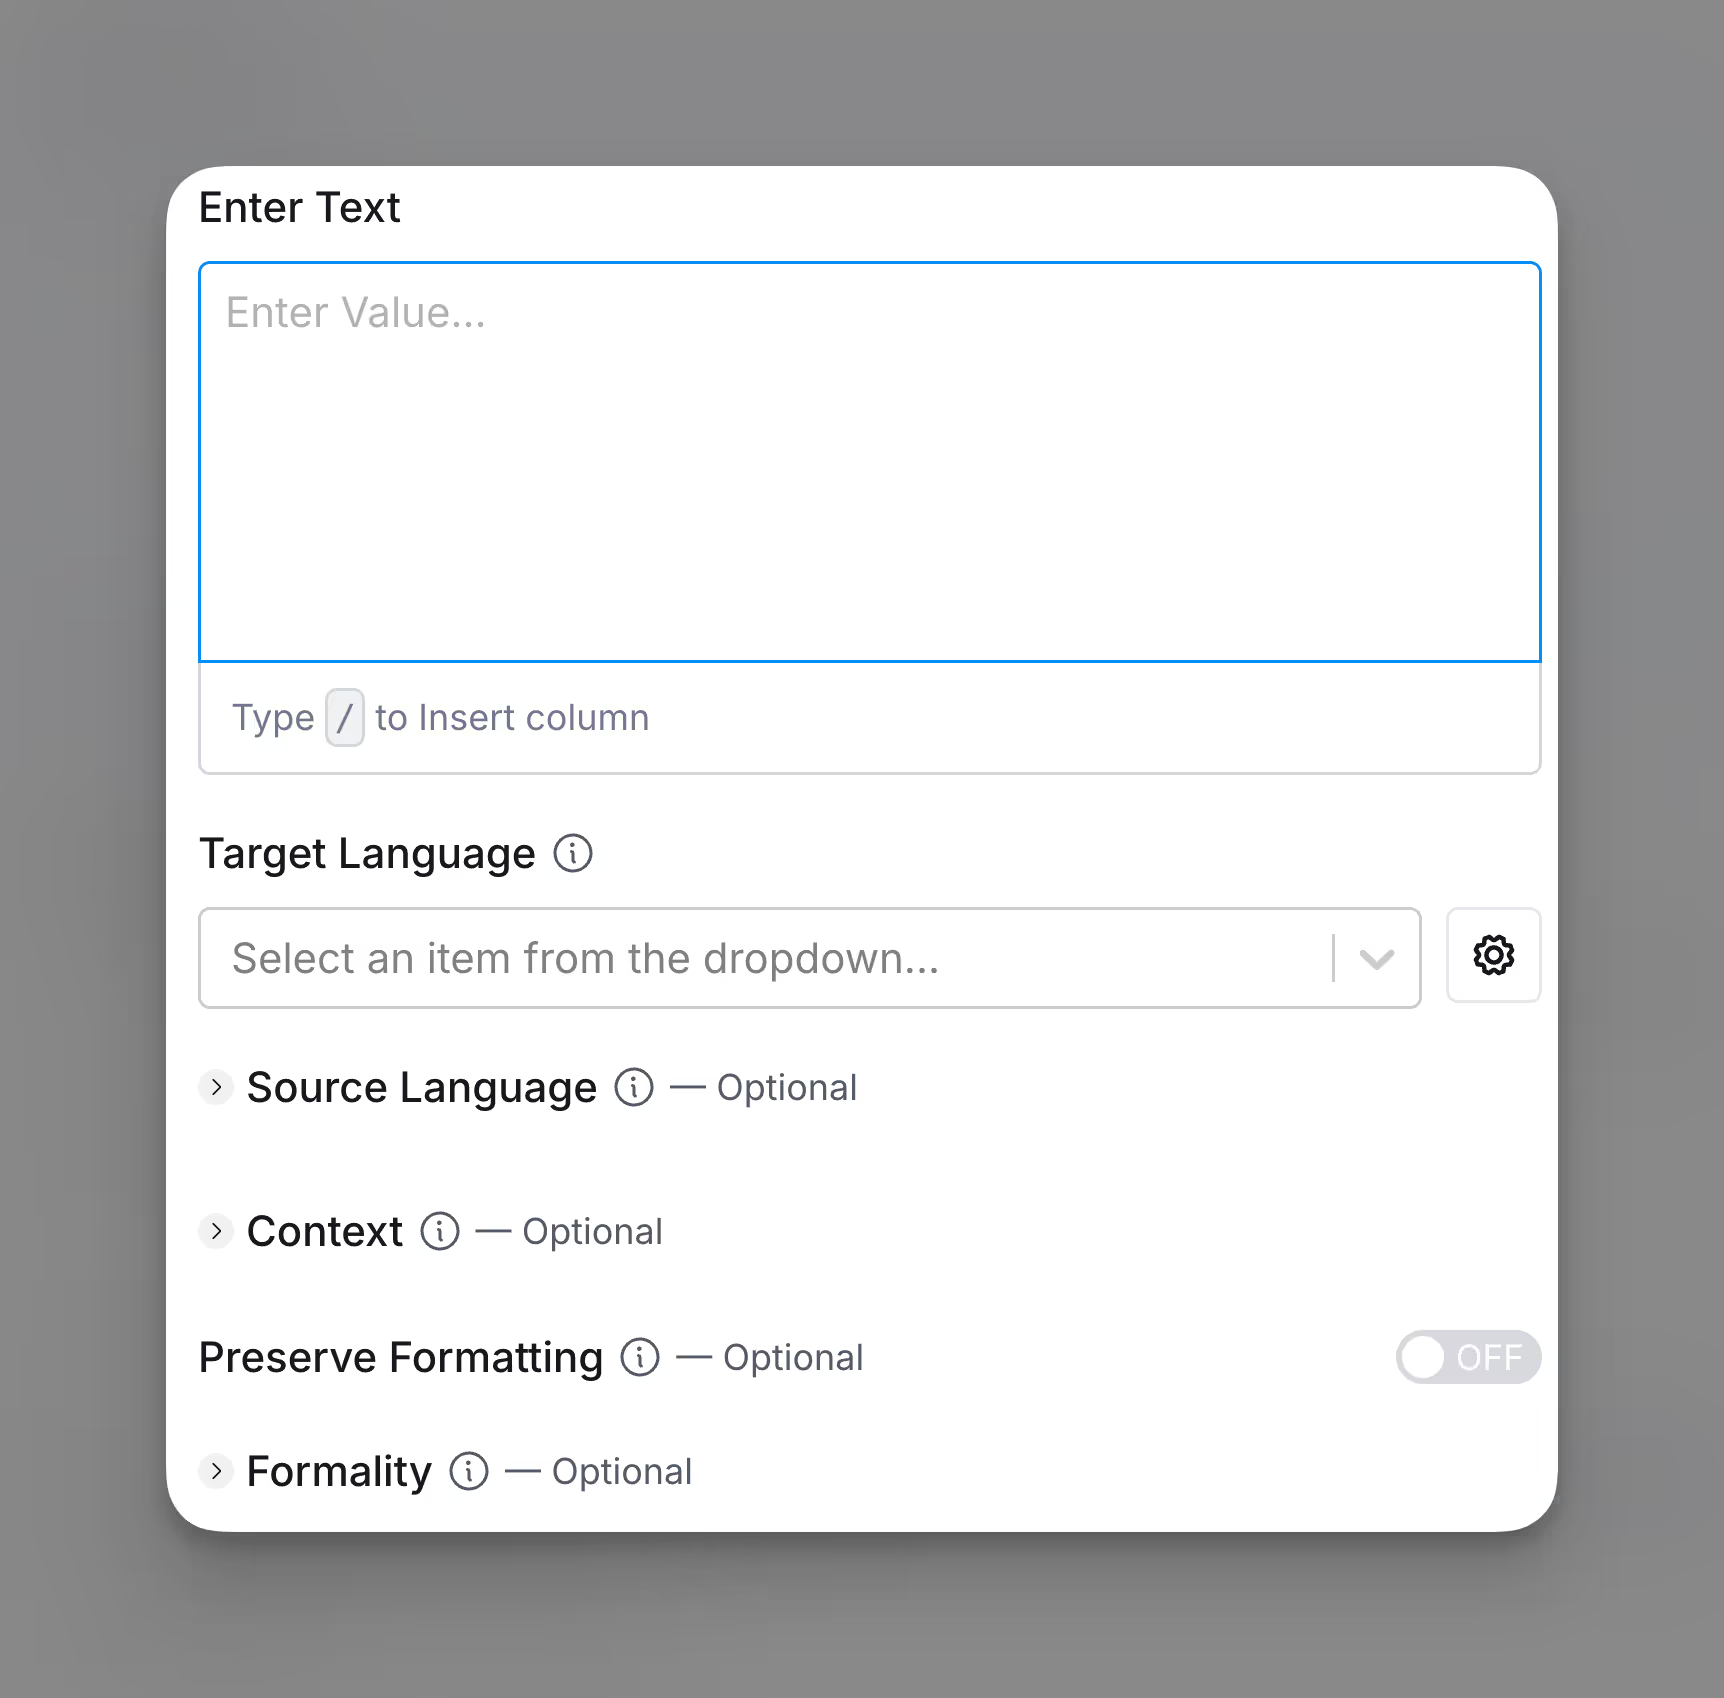
Enter the text you want to translate in the Enter Text box and Select Target Language. Additionally you can also configure other outputs.
- Source Language (Optional):
- If the source language is known, select it in the Source Language dropdown; otherwise, it will auto-detect.
- Context (Optional):
- Add additional information to aid the translation without it being translated. This is useful for short or ambiguous texts (e.g., product names, UI elements).
- Preserve Formatting (Optional):
- Toggle Preserve Formatting to keep the original text’s formatting in the translation, even if the translation engine might typically make adjustments.
- Formality (Optional):
- Choose whether the translated text should use a formal or informal tone, based on the desired style.
Step 4: Configure run settings
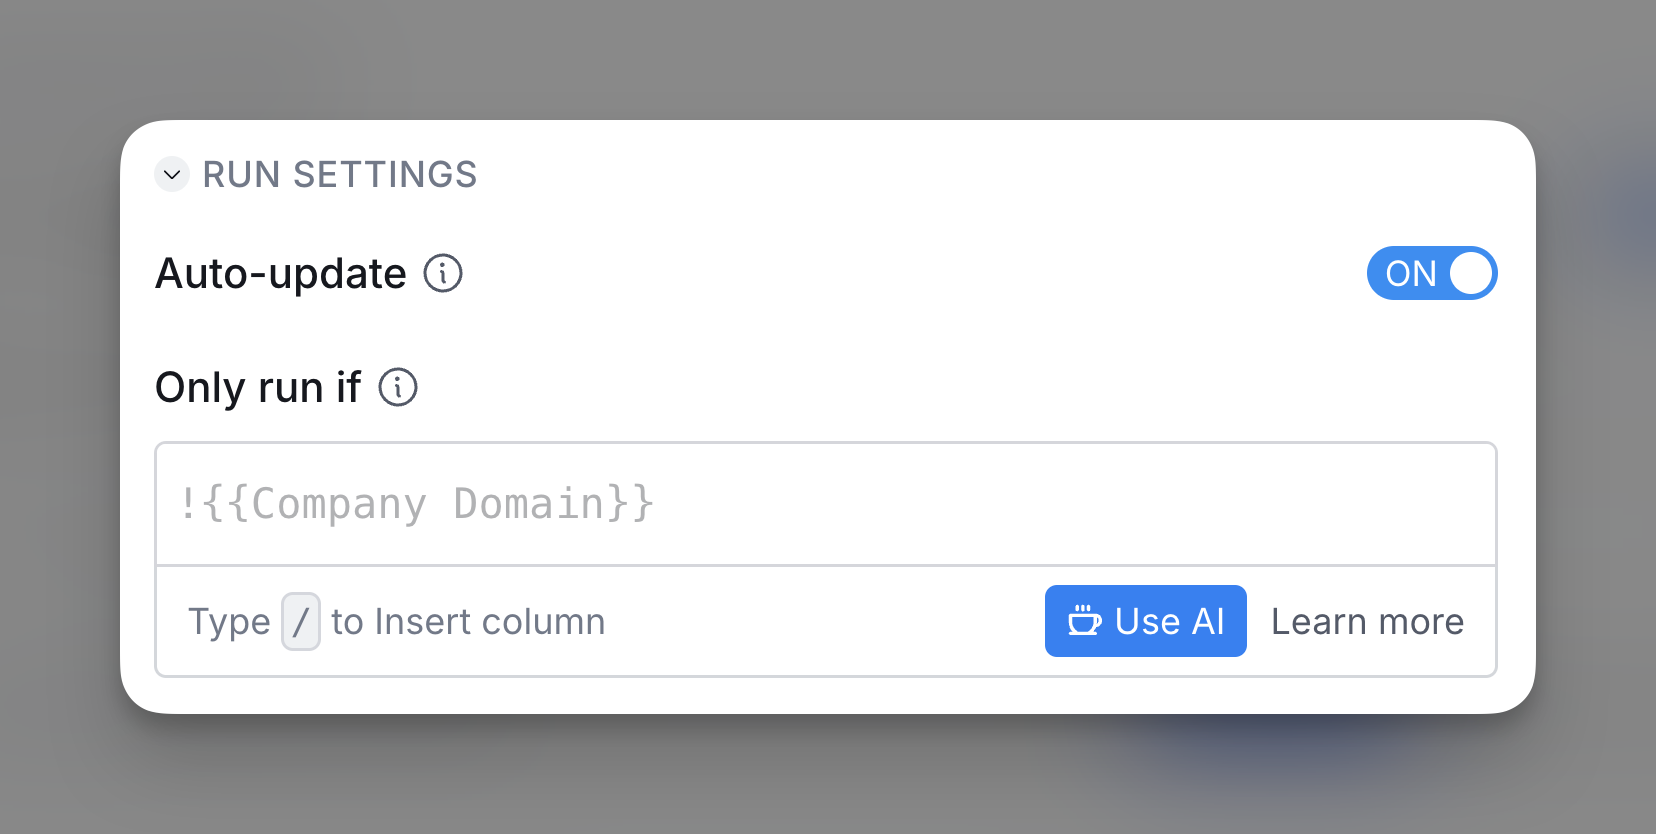
Auto-update: BuiltWith will automatically enrich any new rows that get added to the table. Learn more about auto-update in this this brief guide.
Conditional runs: To run enrichment only under specific conditions, use formulas that trigger the column when the formula is true. See this Clay University lesson.
Step 5: Choose data to add as columns to table
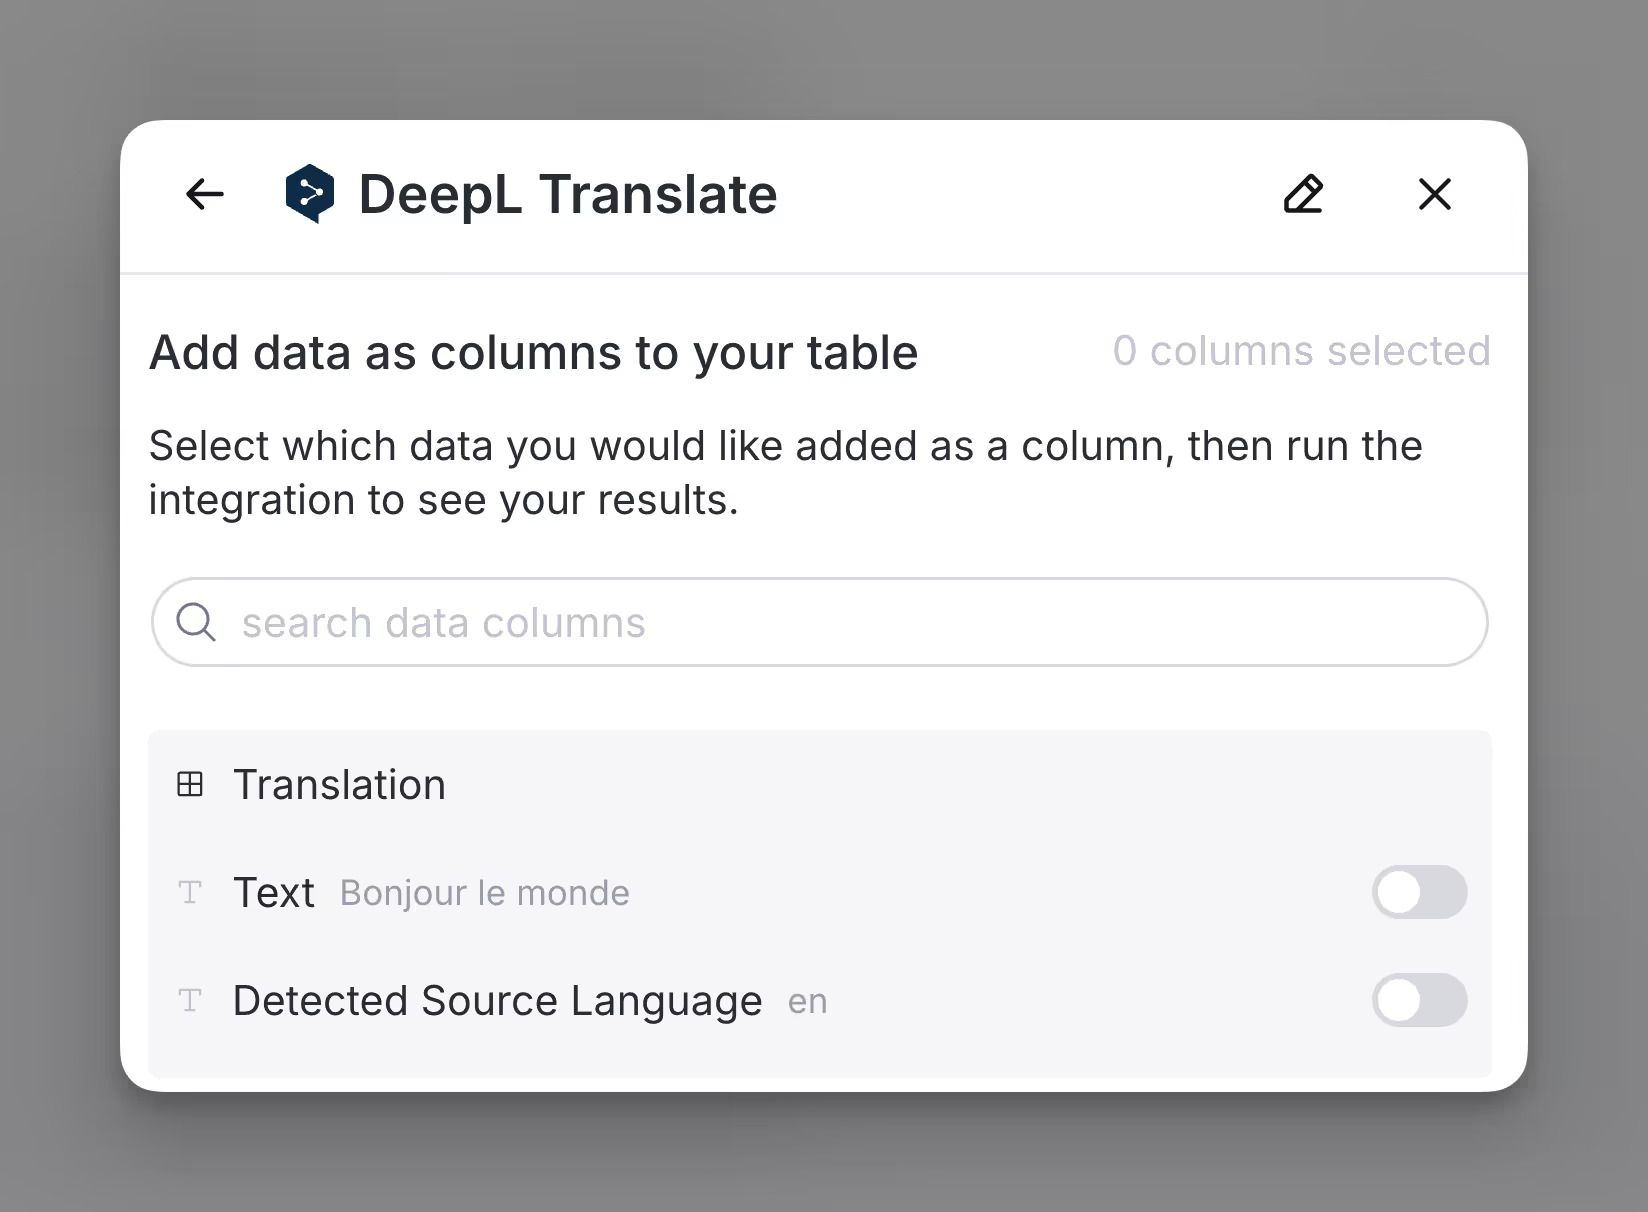
Select the data from the enrichment you want to add as columns to your table.
